

Arduino Train (compatible with Duplo tracks)


Arduino Train (compatible with Duplo tracks)
- Made to order — 3D printed after you buy
- Free shipping on orders over $25
- Quality checked before it ships
- Questions? Contact us · Returns
IR remote controlled train (locomotive). The locomotive is compatible with Duplo tracks, including bridges. The locomotive can pull additional Duplo train cars.
💡 Features
- 3 speed levels
- Stop button: stops; red lights
- Speed up button: speed level +1, moves forward; white lights
- Speed down button: speed level -1, moves forward until speed level = 0; white lights while moving, red lights is stopped
- Move backward button: moves backward at speed level 1 while the button is pressed; blue lights
- Move forward button: moves forward at speed level 1 while the button is pressed; white lights
- Auto button: moves forward with obstacle detection enabled. Stops if there is an obstacle.
- Moves forward if the obstacle is removed. Speed depends on the distance to the nearest obstacle. White lights and green light
- Horn button: horn sound effect
- Siren button: red and blue lights; siren sounds
- Music buttons: 8 different melodies
- Mute button: sound on/off
- Battery status button: indicates battery level by sound beeps, e.g., 7 long beeps and 3 short beeps = 7.3V
- Battery status detection: warning level with red lights and sound; shutdown level
- Sleep mode: powers down automatically after 5 minutes without IR remote input (can be woken up again with the remote)
- Tilt sensor: stops when the train is on its side; red lights; if the train is back in a vertical position - yellow light
This is a remix. See the original model for instructions (there is MANUAL_de_Construcci*.pdf file, it's in Spanish but there are images and AI can be used to translate). I want to make my own documentation, but not promising anything regarding when it will be ready.
What I did differently:
- I didn't build the magnetic "toy" on the top, so there is no second motor.
- I used two 18650 batteries with a built-in micro USB socket for charging (to allow charging without removing the batteries from the train). They are longer, but I found battery boxes (two single-battery boxes) that are long enough to hold the longer batteries. I didn't use a printed battery box.
- I used two RGB LEDs and one single-color LED (and therefore additional resistors).
- I added a cable that connects the battery to the Arduino via a voltage divider (two resistors) for battery voltage measurements.
- I also added a tilt sensor to stop the motor when the train is lying on its side.
- I removed (using negative parts in the slicer) the "Harry Potter" and "Frozen" text from the train sides.
- Arduino program was rewritten from scratch and extended (see the attached .zip file, which includes duplo-train.ino and src/melodies.h files).
The original version was not compatible with Duplo bridges. My remix fixed this problem.
- Plate 2: Negative parts added for bridge compatibility. If you've already printed the original model, just use a deburring tool to remove parts of the train bottom (e.g., corners) that touch the bridge when the train is on it.
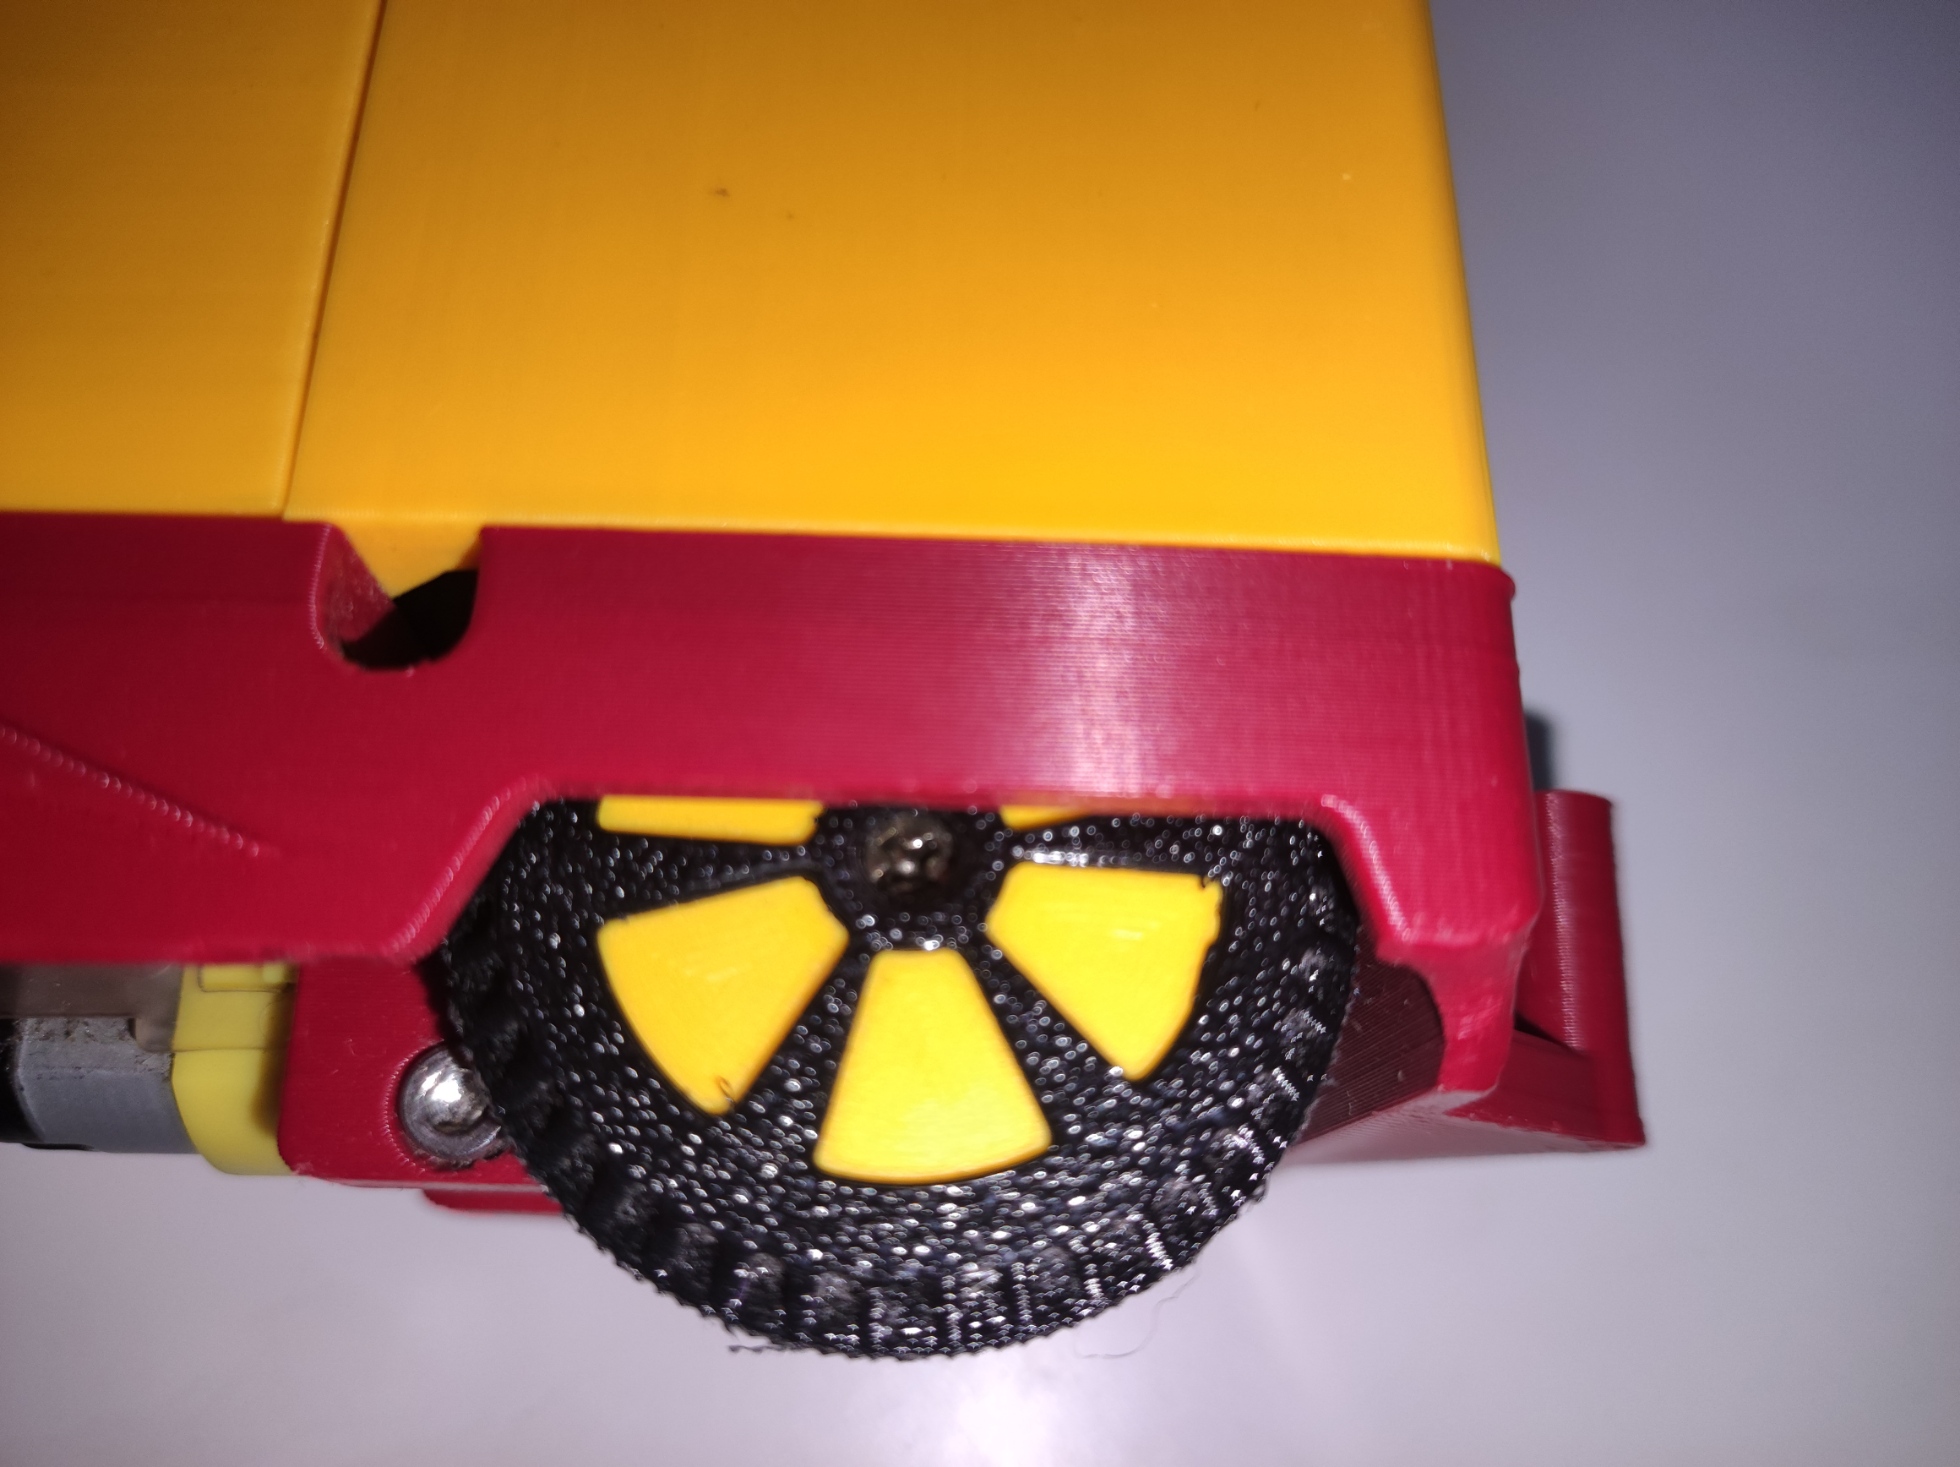
- Plates 10, 11: Improved (bridge-compatible) rear wheels (TPU + PLA parts) for better grip and bridge compatibility.
Non-printable parts:
- Arduino Nano 3.0 ATMEGA328 CH340 with USB-C
- DC Motor 3-6V with 1:48 gearing and double-sided shaft
- Ultrasonic distance sensor HC-SR04
- HX1838 IR receiver
- L9110 / HG7881 Dual Channel Motor Driver
- 2 x RGB LED , 1 x green LED; Resistors for the LEDs
- Buzzer
- On/Off button
- Resistors for battery voltage measurements: 10K and 4.7K
- Box for 2 x 18650 batteries (you can use 3D printed one, I used 2 single battery boxes instead)
- 2 x M3x30 screws with nuts
- Metal rods (3 mm for front wheel axle and 2 mm for top cover hinge)
- Magnets for the lid (I used D4x2 mm magnets)
- Assembly screws (I had a bunch of 2x6 mm, 2x10 mmm, 2.5x8 mm screws)
- Tilt sensor (optional)
The attached .zip file contains Arduino code (duplo-train.ino and src/melodies.h files are required). There is a link to the GitHub repository in the README.md file. GitHub contains the most recent version of the code. The files attached here may be slightly outdated.
Feel free to reach out to me if you have any questions.
Kudos to the author of the original model.
This model was not created by, is not sponsored by, authorized by, endorsed by or affiliated with any plastic construction toys manufacturer.
Design by 3Dnaut on MakerWorld (license: BY).