
Gonggi Poop Mold - fast production from waste


Gonggi Poop Mold - fast production from waste
Update 14.4.2025: Uploaded Poker Chip Mold from Poop-One mold for all values
Hello Makers!
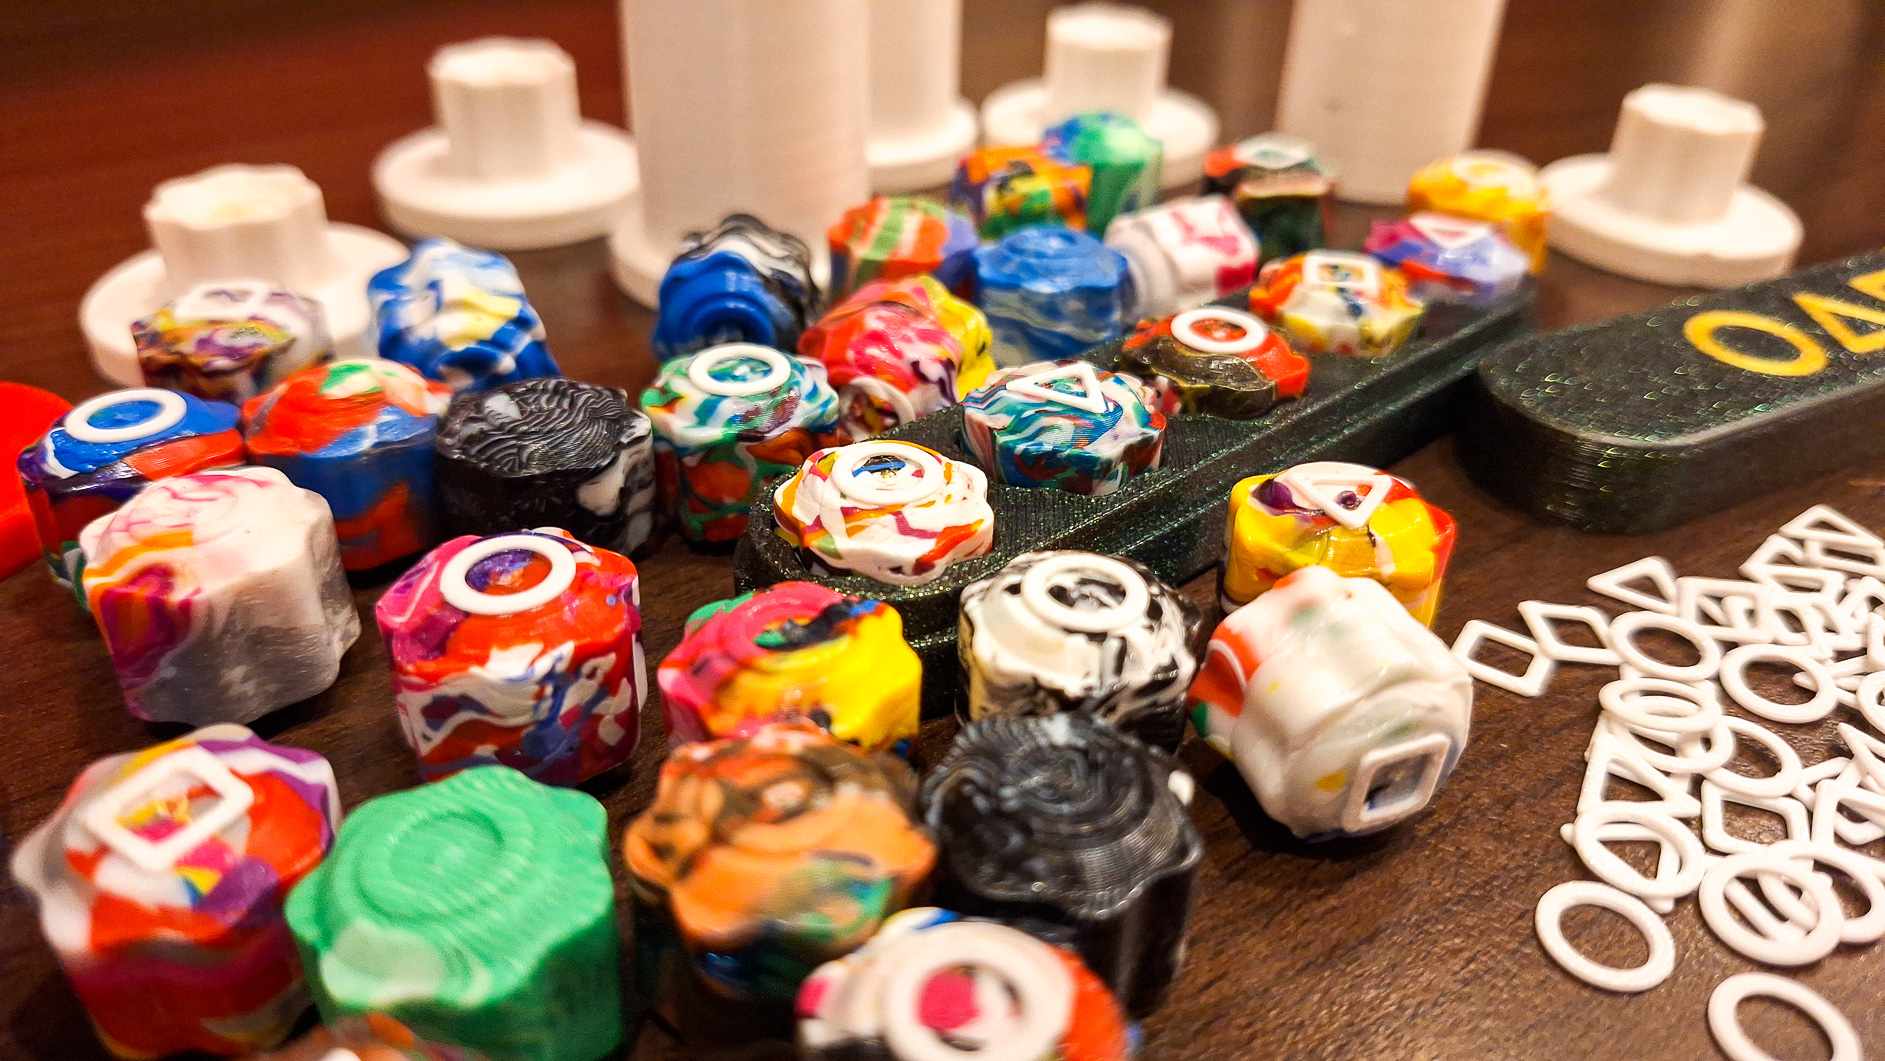
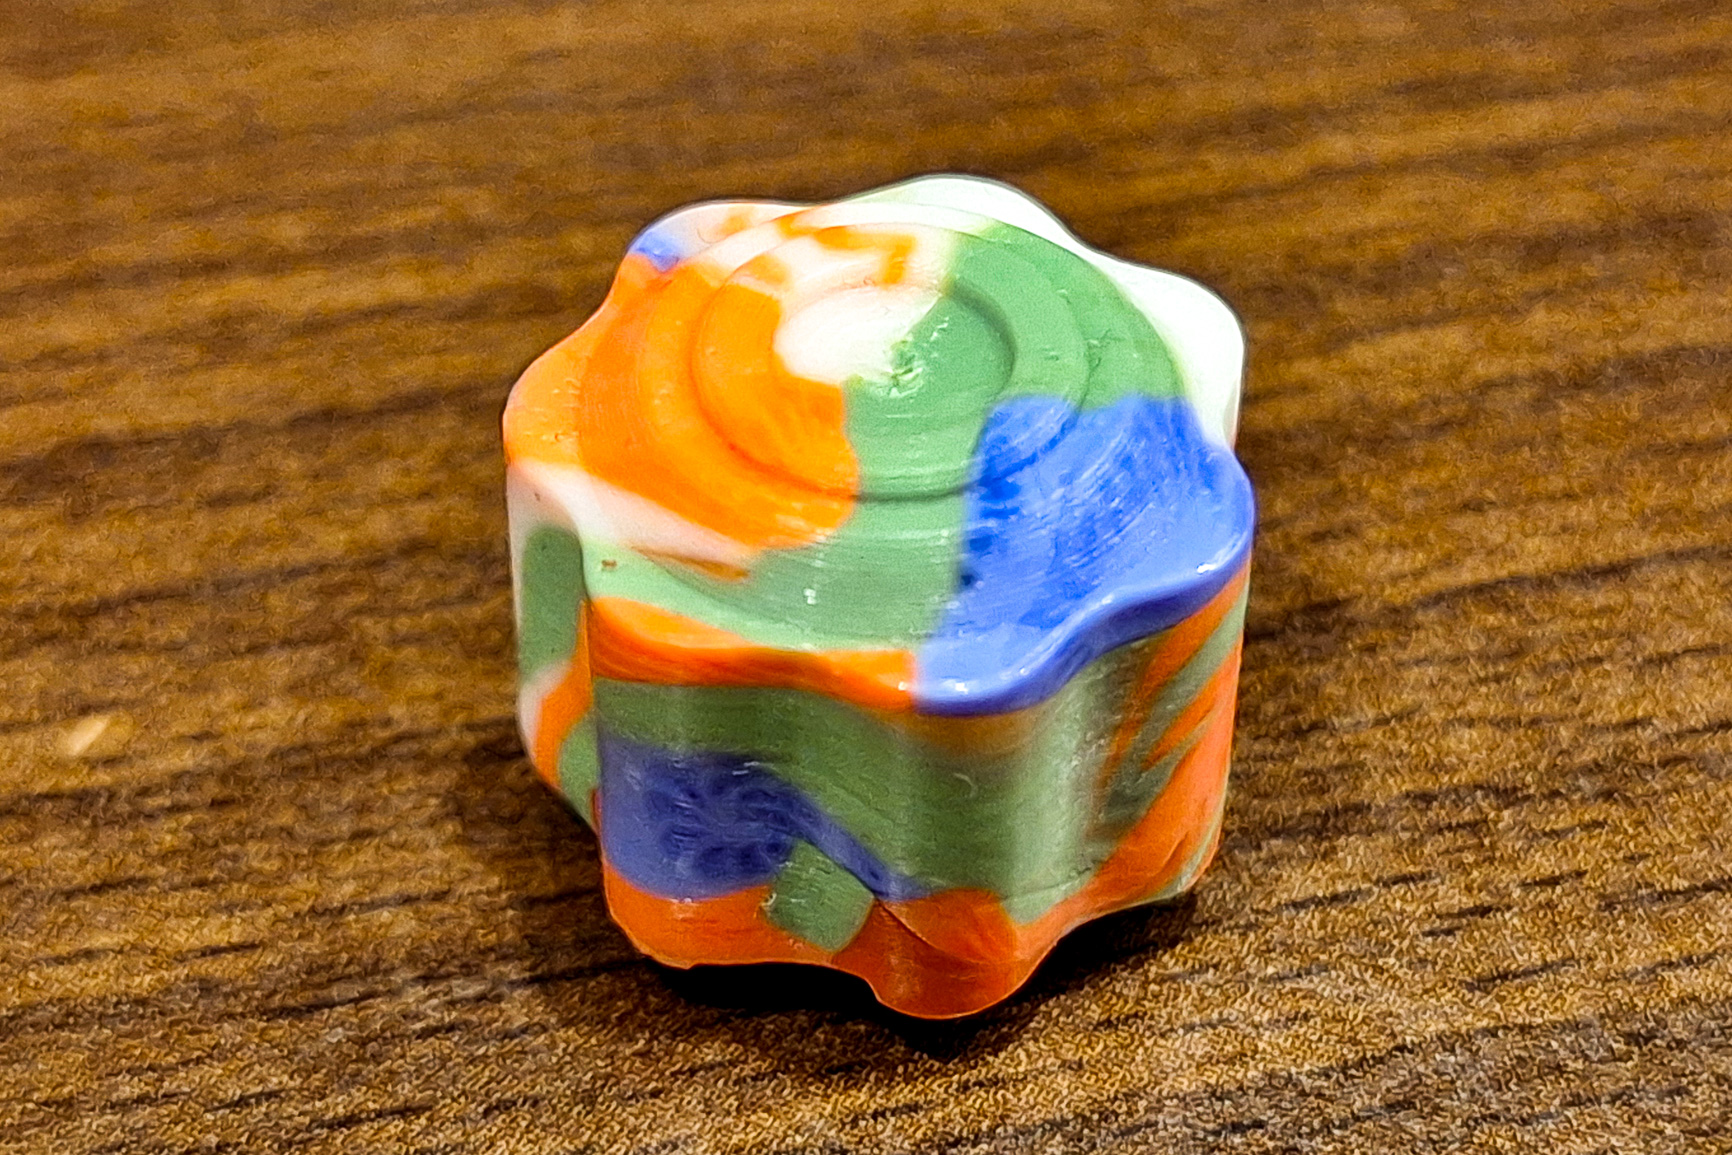
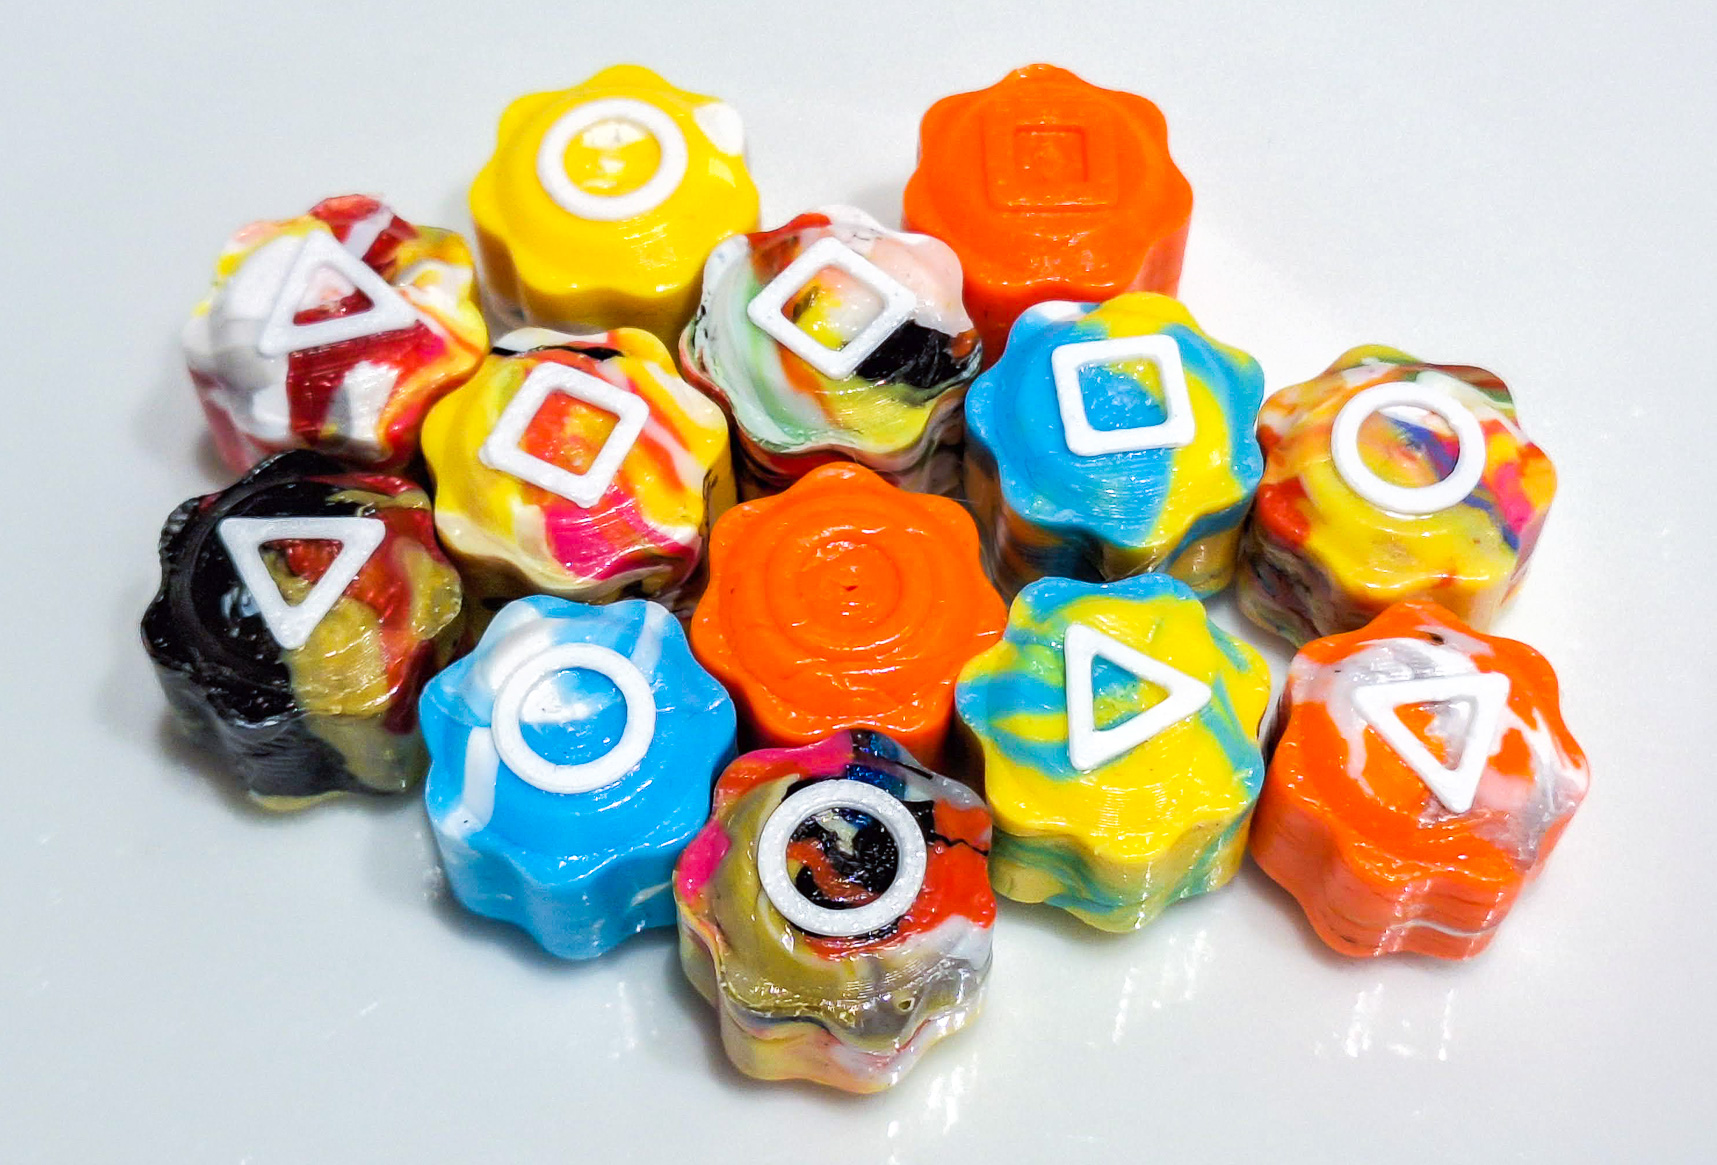
Today I made a new Gonggi and in a short time I had 13 perfect pieces created. I tried PETG, ASA, PC, ABS molds and PLA and PETG poops and I found the following:
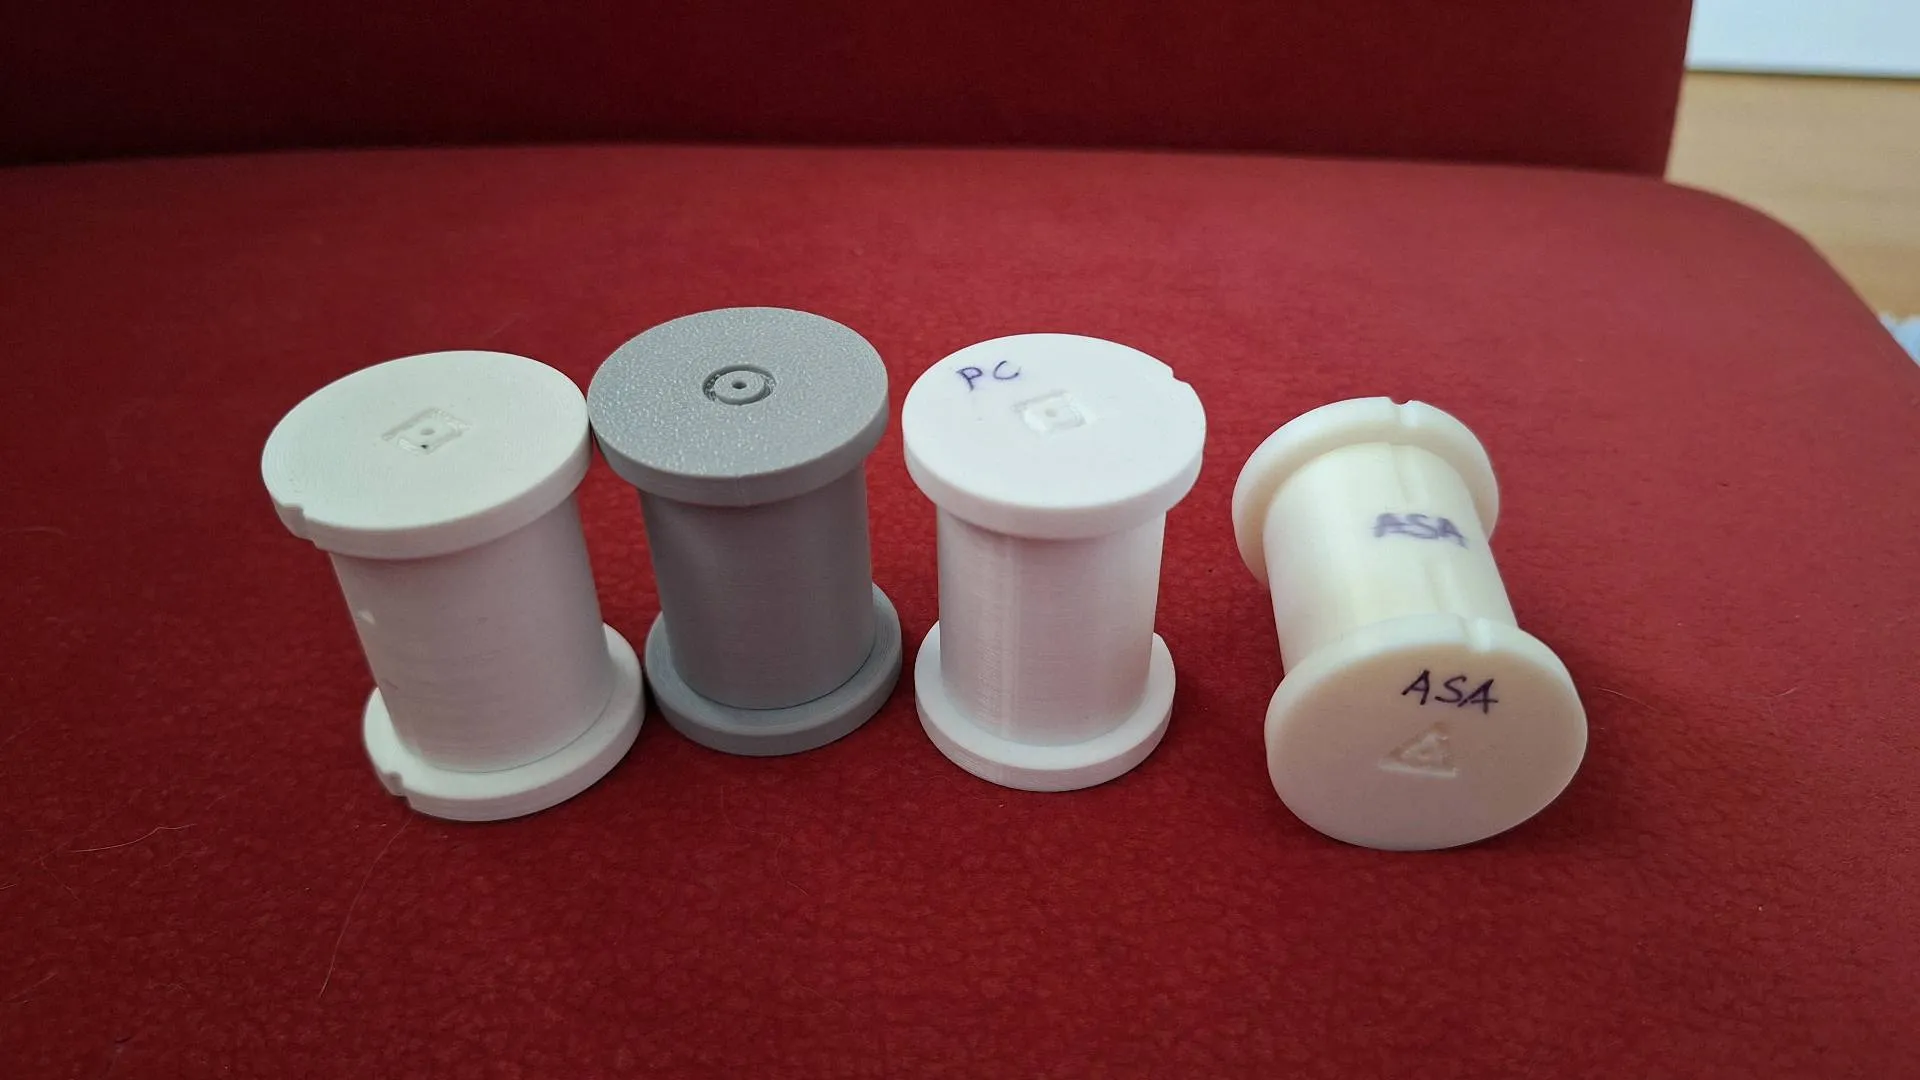
- PLA works without problems in all molds
- PETG works without problems in all molds. Even in a PETG mold! I did not find any signs of melting or damage on the mold after use.
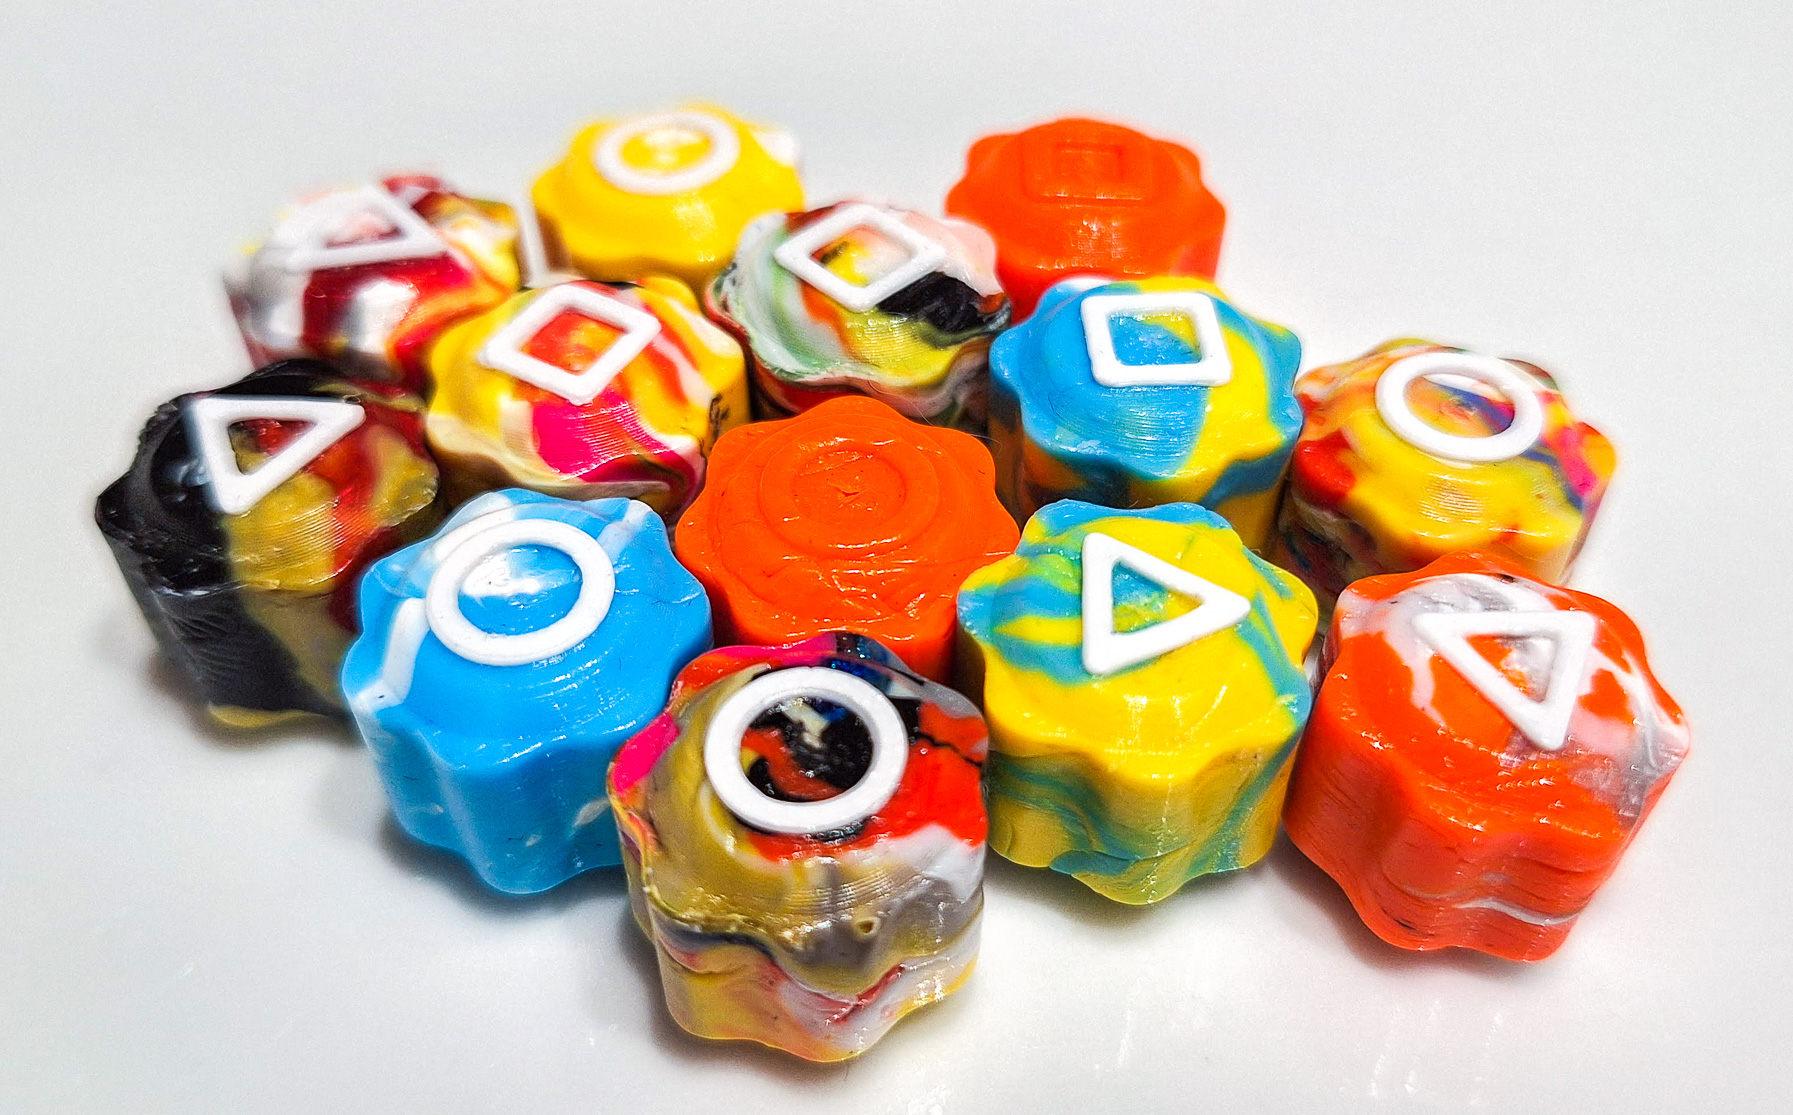
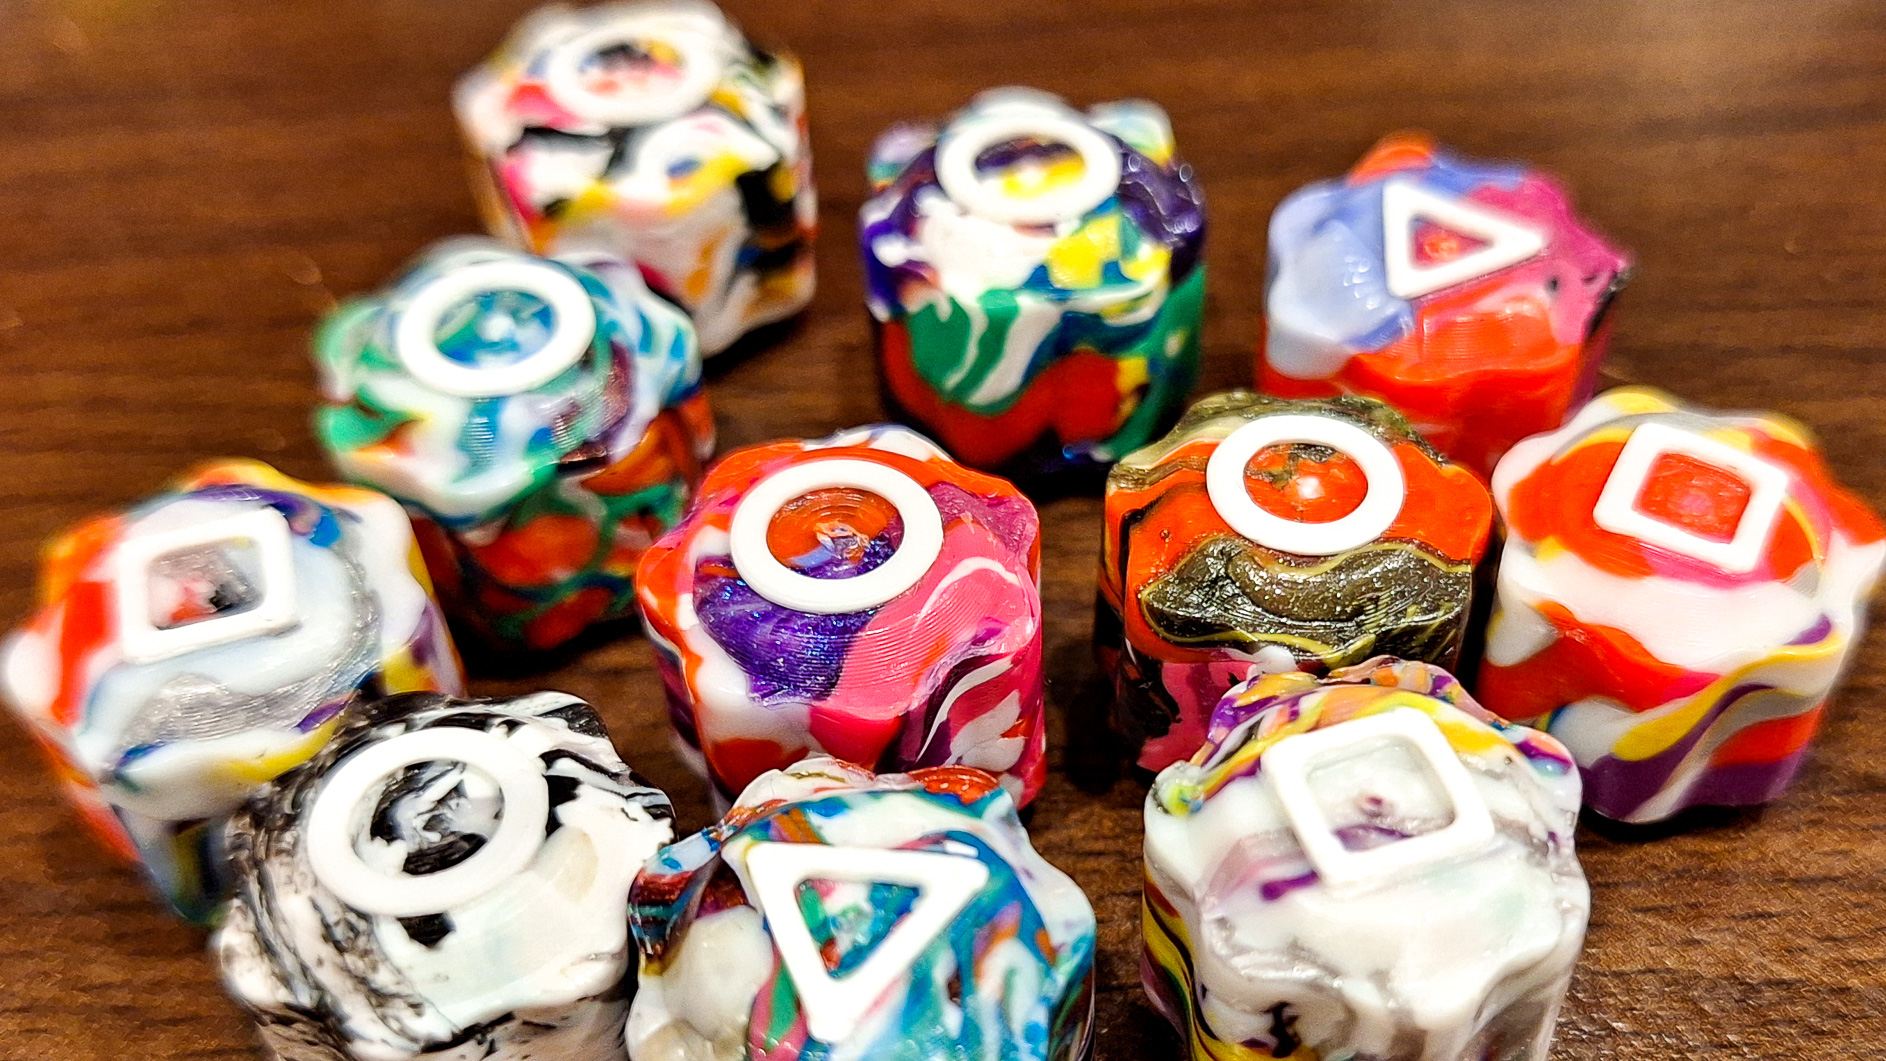
Another thing to keep in mind is that if you are working with geometric shape inserts, they must be made of the same material as the poops. If you use PLA geometric shape inserts, they will not stick well to the PETG gonggi! Also, make sure that the geometric shape inserts are not greasy on the Gonggi side, otherwise they will also easily come off (about 1 of 10). If I mixed the melting material as a combination of Prusa famous Orange PETG with White PLA, the material came together beautifully and even the geometric shape inserts worked :-)
Gonggi Poop Mold - fast production from waste
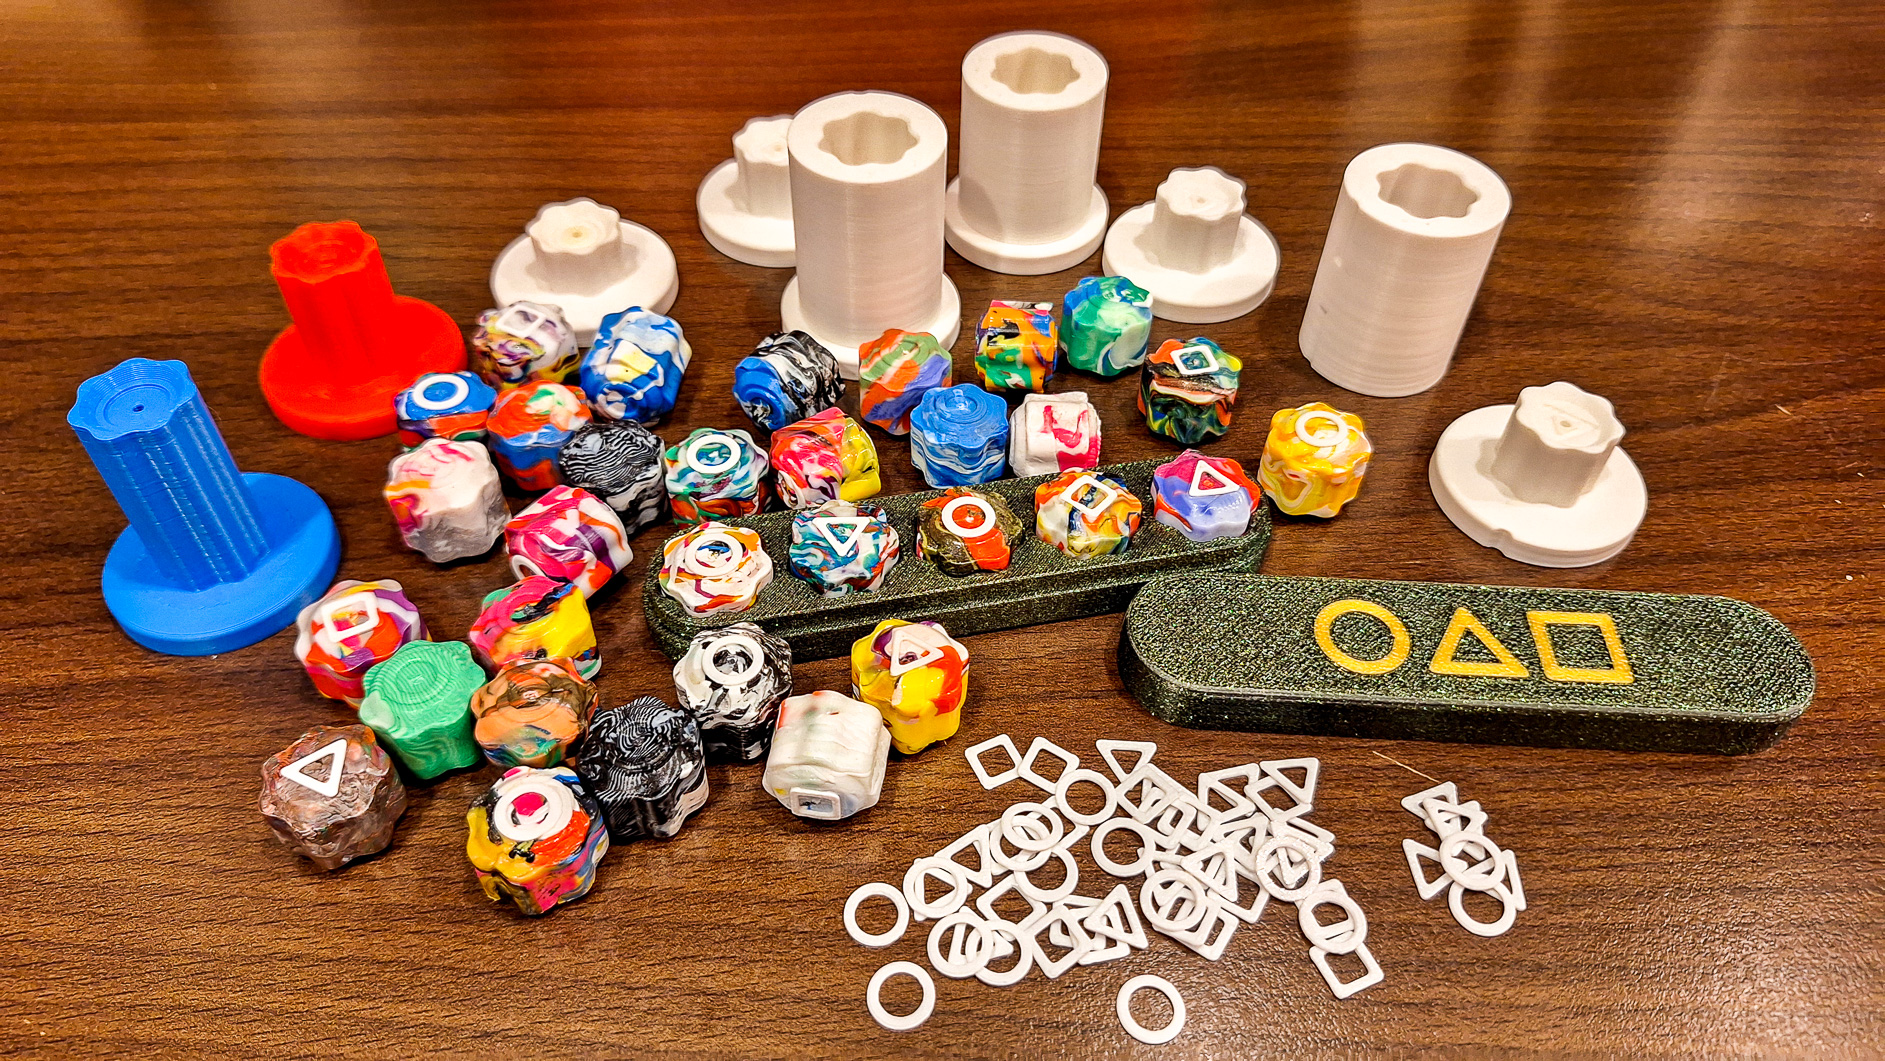
Turn waste from 3D printer into Gonggi! Create the most beautiful Gonggi and their crazy color combinations.
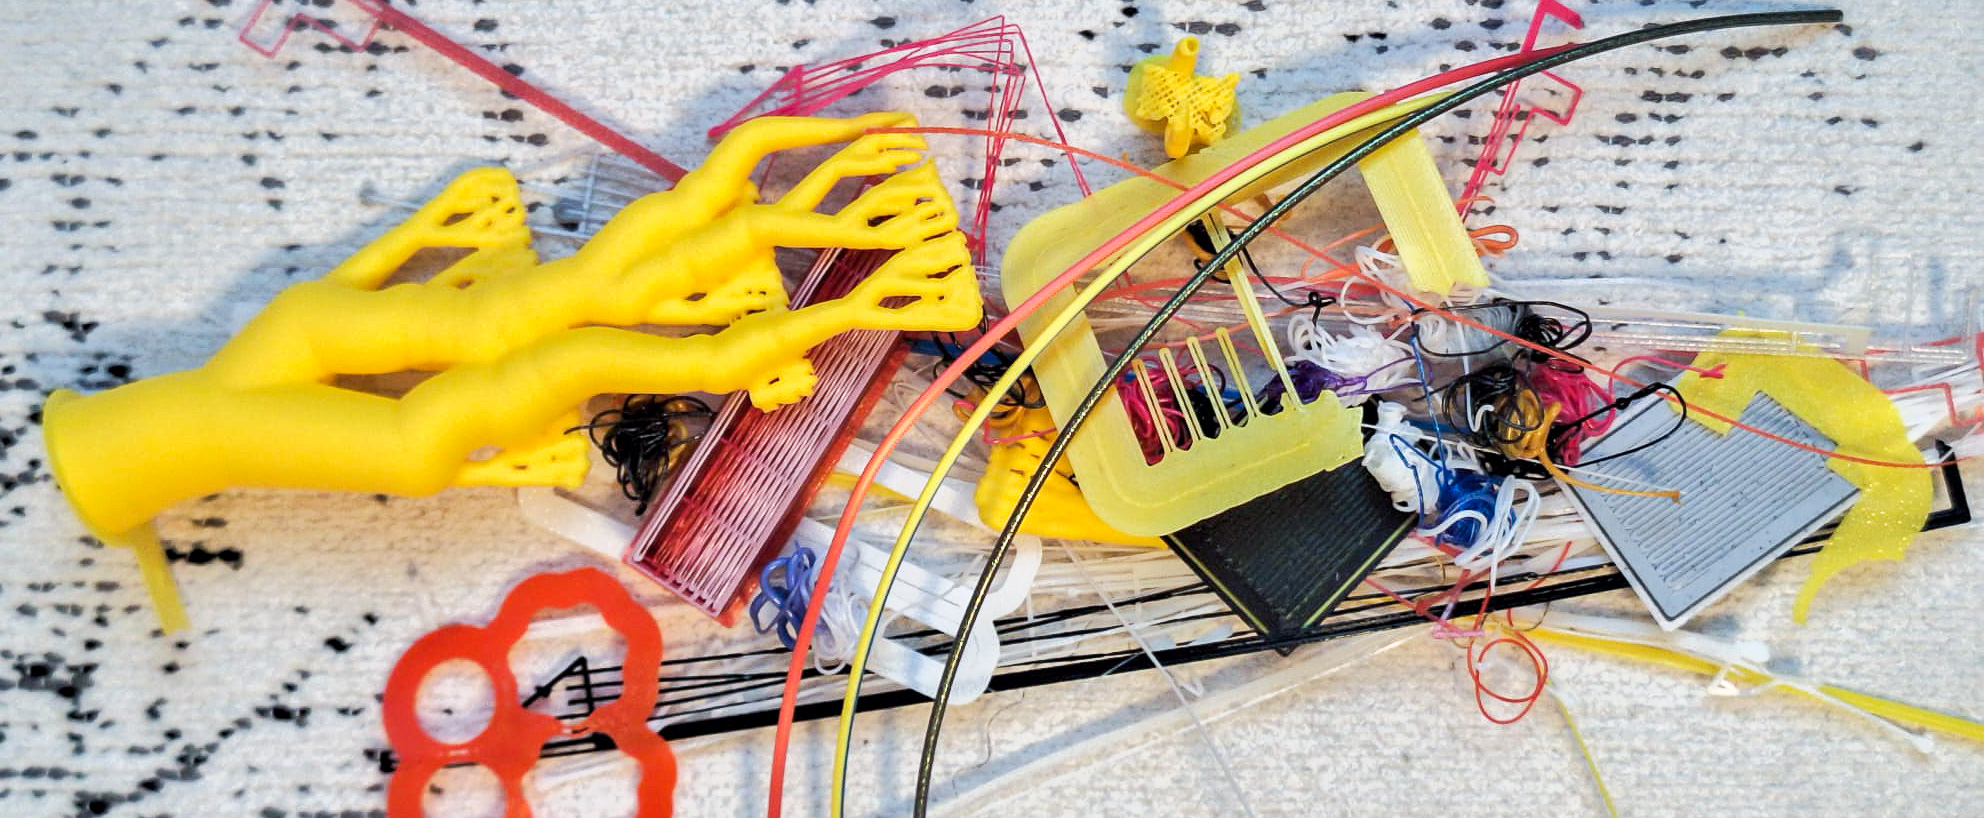
Use poop, leftover filament, small printed objects and calibration poop lines.
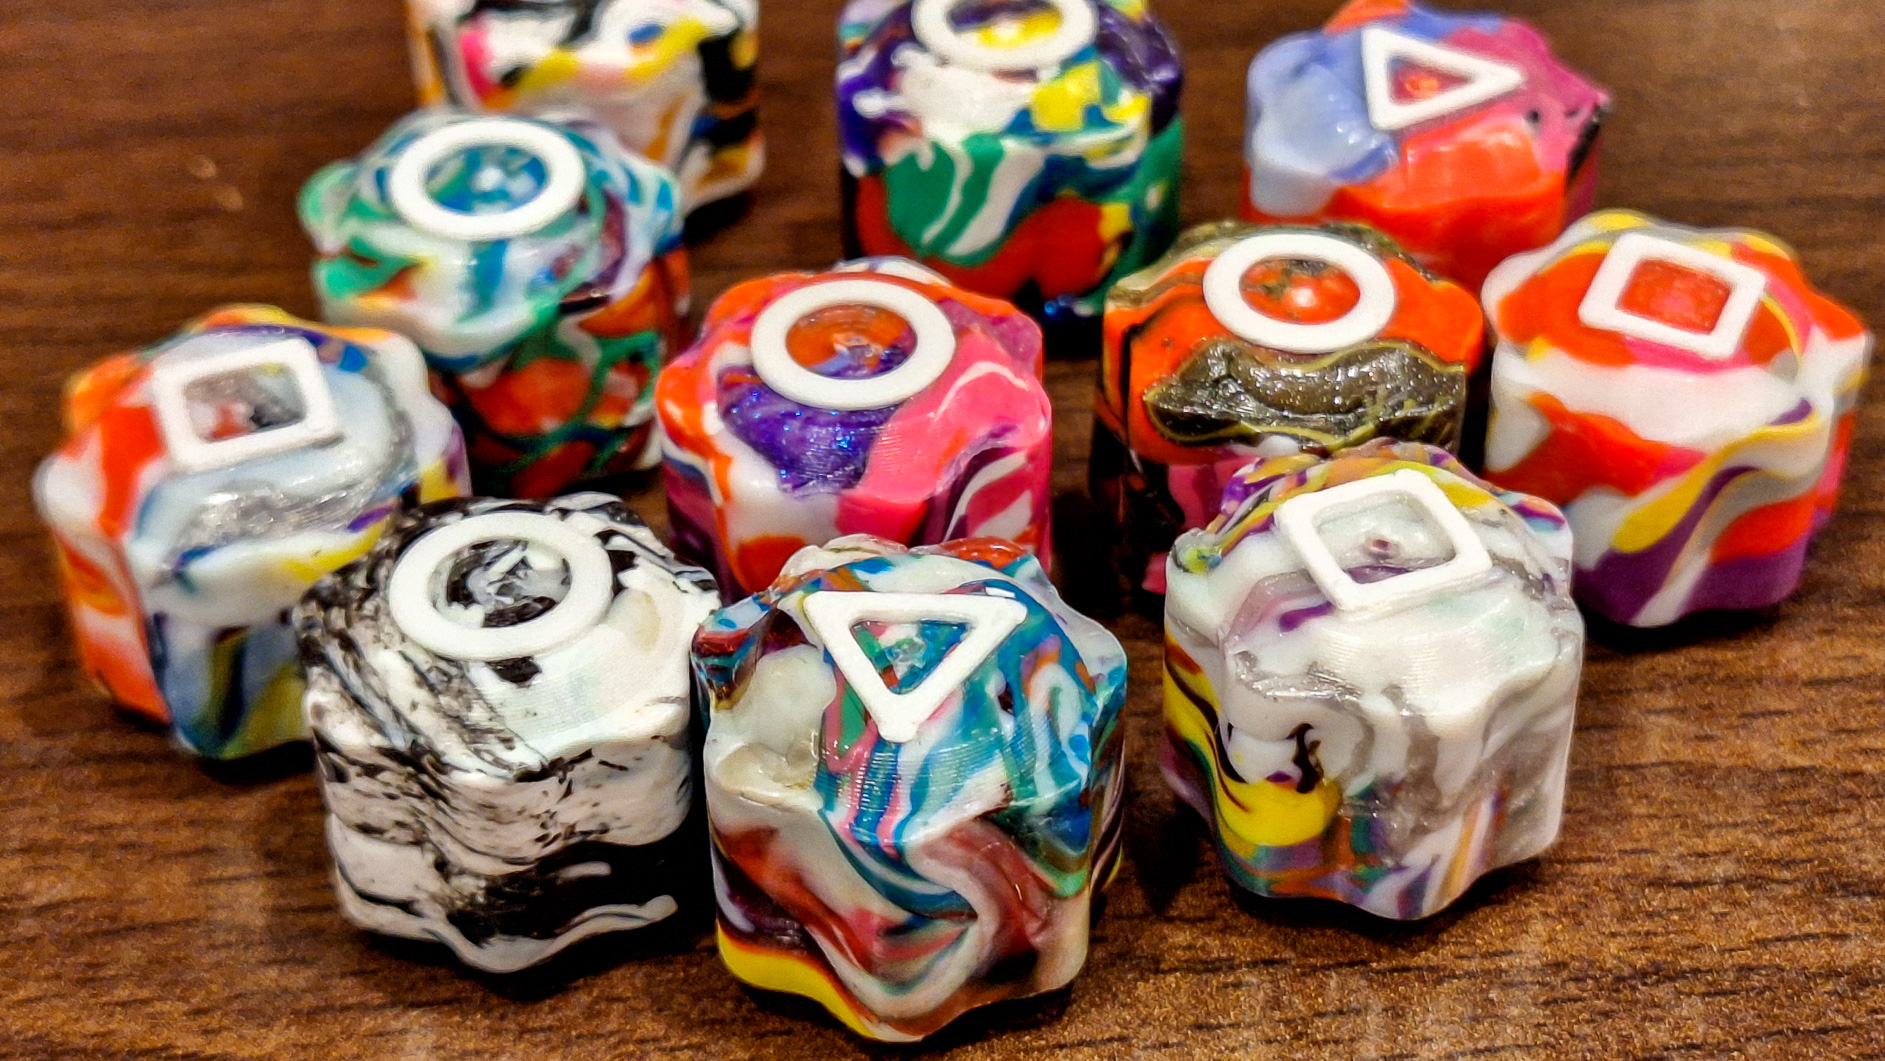
You can print geometric shapes - circle, triangle and square. Simply insert them into the mold and your gonggi will be even more beautiful.
The waste purge mold idea came to me when I found this model
The mold needs to be made of a material that can withstand heat better, e.g. ASA/ABS/PC/PETG. The form should be smooth, do not use carbon/glass fiber materials. Please print the mold, using at least 6 wall layers and at least 5 top layers. Layer height: 0.12mm
The geometric shapes - circle, triangle and square print from PLA
Also Hand and Hammer extraction tools you can print from PLA.
Unlike other models, I have a different procedure - use a hot air gun instead of the oven. The production is fast and easy. With three molds, it is possible to achieve a production rate of 1 Gonggi every 3 minutes. The molds I made from ABS created dozens of Gonggi stones without any problems or deformation.
Why do I use a heat gun instead of a hot air oven?
There are various ways to melt a poop. A hot air oven is also an option. Usually, such an oven is only in the kitchen and food is usually prepared there. And since plastic tends to smell when melted, I don't know if it's food safe from a health perspective. That's why a heat gun somewhere on the balcony / garden seems like a better solution.
Feel free to try the oven, you can find the exact procedure here: Spinning top mold
Properly made Gonggi are compatible with the boxes: Squid Game 2 Gong-gi & Case Korean jackstones
Why am I only writing about melting and forming PLA poop, when I also have PETG, ABS poops
Based on my tests, it is possible to put PLA poop into a mold made of PETG, ASA, PC, ABS. There was even no problem with PETG poop in a PETG mold. Of course ASA, PC, ABS molds were also OK. However, please be aware that heated PETG material can deform the PETG mold. Please read a little theory:
PLA will soften (Glass Transition) at temperatures around 55-60 °C. While PETG and ABS resist softening until around 80 °C and 100 °C, respectively. It is necessary to choose the right combination of mold material and also poop material, so that the high temperature of poop does not cause deformation of the mold. A good combination is PLA vs ASA (ABS)
| Material | Glass Transition | Melting Point |
| PLA | 55-60 °C | 150-180 °C |
| PETG | 80-85 °C | 220-260 °C |
| ABS | 100-110 °C | 200-250 °C |
What you will need:
- Heat gun
- Precise digital scale
- A silicone mat
- PLA filament waste
- Yogurt jar
- Pliers
- Basic white vaseline and cotton swabs (Vaseline can be changed by cooking oil or coconut oil but I haven't tried it yet)
- Personal protective equipment - respirator, gloves, glasses
- Hammer
Production process:
Even though I don't use gloves in the videos because the materials I'm touching aren't hot to me, please read the instructions below:
Safety first!
Before you start working, make sure you are wearing protective equipment such as gloves and goggles and that you are in a well-ventilated room. The heat gun and melted PLA material can be very hot and cause burns.
When working with a heat gun, follow the manufacturer's instructions to prevent injury or fire.
You use the model at your own risk.
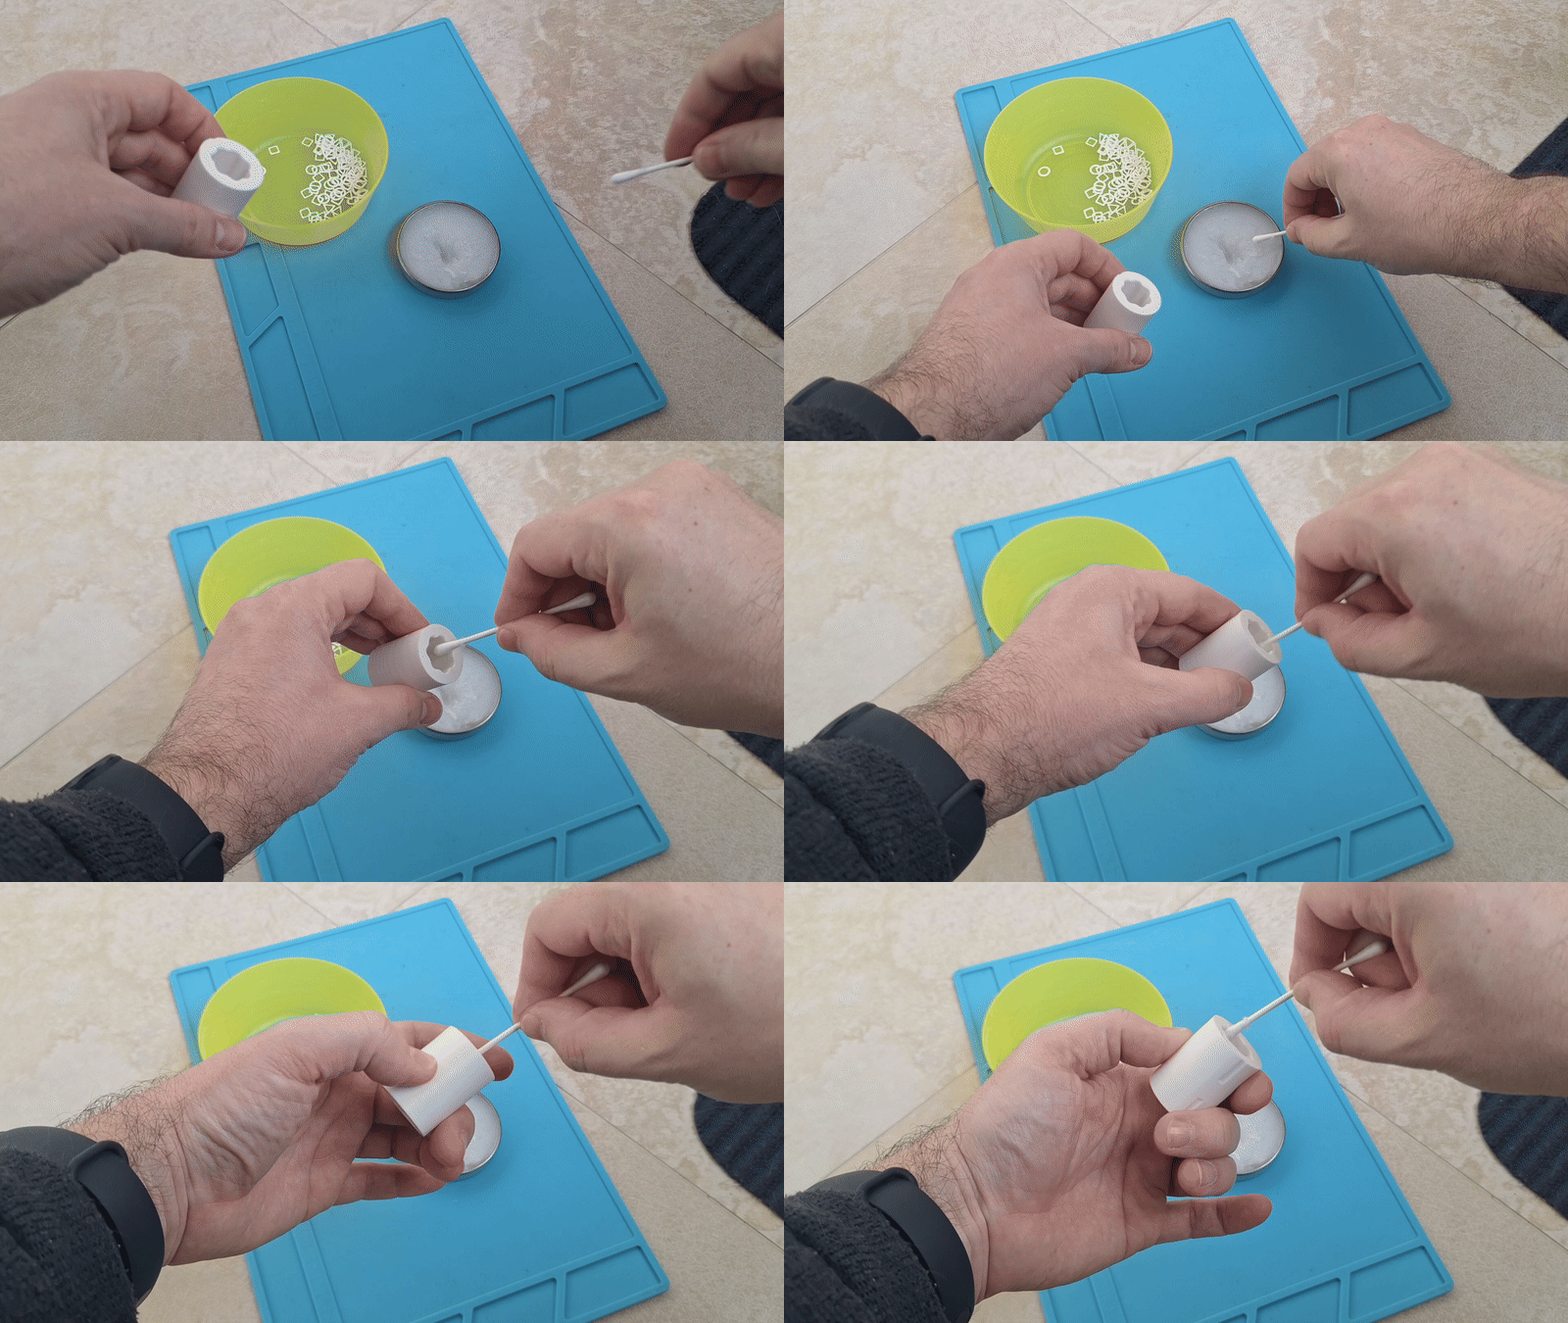
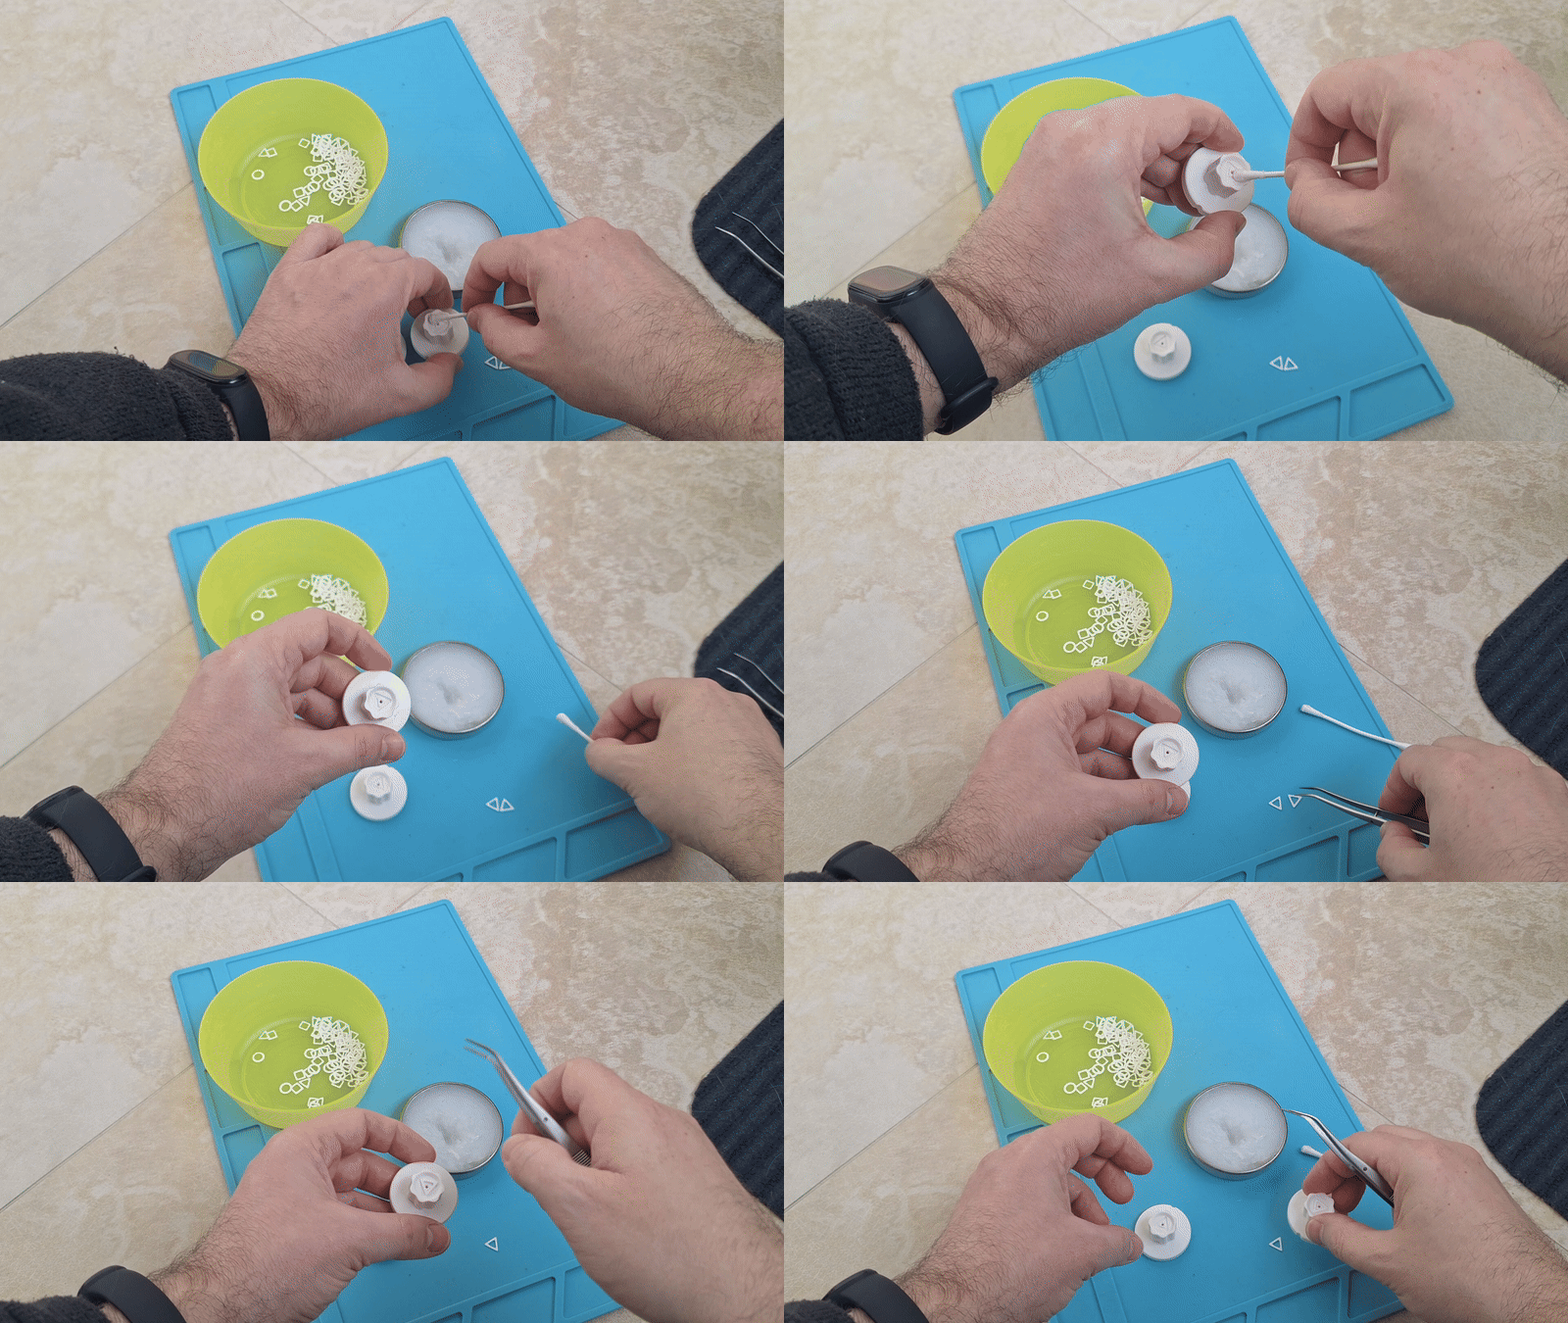
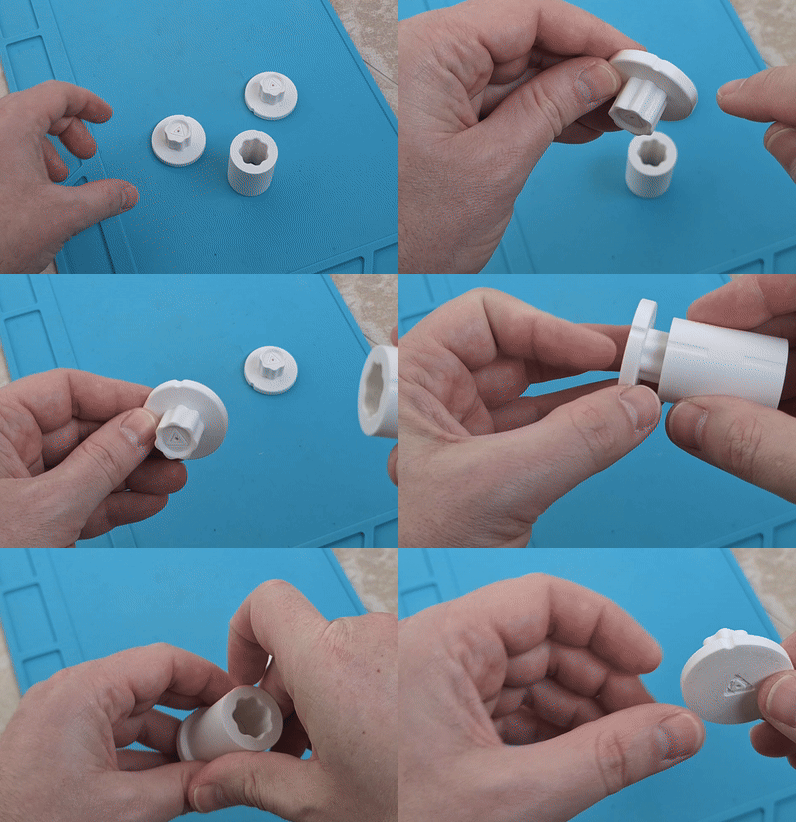
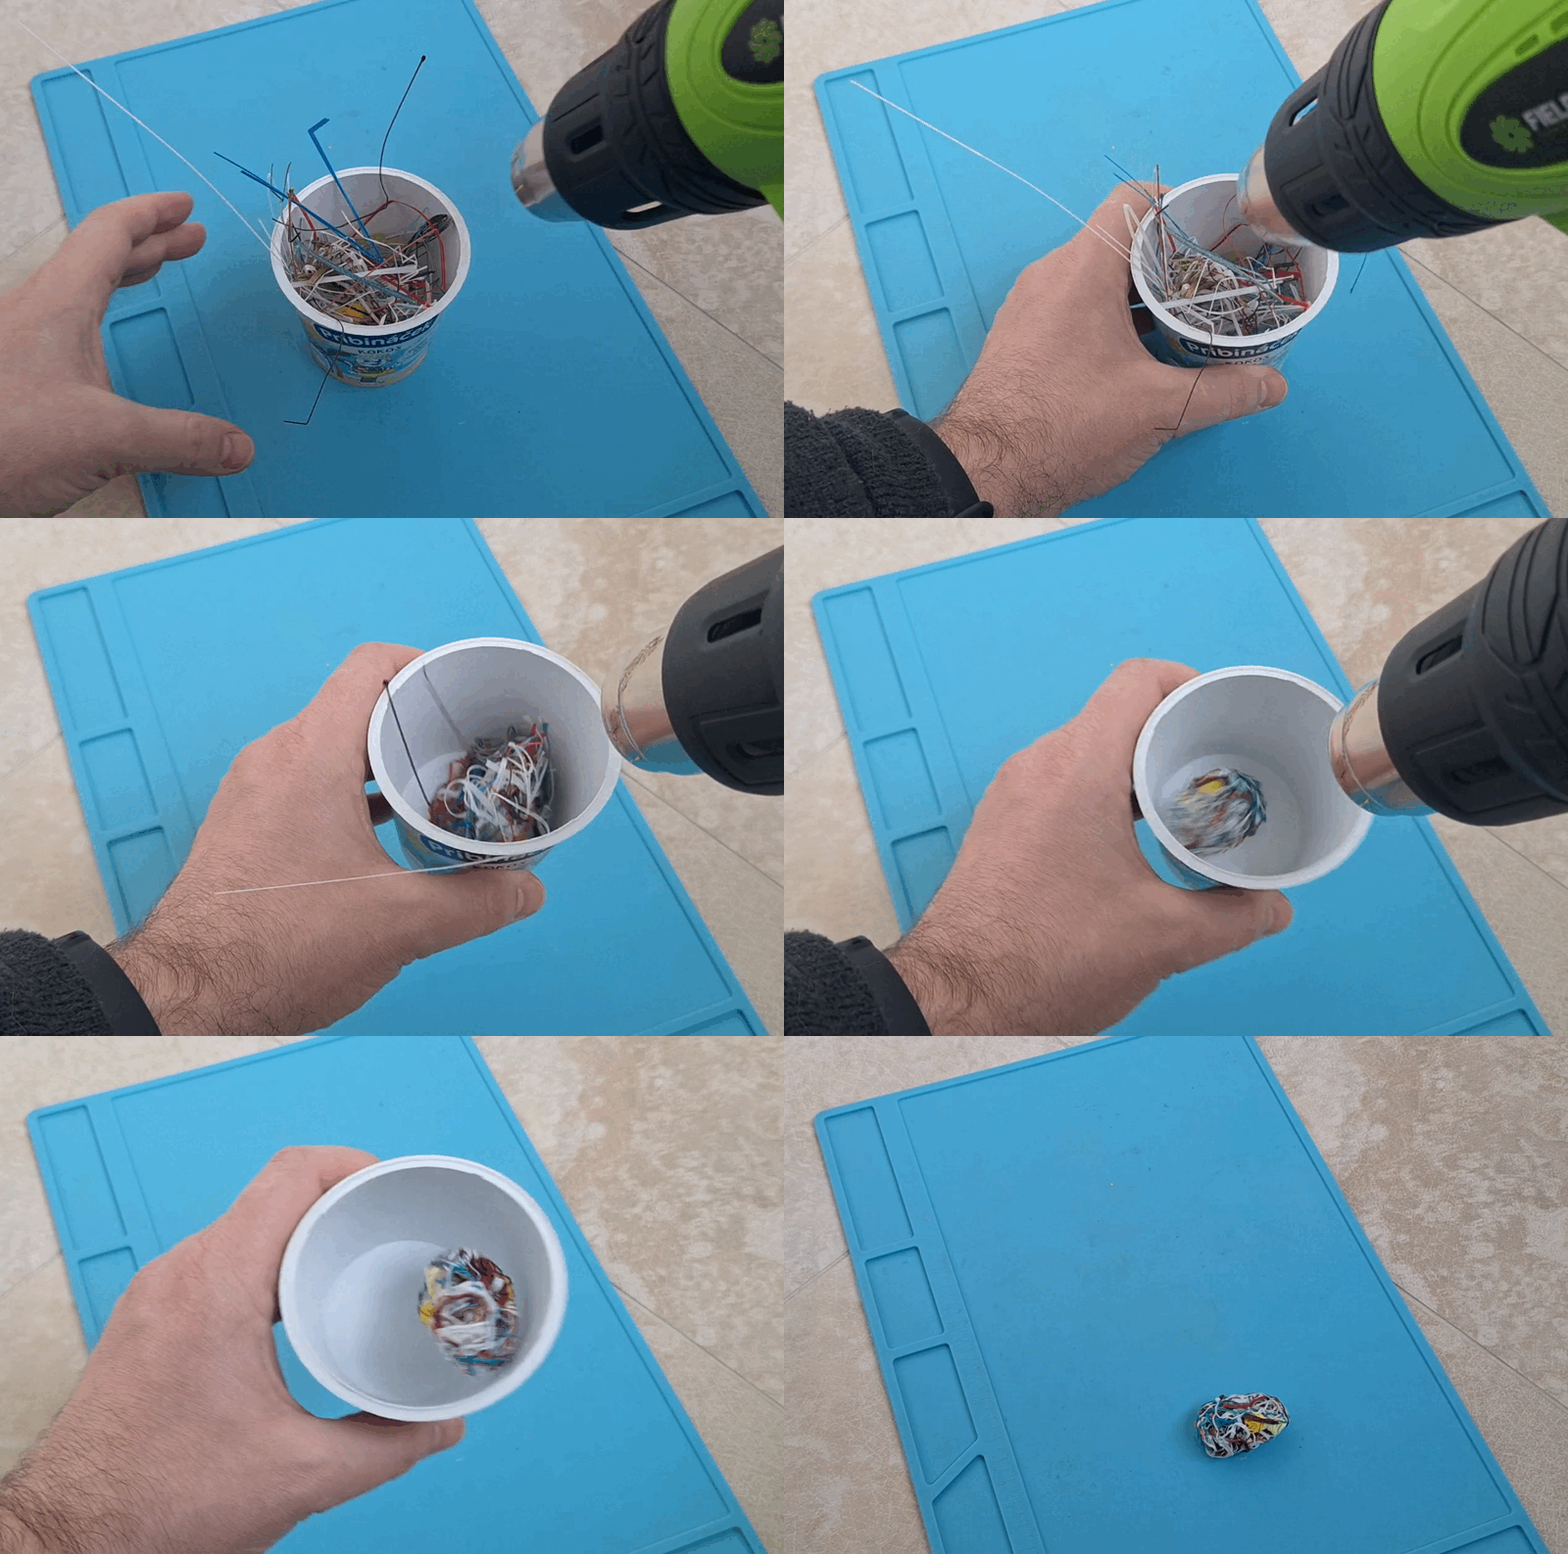
Detailed Production process step-by-step:
The process is very long, don't be discouraged :-) I want to describe it as accurately as possible so that you can work with the model easily.
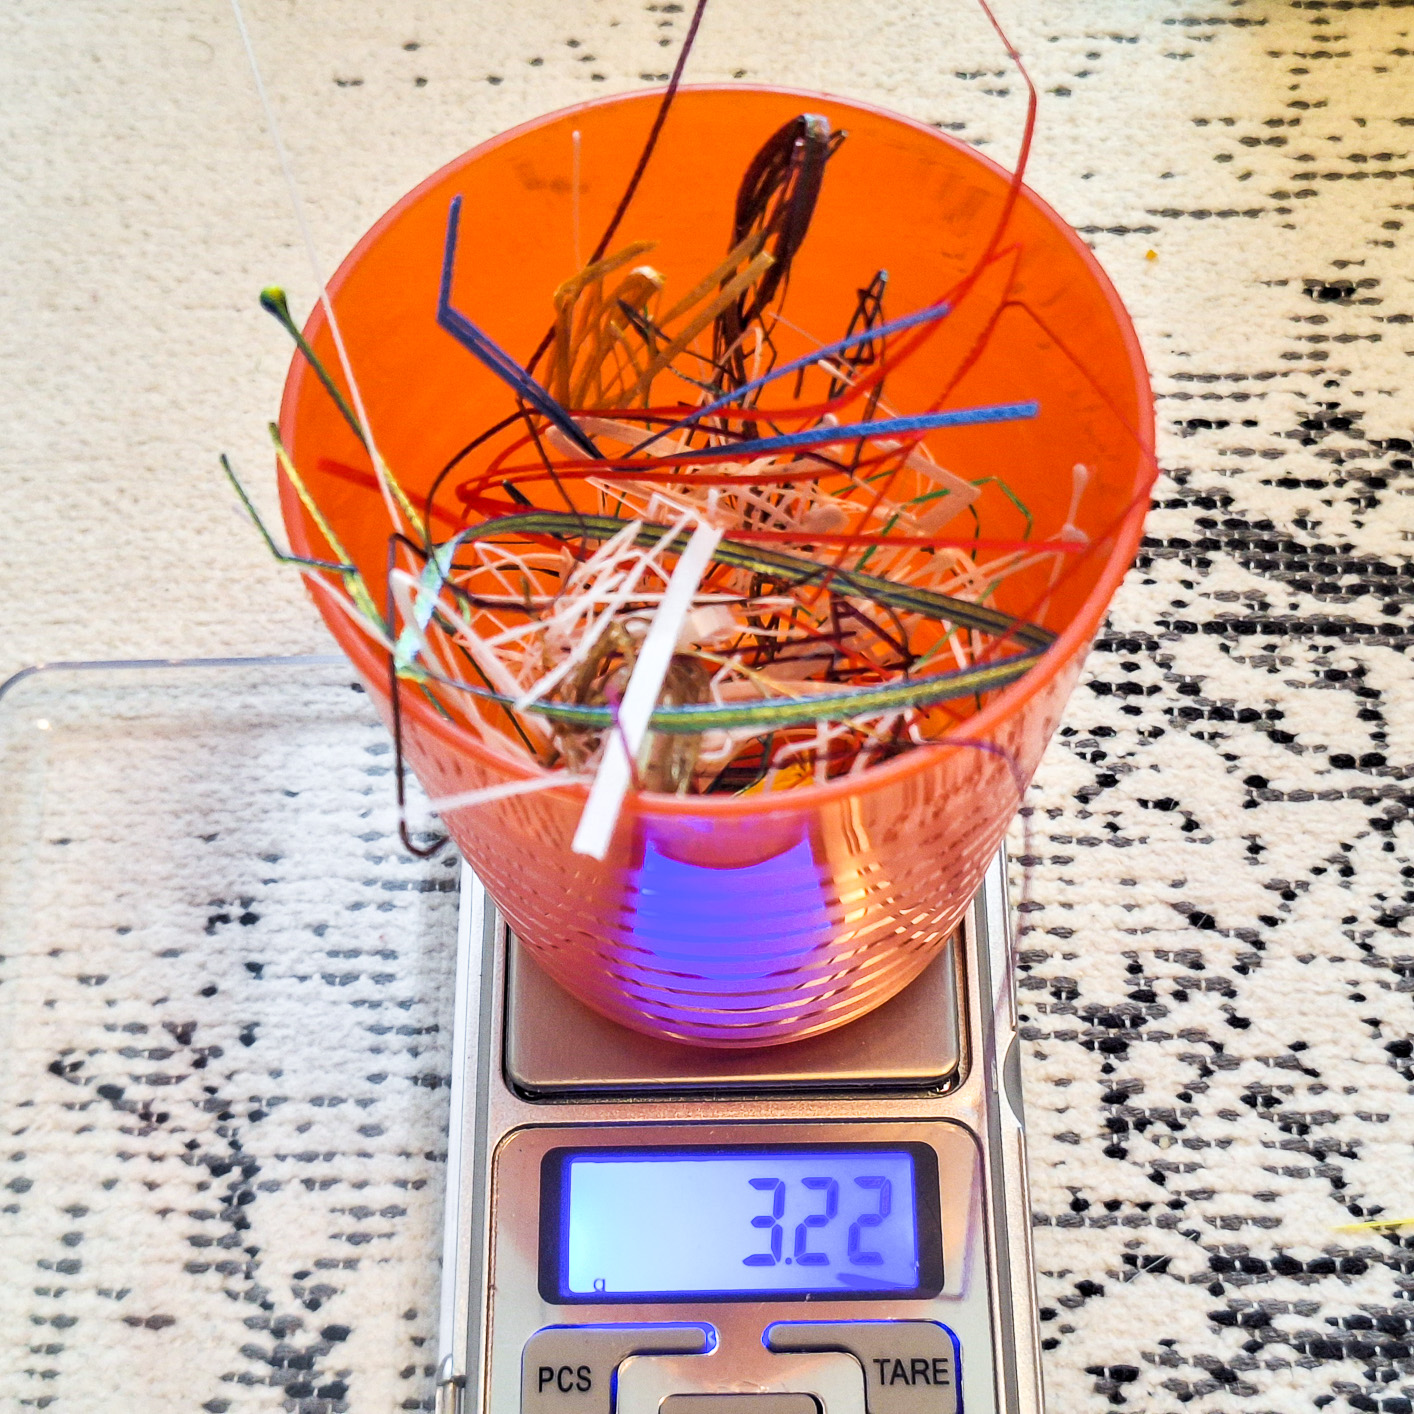
- Weigh about 3.2 grams PLA material. If there is less material, the Gonggi will not be beautiful, If there is more material, the Gonggi will be longer.
- Use Vaseline and coat the inner parts of the molds
- Insert the geometric shape (for experienced users only)
- Assemble the bottom part of the mold, align the parts according to the line
- Put 3.2 grams PLA waste into a yogurt jar
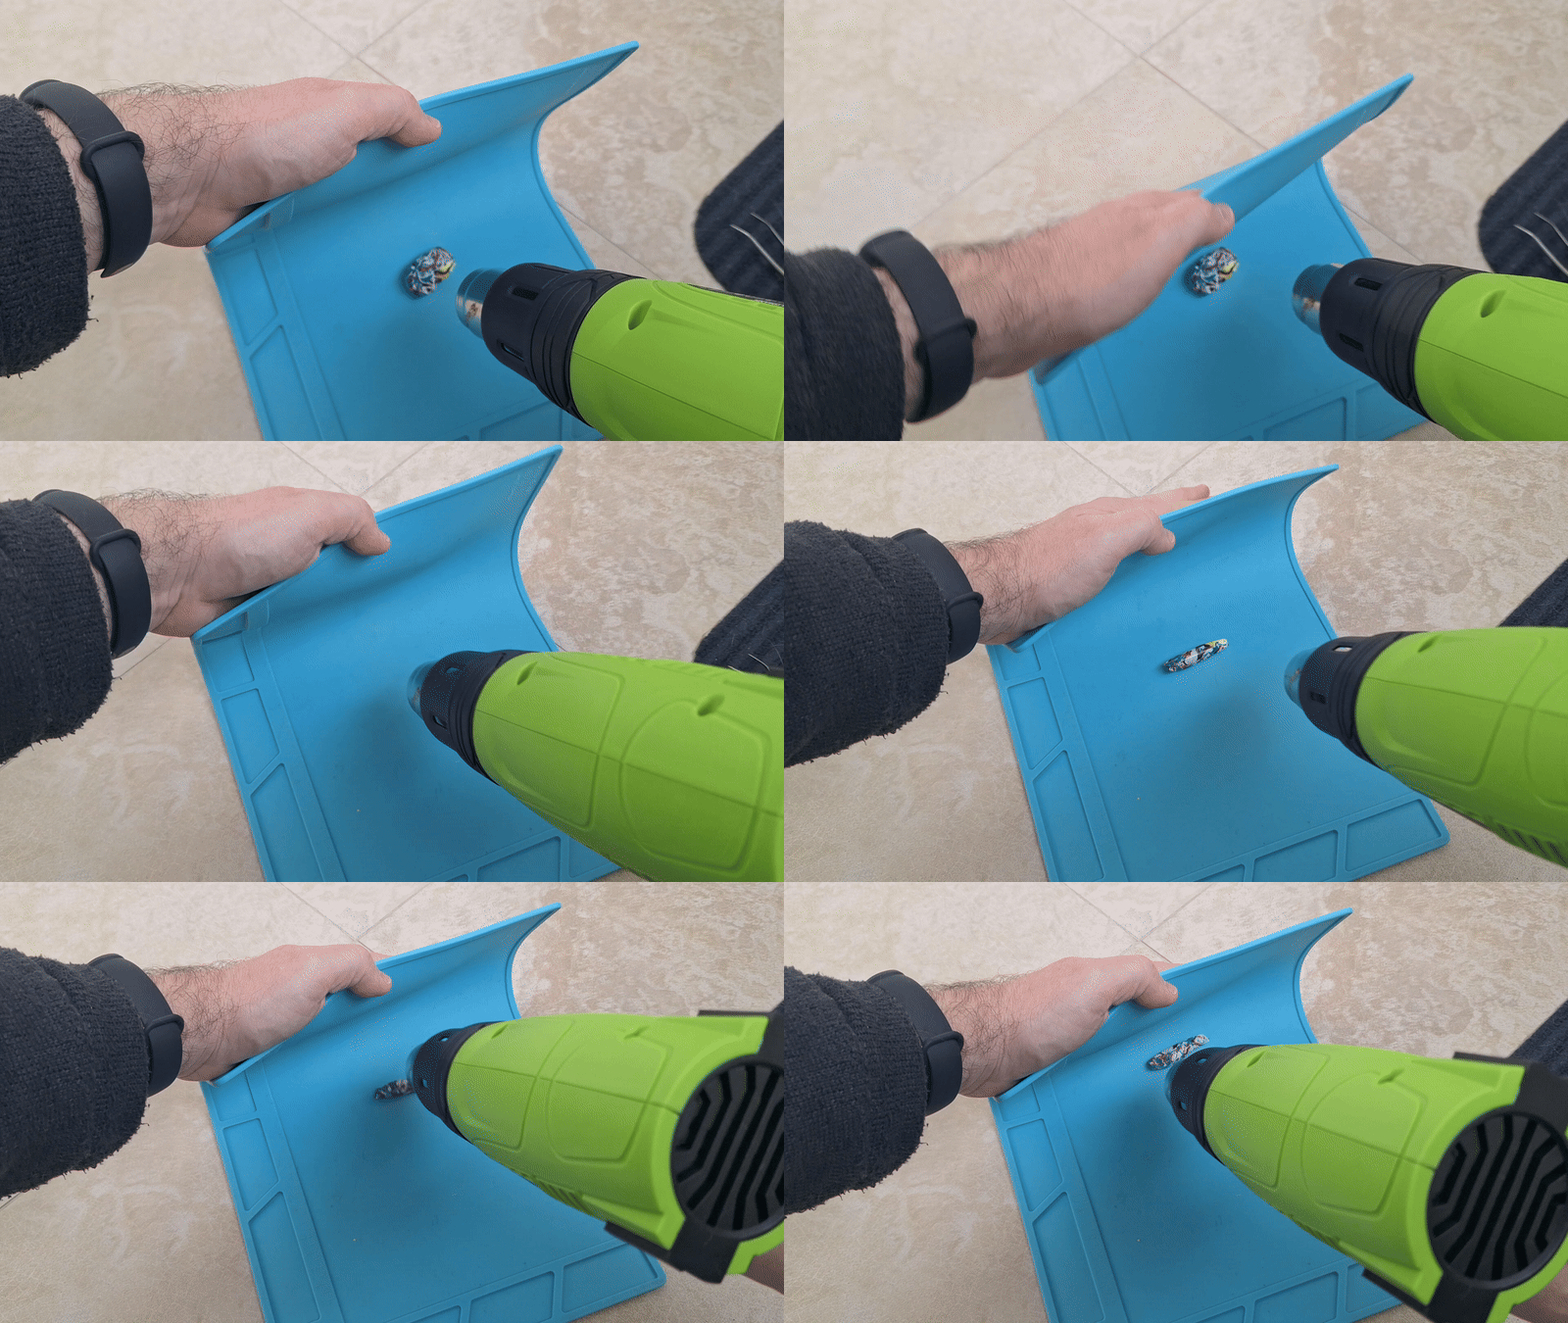
- This must be fast: (maximum 10 seconds). Use the first power level of the heating gun, direct the hot air into the jar. Shake the jar fast to prevent the material from sticking to the wall and as soon as the material sticks into a ball shape, pour it onto a silicone mat
- Lift the back of the silicone pad and heat the material.
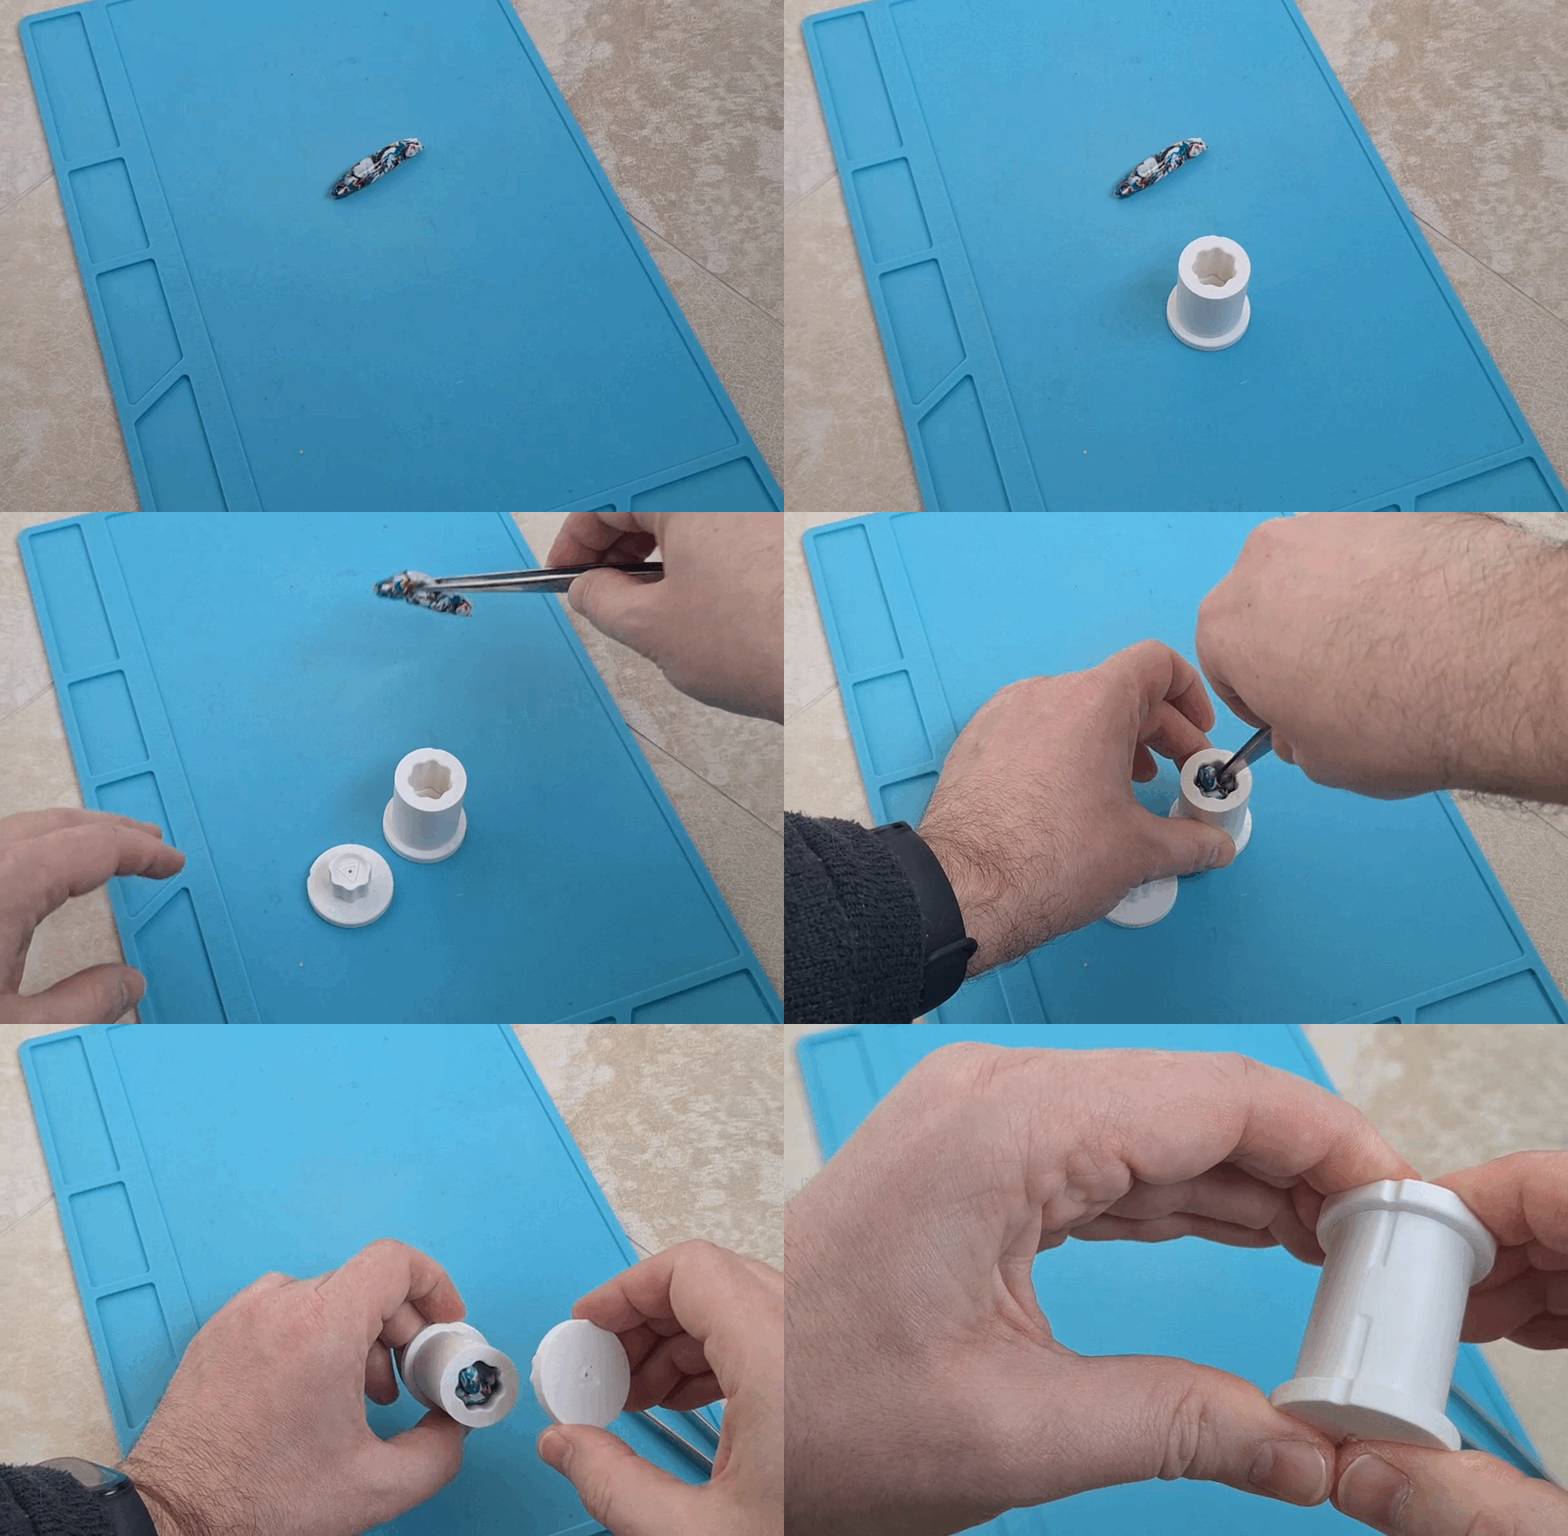
- Place the pad on the material and move it to create a groove. The material should not be completely liquid. If it starts to stick to the substrate, it is too warm.
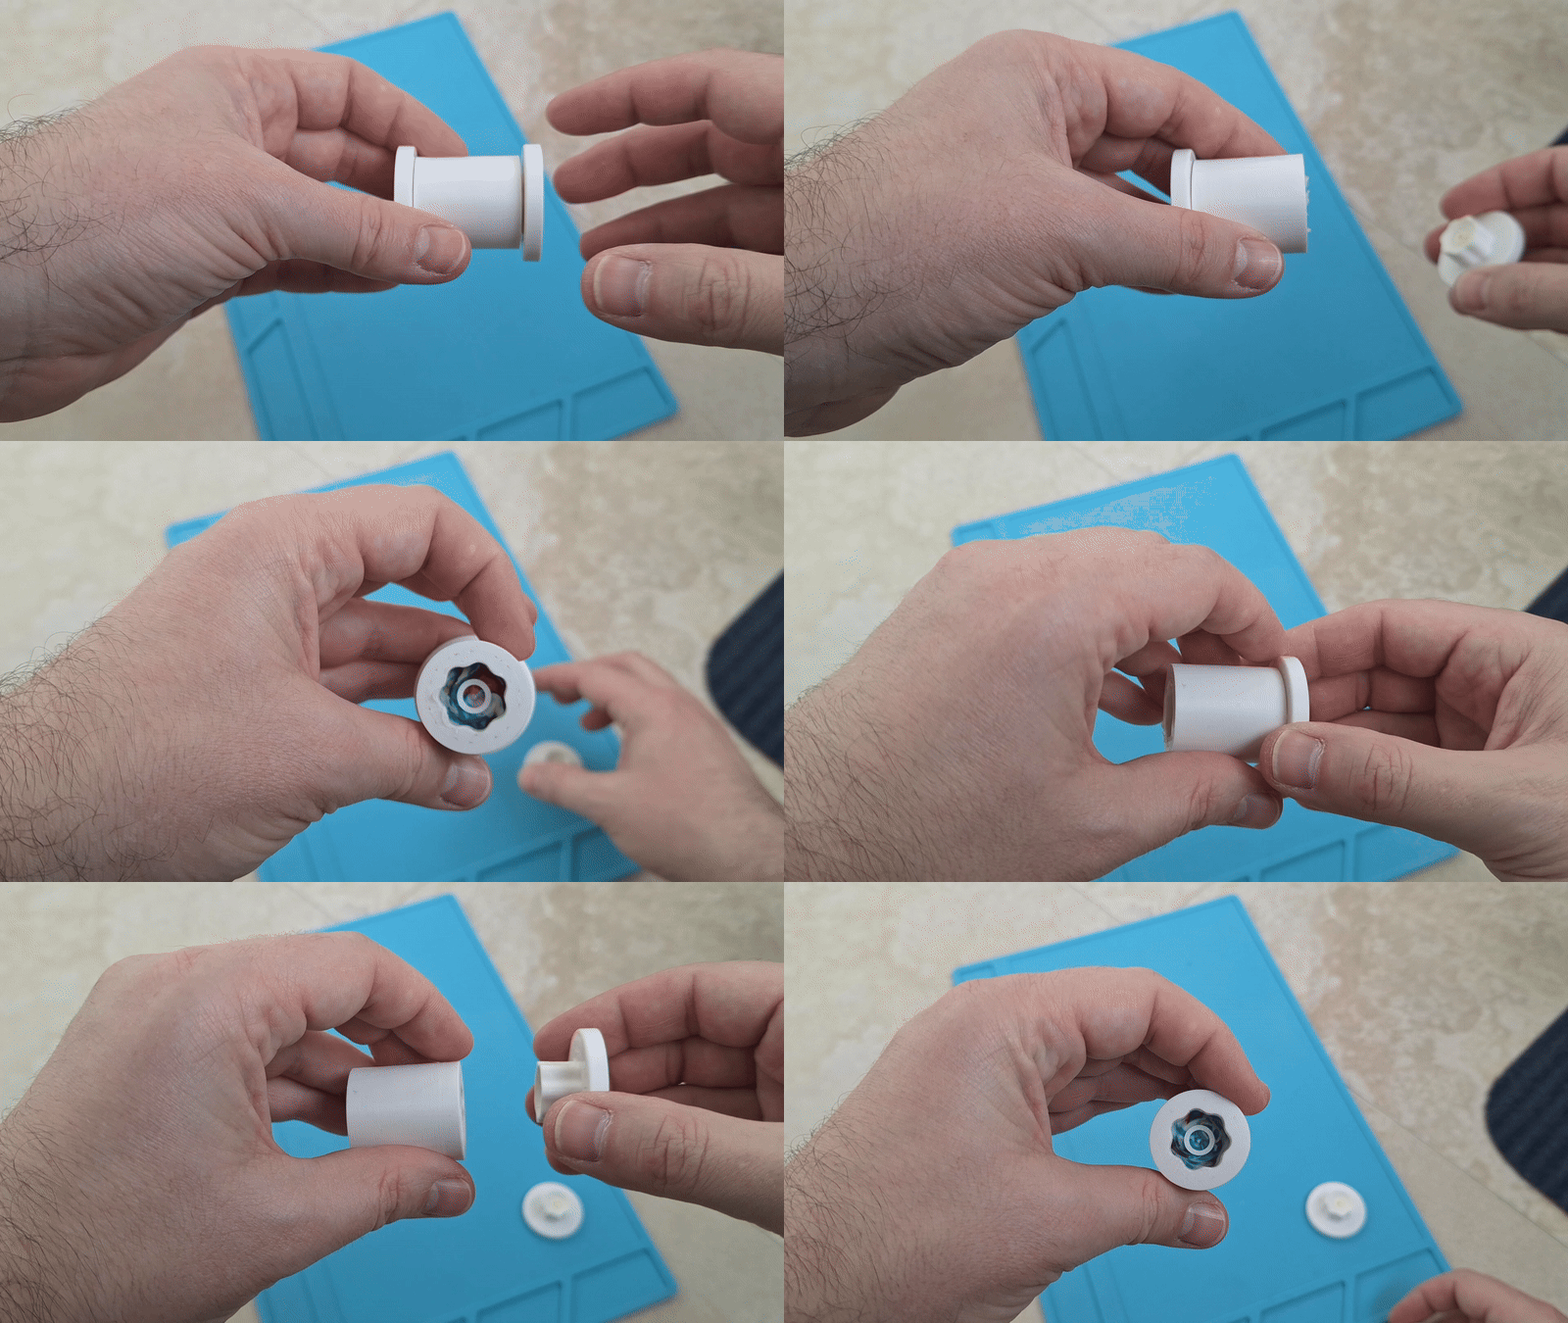
- Place the material in the mold, close it with the top part, using the alignment line. Press with full force.
- Do not open the mold for at least 2 minutes.
- After 2 minutes, you can carefully open the mold from both sides.
- If the Gonggi remains in the middle of the mold, let it cool opened for another 2 minutes.
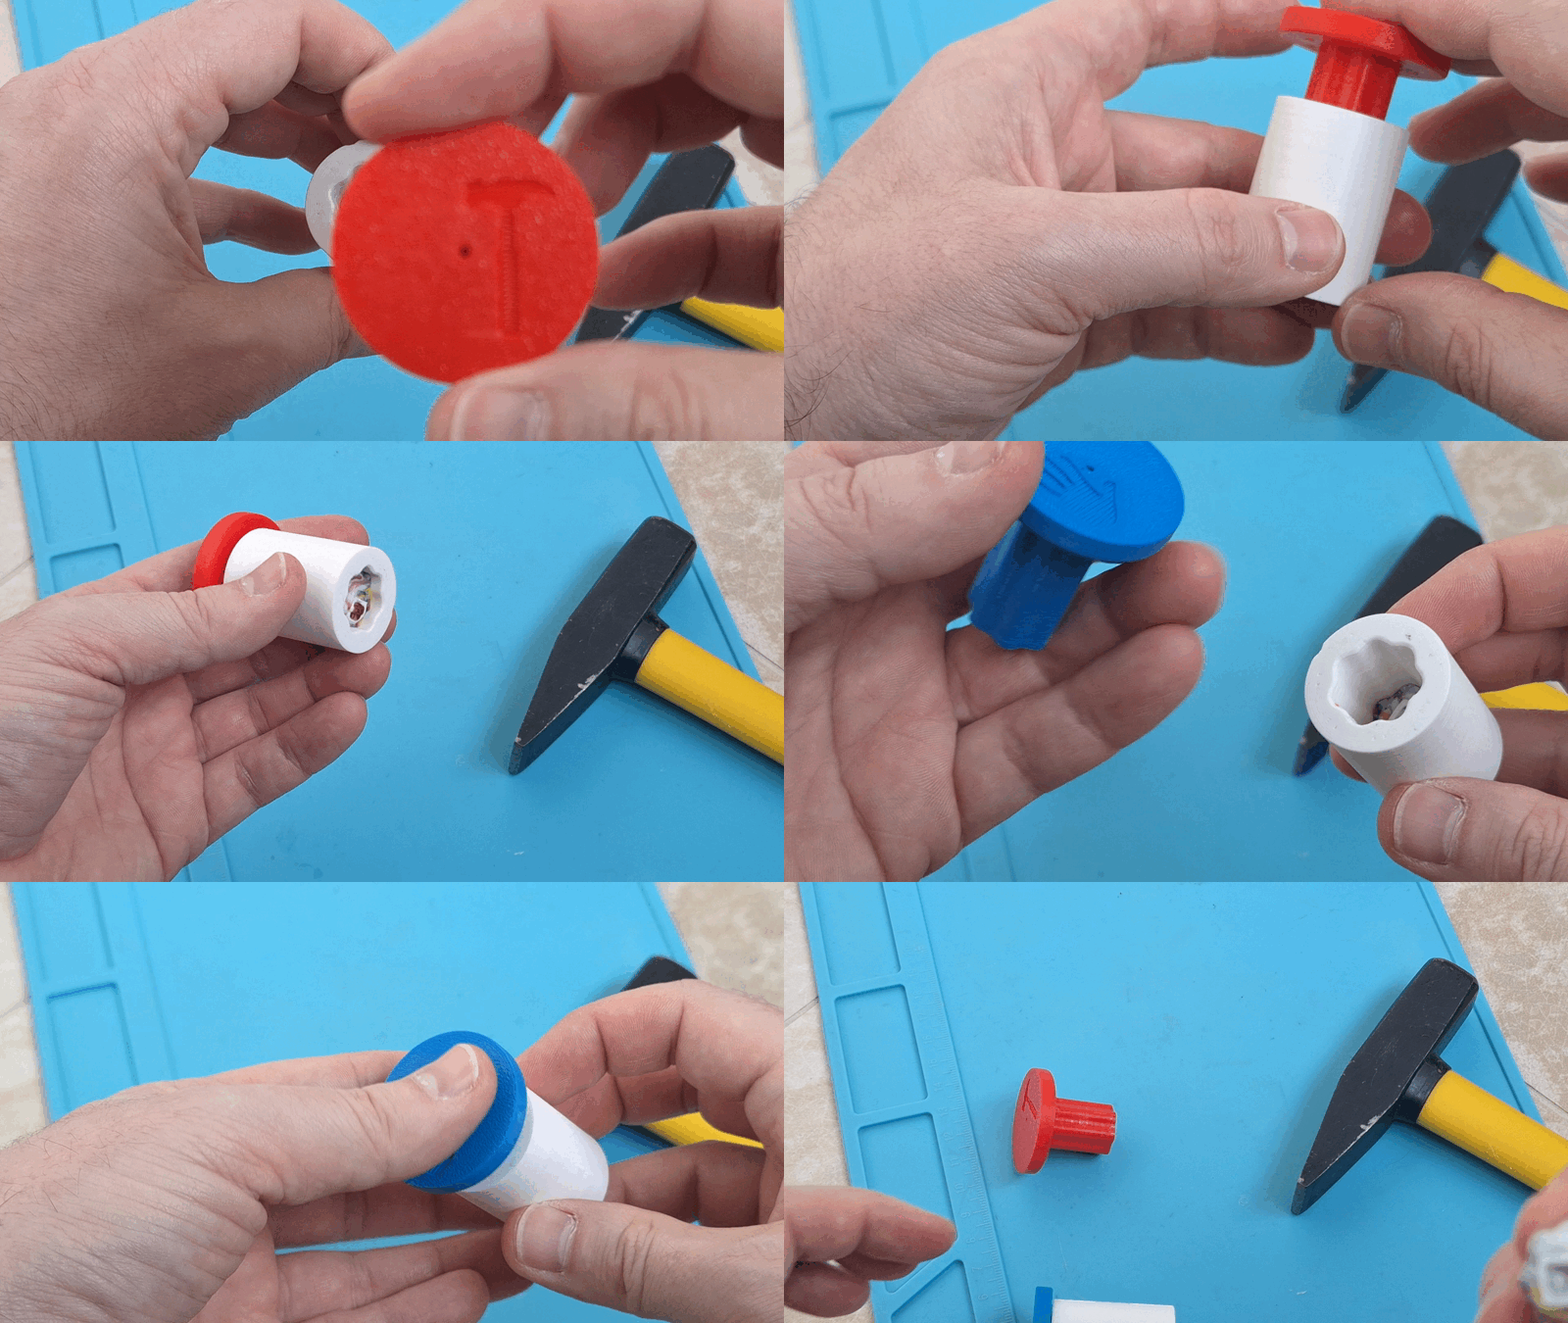
- Use the Hammer and Hand parts to remove the Gonggi from the mold.
- Clean the Gonggi of any remaining Vaseline
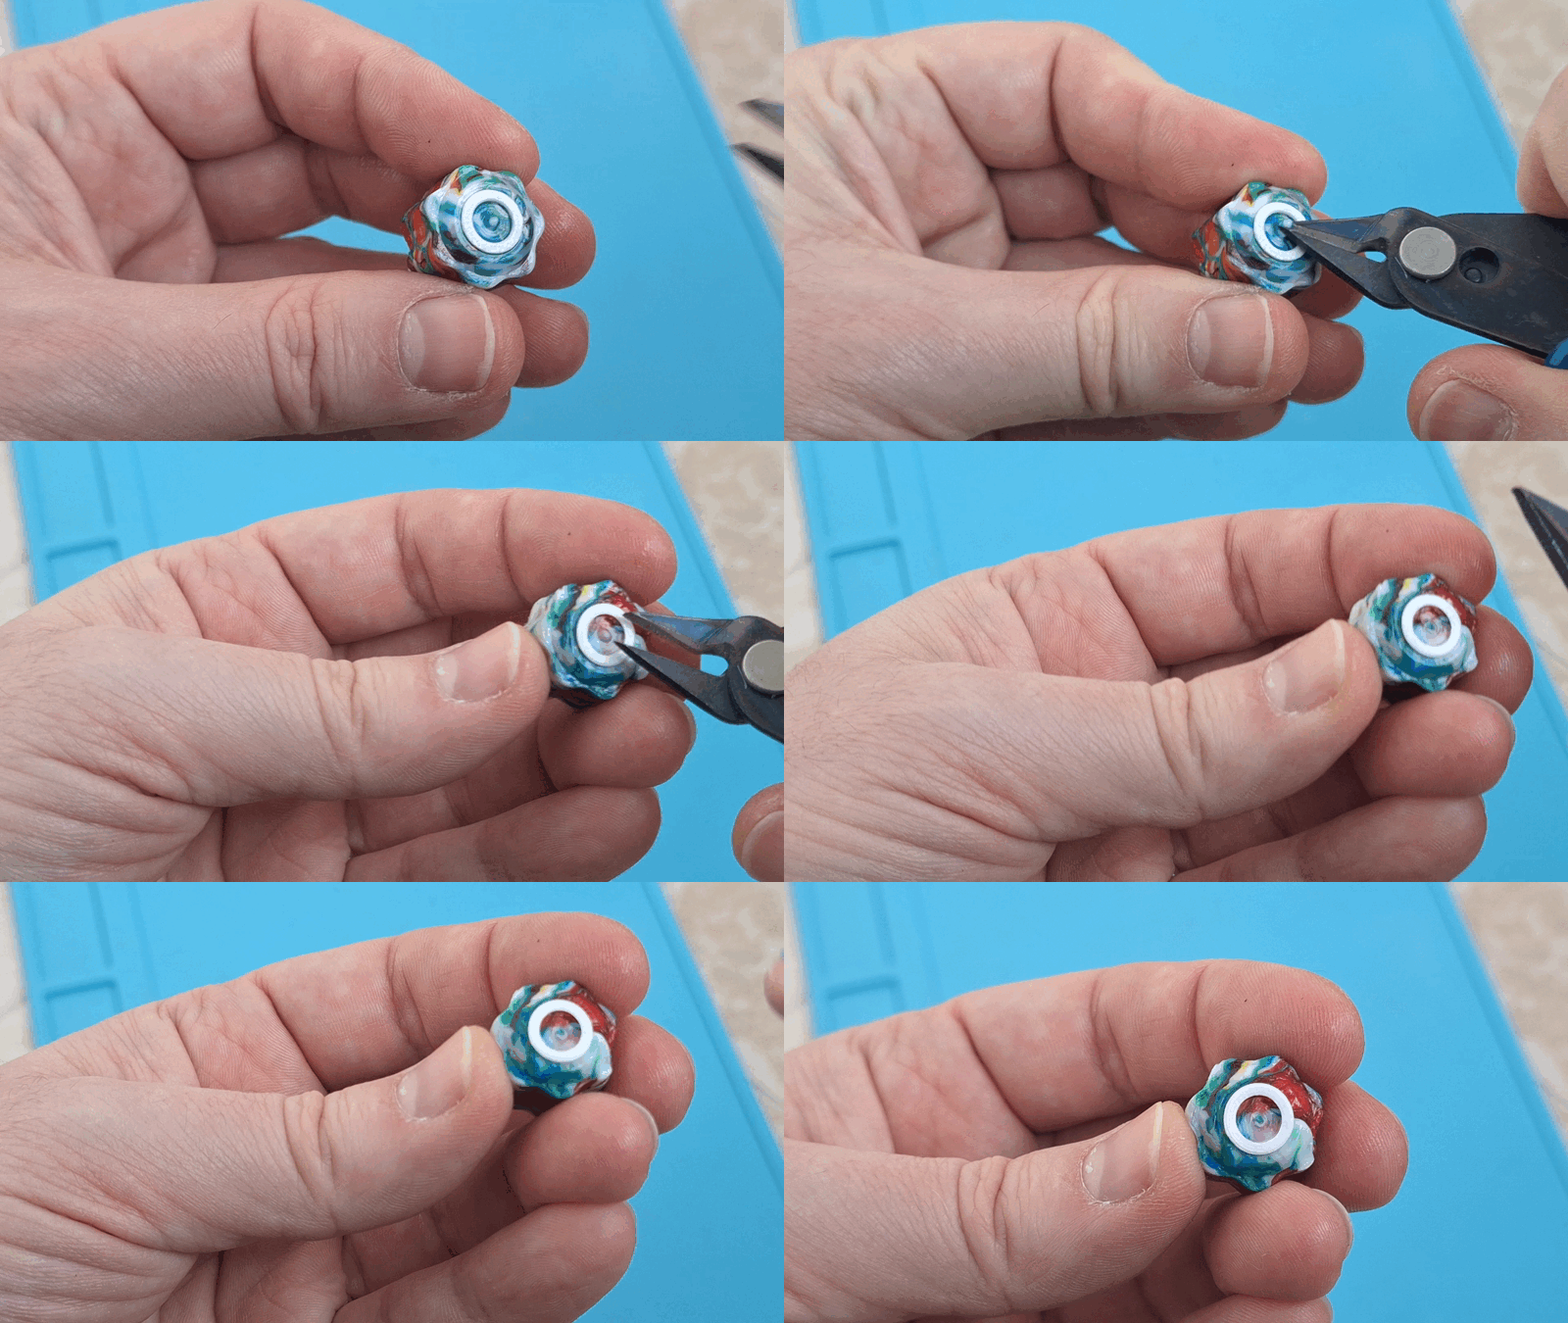
- Use the pliers to remove the pin.
Happy printing :-)
Tips and tricks
- As beautiful as 2-3-4 colored aesthetic silk filaments can be, they look bad after melting. When the colors are mixed, they usually look brown and ugly.
- Some silk materials melt faster and then tend to stick to the silicone matt. It can be used, but be prepared
- Before you start molding, clean the silicone mat and your entire work area thoroughly. If the melted material rolls anywhere, it will stick to all the dirt and it will be on the surface of the resulting Gonggi. It doesn't look good.
- If you are going to use geometric shape insertion, please follow the instructions: - insert geometric shapes into the mold prepared with Vaseline. Vaseline will hold the shape in place - If there is a geometric shape in the mold, insert the molten material on the first try. When you move the molten material further, the geometric shape will stick to it and move.
- I made Gonggi with my 10-year-old daughter. She prepared the mold, inserted geometric shapes and pulled out the finished Gonggi. I operated the heat gun. It was a great collaboration.
Design by Frantisek23 on MakerWorld (license: BY-SA).