

5015 Blower HEPA Exhaust for Voron 0.2


5015 Blower HEPA Exhaust for Voron 0.2
- Made to order — 3D printed after you buy
- Free shipping on orders over $25
- Quality checked before it ships
- Questions? Contact us · Returns
This model adapts RagingRoosevelt's Voron Trident exhaust to fit the V0.2 with 100mm top-hat. Air exhausted from the chamber is passed through a HEPA filter, but not through an activated carbon layer, so it is recommended to pair this with a recirculating air-scrubber like the Zerofilter.
Exterior dimensions are mostly preserved from the original. BOM (including the iRobot Roomba 800/900 series vacuum filter) is very similar, except for:
- 4x M3x8 FHCS are now needed (8mm length instead of 6mm)
- 2x M3x6 BHCS + 2x M3 nuts (optional)
In order for the lever arm to open fully and eject the filter without colliding with the top-hat hinge, the exhaust must be mounted (a) at the back right of the top-hat in its original orientation or (b) at the back left in a 180-degree-rotated orientation.
The latter is my preference and what I have referred to as the Standard option in the organization of the files. The back left position is compatible with an adjusted version of the URBI mod from Maple Leaf Makers. I don't have a CAD file for the URBI-SFS2, but I have included the modified STL file that I patched together in 3D Builder (the SFS2 mount and PTFE pass-through hole have both been shifted over by 16mm and a notch has been added for fan wire routing).
In either case, the fan lid component needed to be shortened to allow the top-hat to open to 90 degrees.
Printed Parts
Choose standard or alternate orientation according to PTFE tube routing on your printer. Print 1x each of the following in ABS/ASA.
- Mounting Panel
- Filter Inlet Duct
- Filter Housing
- Filter Lever
- Fan Duct
- Fan Lid
Voron PIF spec (4 perimeters, 5 top/bottom layers, 40% infill) is recommended for the mounting panel. The other parts need not be so sturdy.
Assembly
- Follow steps #2-8 from the original model.
- Remove acrylic panel from the back of the top-hat.
- Apply 5mm x 1mm foam tape to the printed panel.
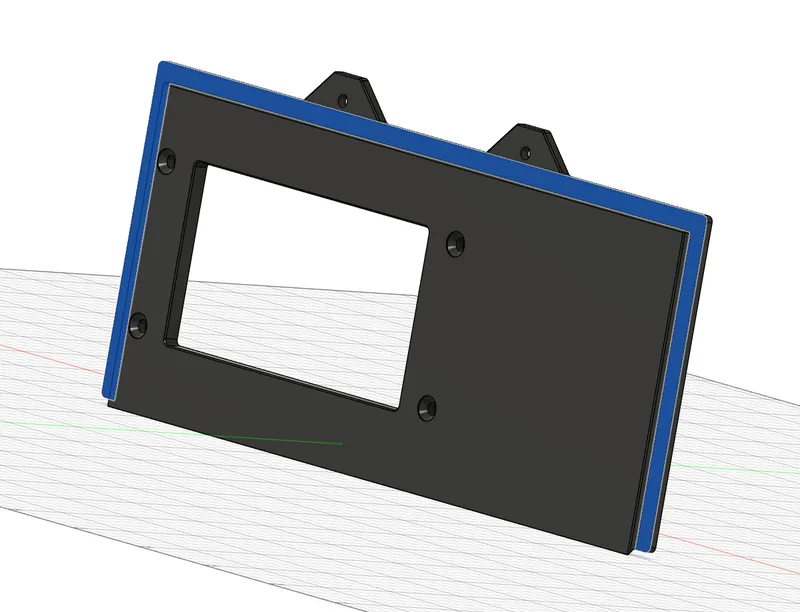
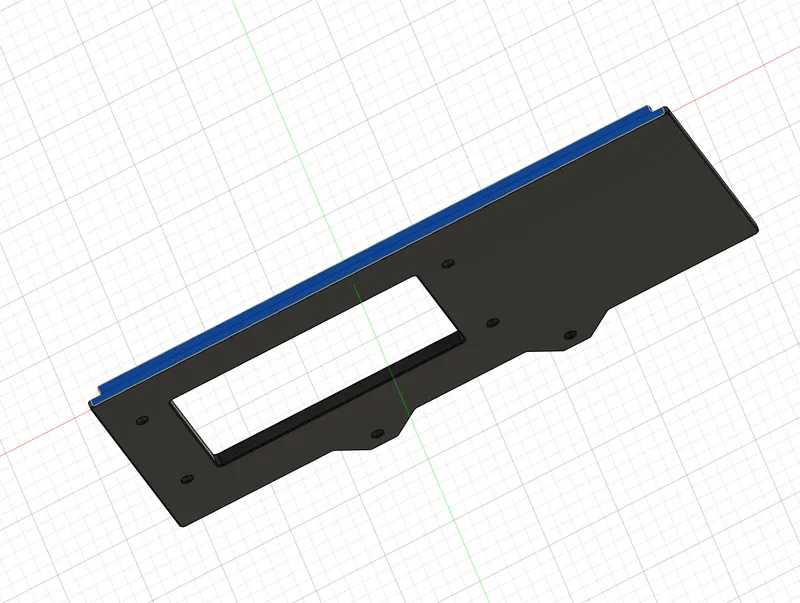
- Install the replacement panel behind the original clips and hinges.
- (Optional) since the printed panel is not as stiff as the acrylic, adding a couple of M3x6 BHCS through the tabs at the top can help to seal the panel to the frame. This does require adding a couple of M3 nuts, either by using 1515-compatible drop-in nuts or slightly disassembling the top-hat to slide in regular nuts.
- Align the housing with the panel and attach with 4x M3x8 FHCS.
- Run the fan wire straight down the back of the printer and into the electronics bay.
- Conclude with steps #13-16 from the original model.
Design by cliftoce on MakerWorld (license: BY-SA).