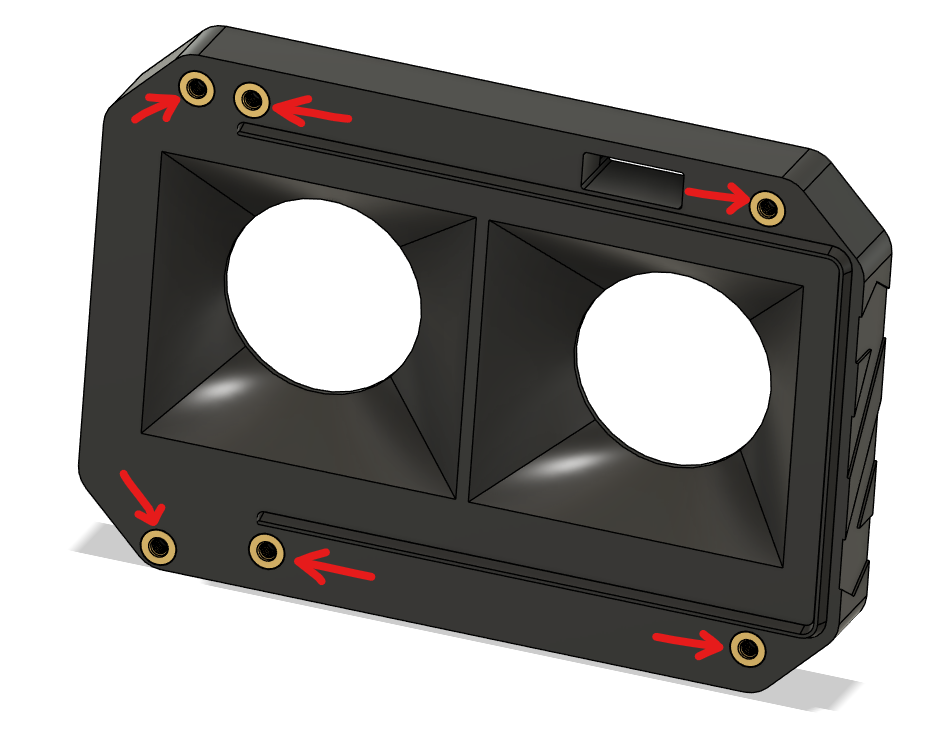
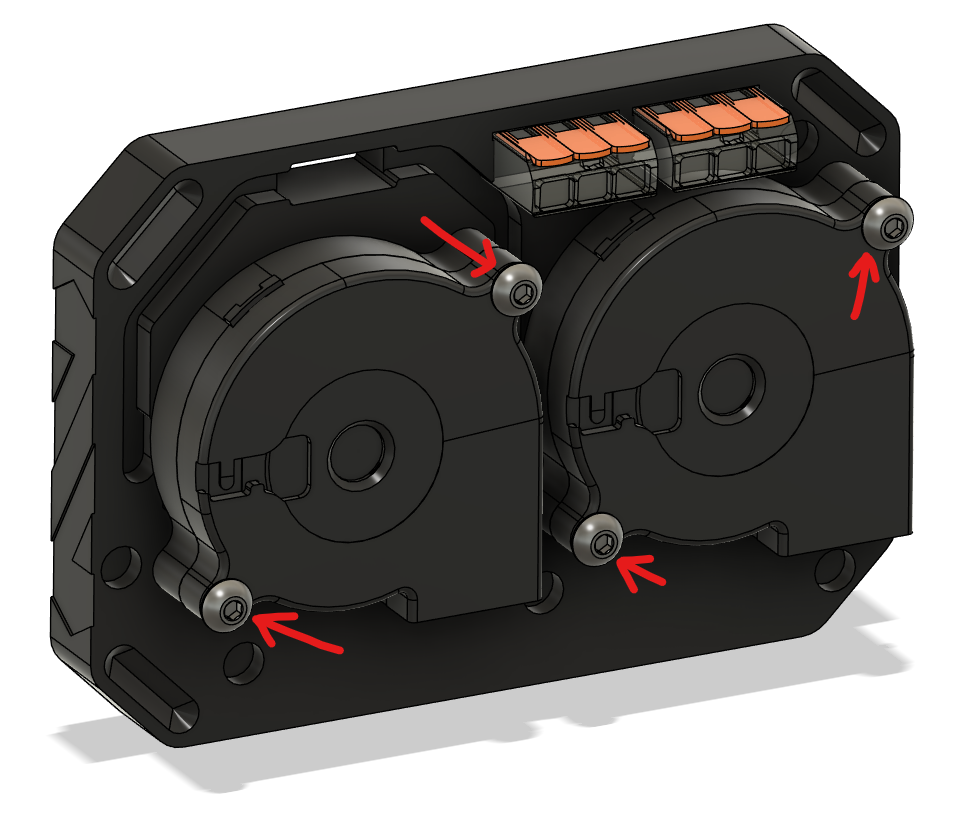
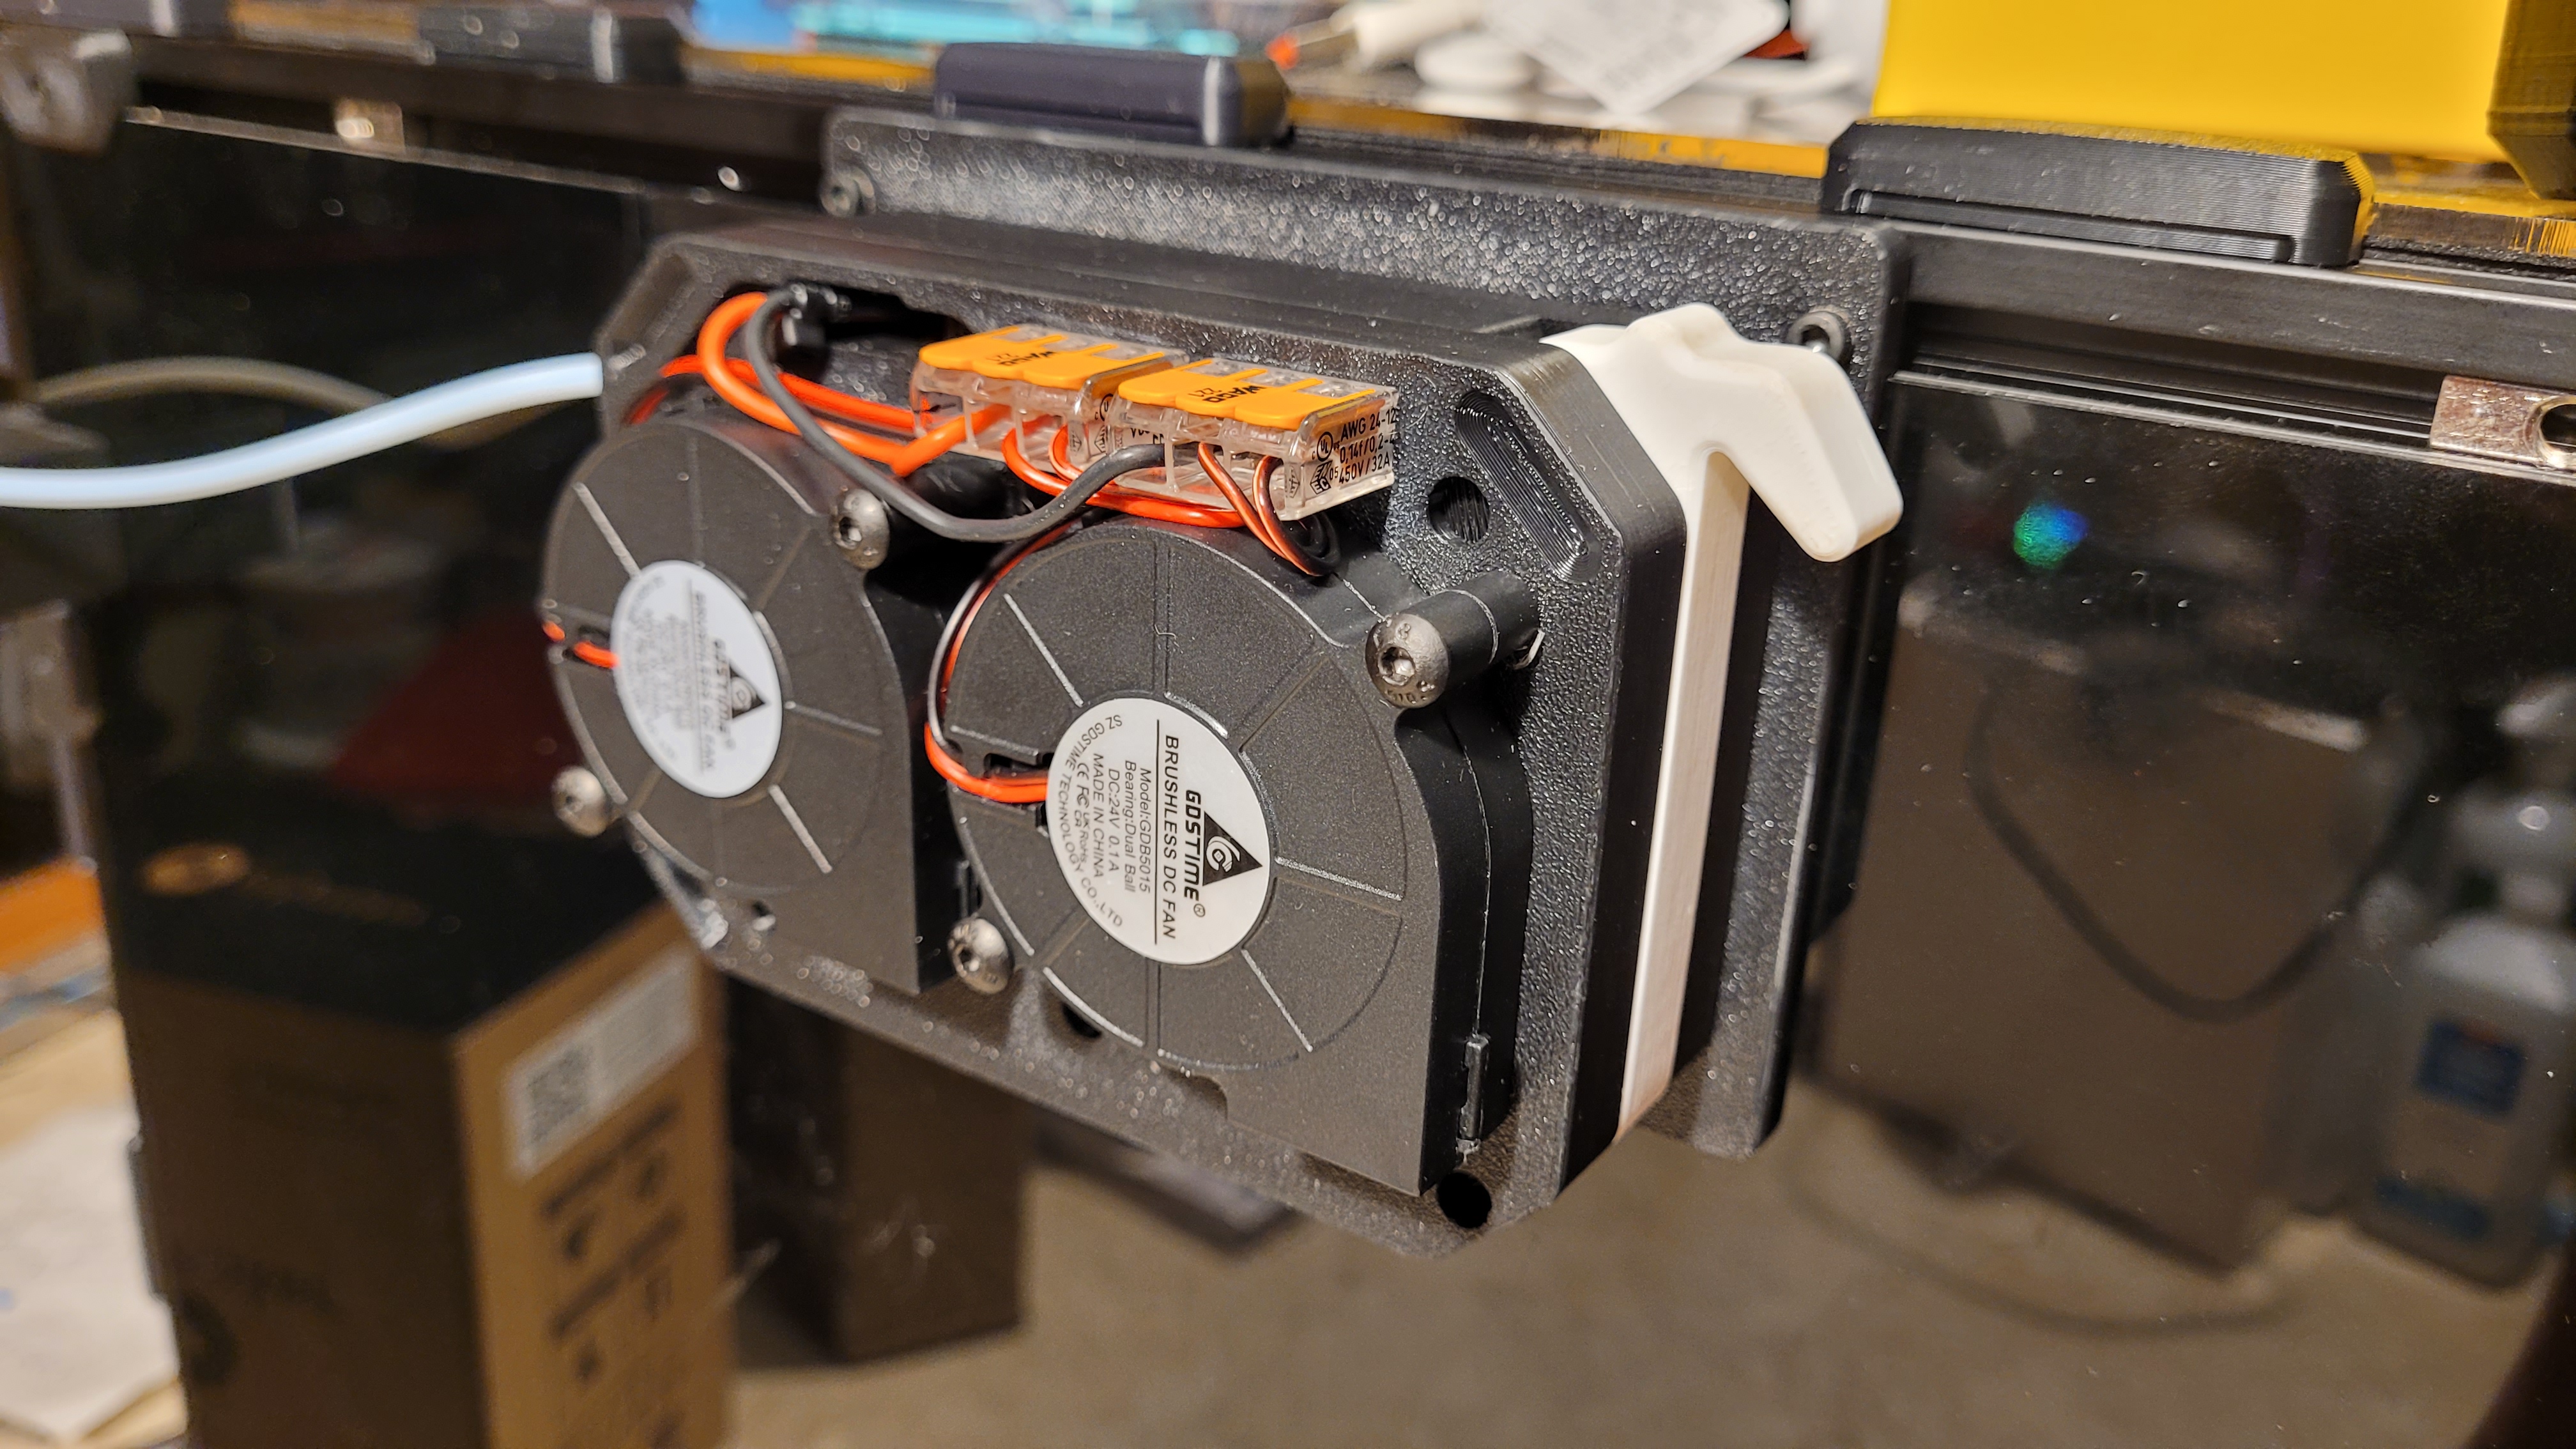
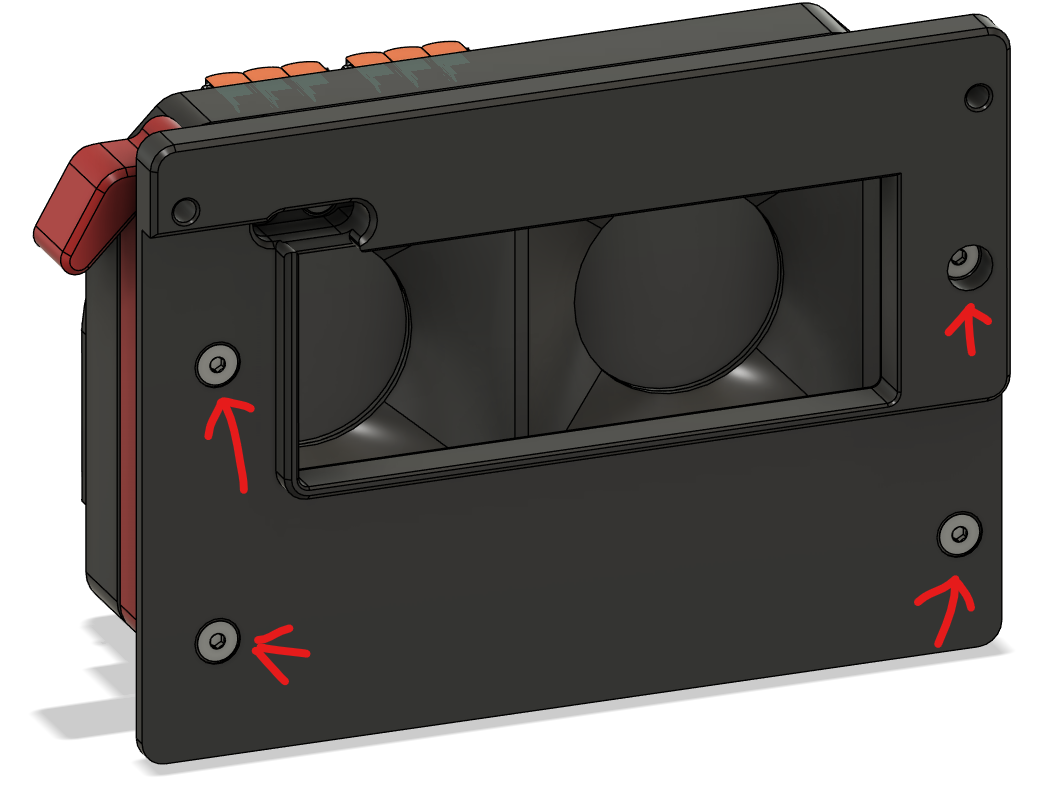
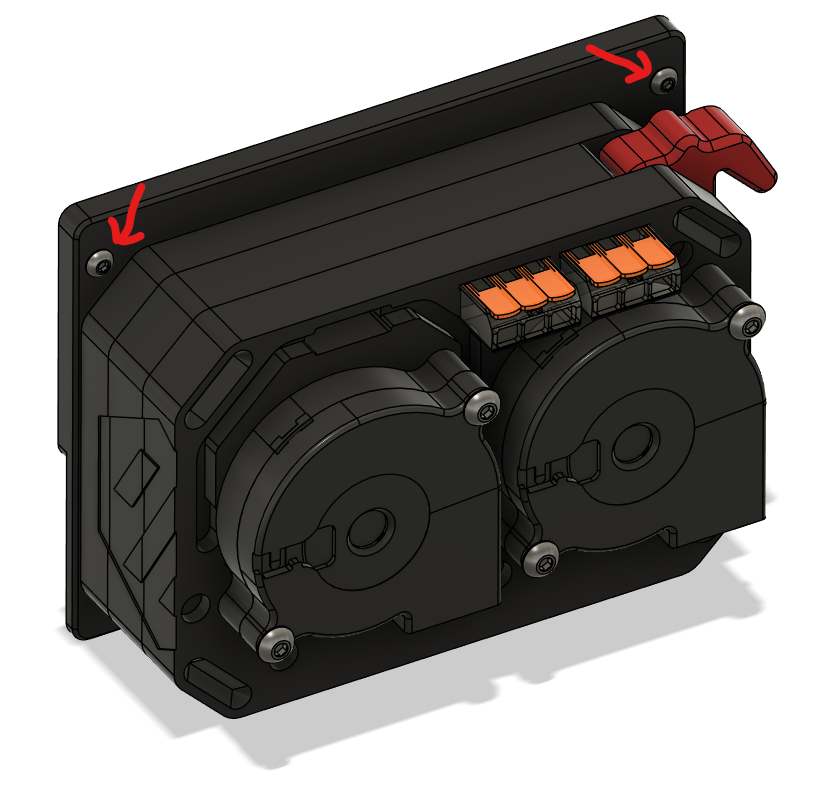
Use 4x M4x20 bolts to bolt the 5015 blower fans to the fan duct
Mount the Wago 221-413 lever nuts into the sockets
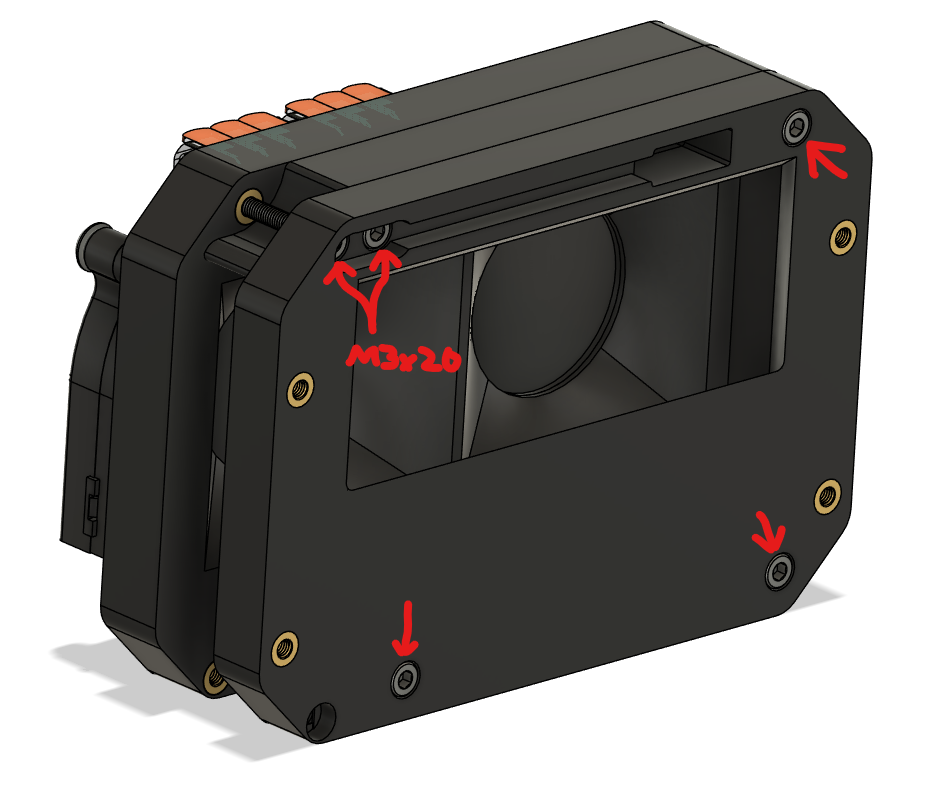
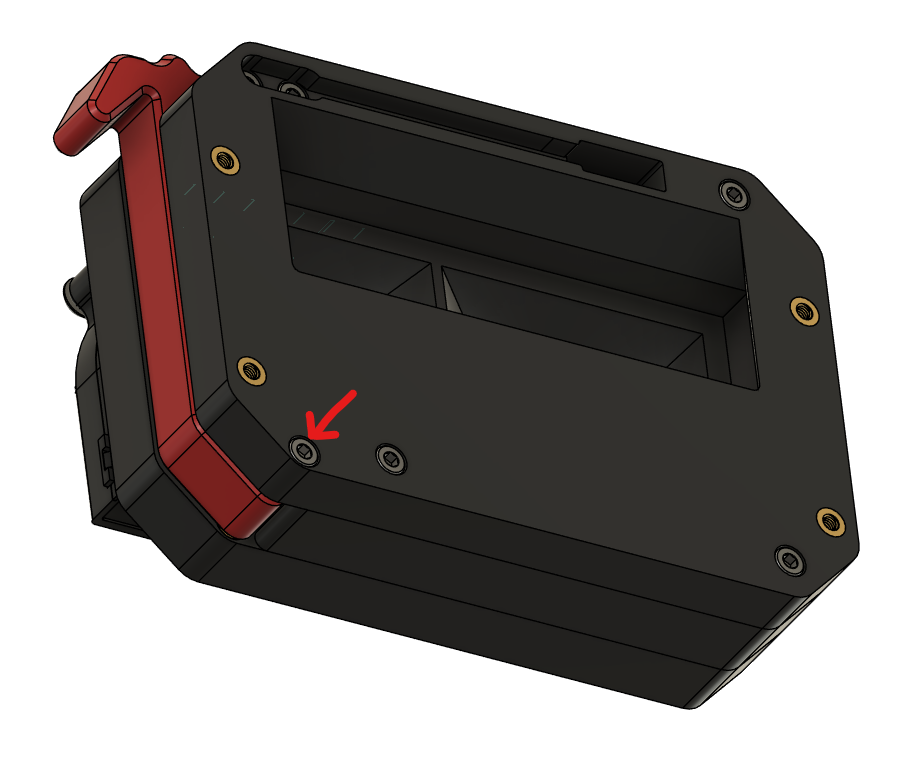
Stack the filter housing, and filter inlet duct onto the fan duct, then bolt three of the M3x25 and both of the M3x20 SHCS bolts in to hold the sandwich together, leaving the left M3x20 a bit loose
Position the hole in the filter housing lever in line with the remaining hole in the filter inlet duct and then install the remaining M3x25 SHCS
Cut the motor wires, connect them to the Wago connectors (pairs of black to one connector, pairs of red to the other), make sure the bundle will fit under the fan lid
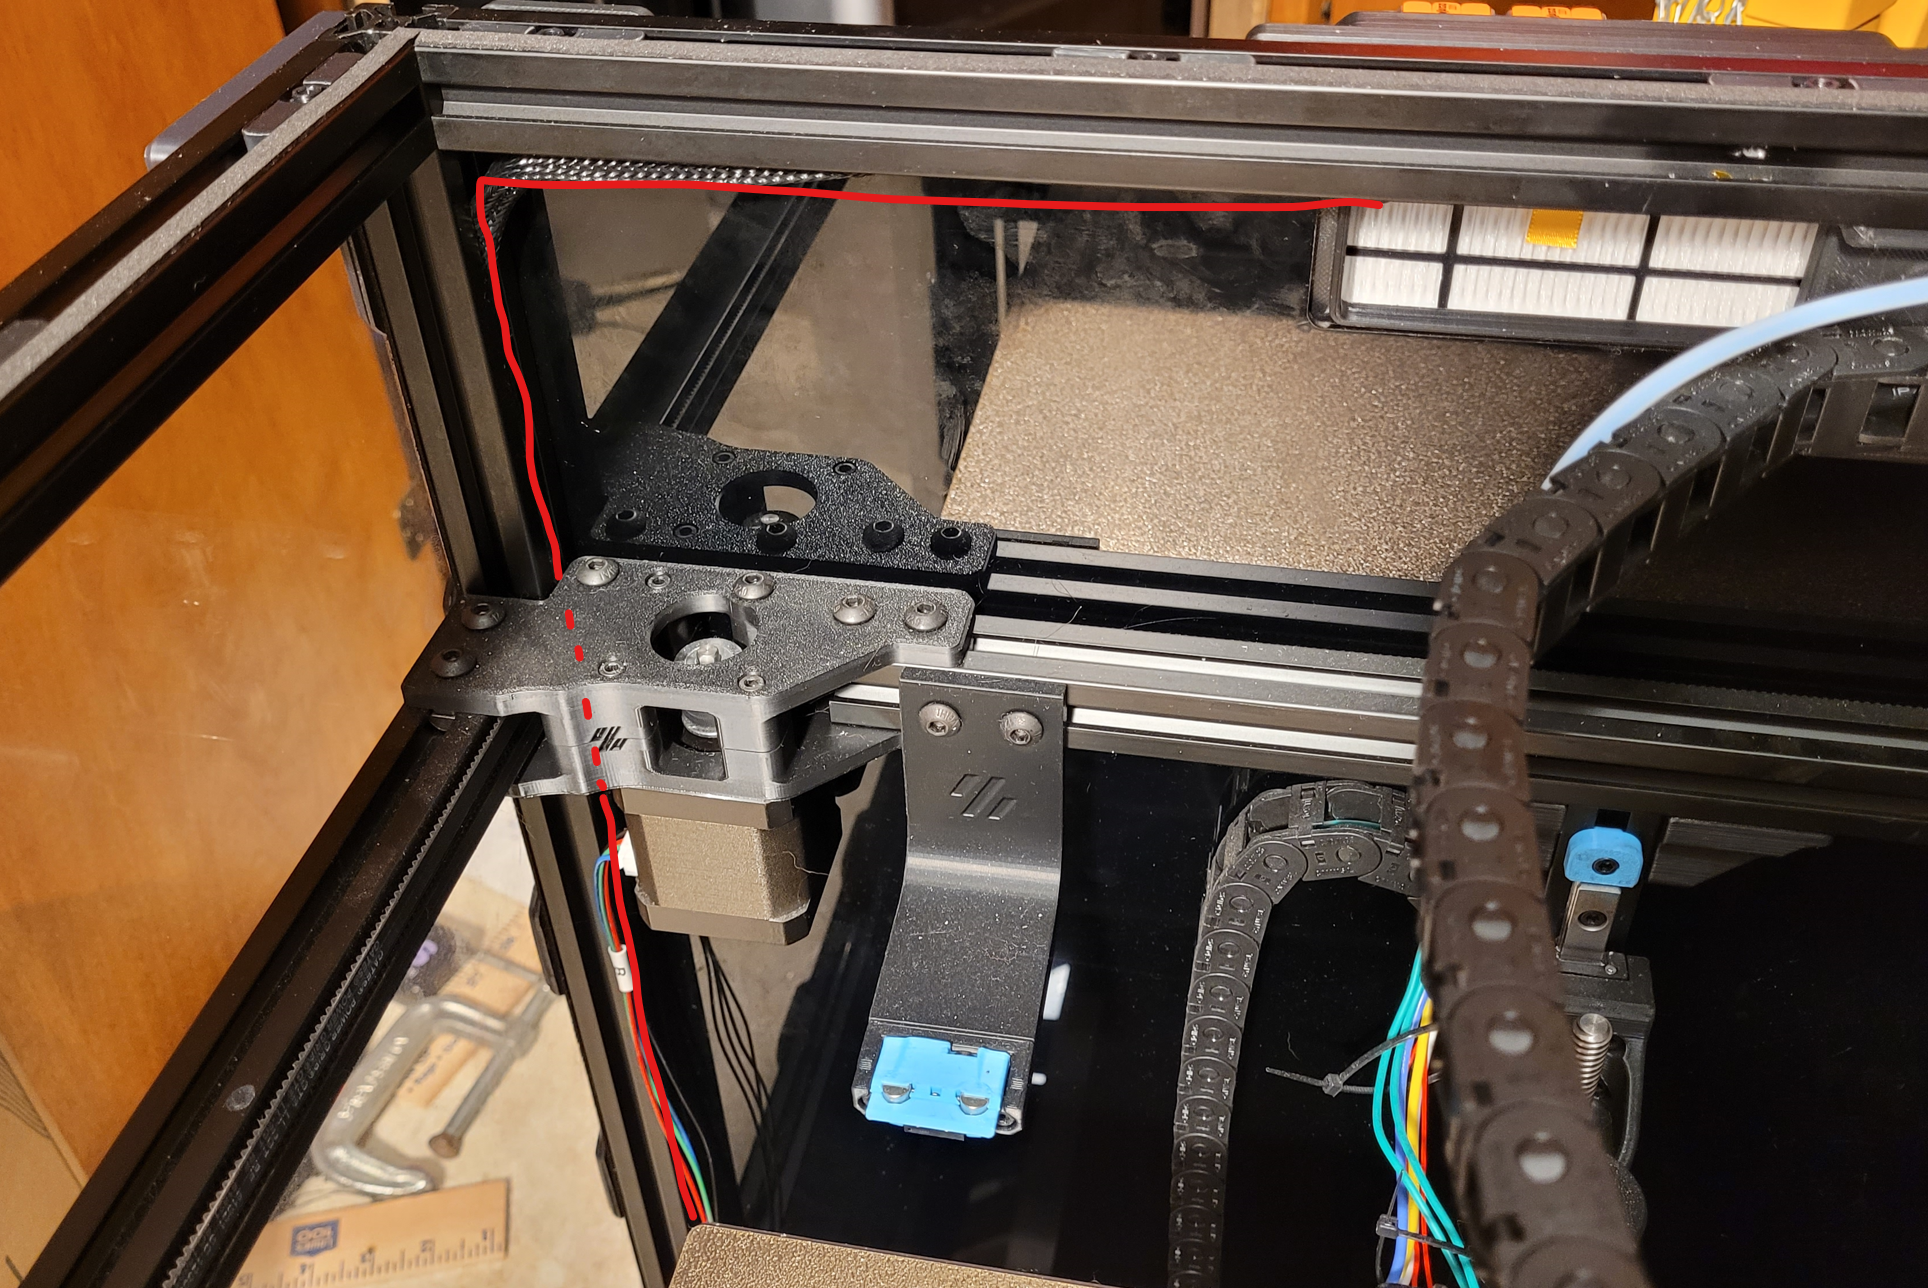
Hold the assembly up to your exhaust hole and determine how much wiring you need in order to connect to your controller. I suggest running along your top rail to the left (looking at your printer from the front), down the rear left rail, and through the wire inlet on that side. Cut the wires to that length then connect them to the Wago connectors, then run them through the channel in the assembly.
(optional) Zip-tie around the wires, before they go into the wire tunnel / channel, to secure the wire from pulling through the channel in the assembly
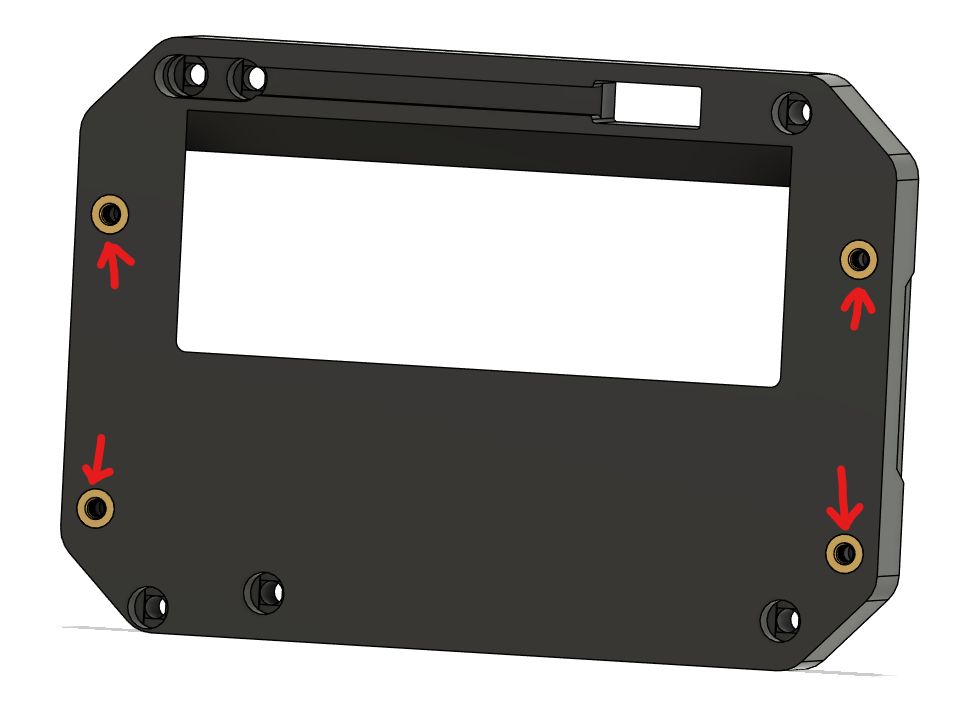
Use the M3x6 FHCS to bolt the foundation mount to the assembly, running the wires in the channel and being careful not to pinch them
Tuck the wires through the exhaust opening and then use the M3x12 BHCS bolts and the t-nuts or roll-in-nuts to bolt the assembly to your rail, slide to the right of your exhaust opening
Route your wires to your controller and plug them in
(Optional) install 6x3 cylindrical magnets in the assembly and fan lid
Slide the fan lid over the blowers, being careful to make sure the wires don't get pinched and the Wago levernuts don't open
Open the housing lever and slide your filter mostly in, then use the lever to secure the filter into place
Fan Options
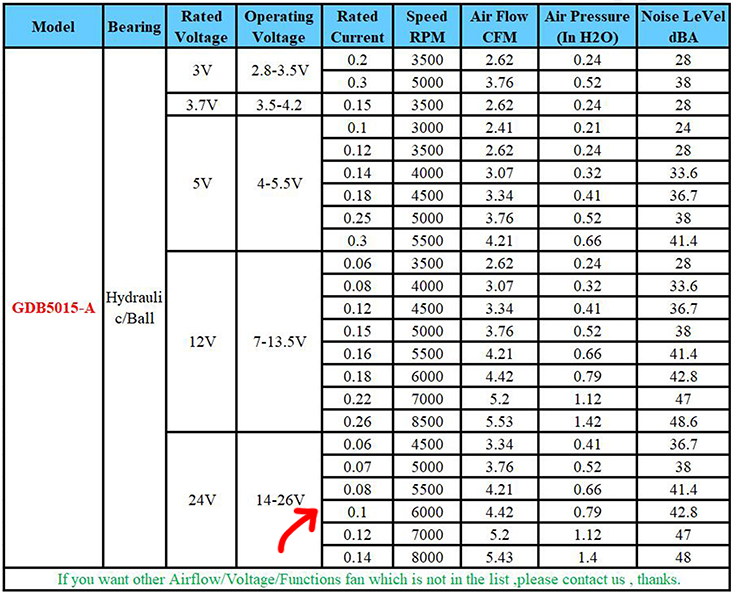
Using the 6000rpm 24v option, I measured around 38dB with my setup.
My design was built using the for the Delta BFB0524HH model, but I ended up going with the GDSTIME GDB5015-A 6000rpm 24v since I already had one. They're slightly different profiles but I made sure that the GDSTIME one would also work.
Here's the RPM / volts / noise breakdown for the GDSTIME options:
Design by RagingRoosevelt on MakerWorld (license: BY-SA).