

ITX test platform, rack, case


ITX test platform, rack, case
- Made to order — 3D printed after you buy
- Free shipping on orders over $25
- Quality checked before it ships
- Questions? Contact us · Returns
介绍
Introduction
-
ITX 开放式机箱、测试平台
ITX test platform, chassis
-
占地面积小,投影面积仅 ITX 主板同大小 17*17cm
Small footprint, with a projection area of 17*17cm, the same size as an ITX motherboard.
-
使用电源作为配重,作为底座更加稳固
Uses the power supply as a counterweight and is more stable as a base
-
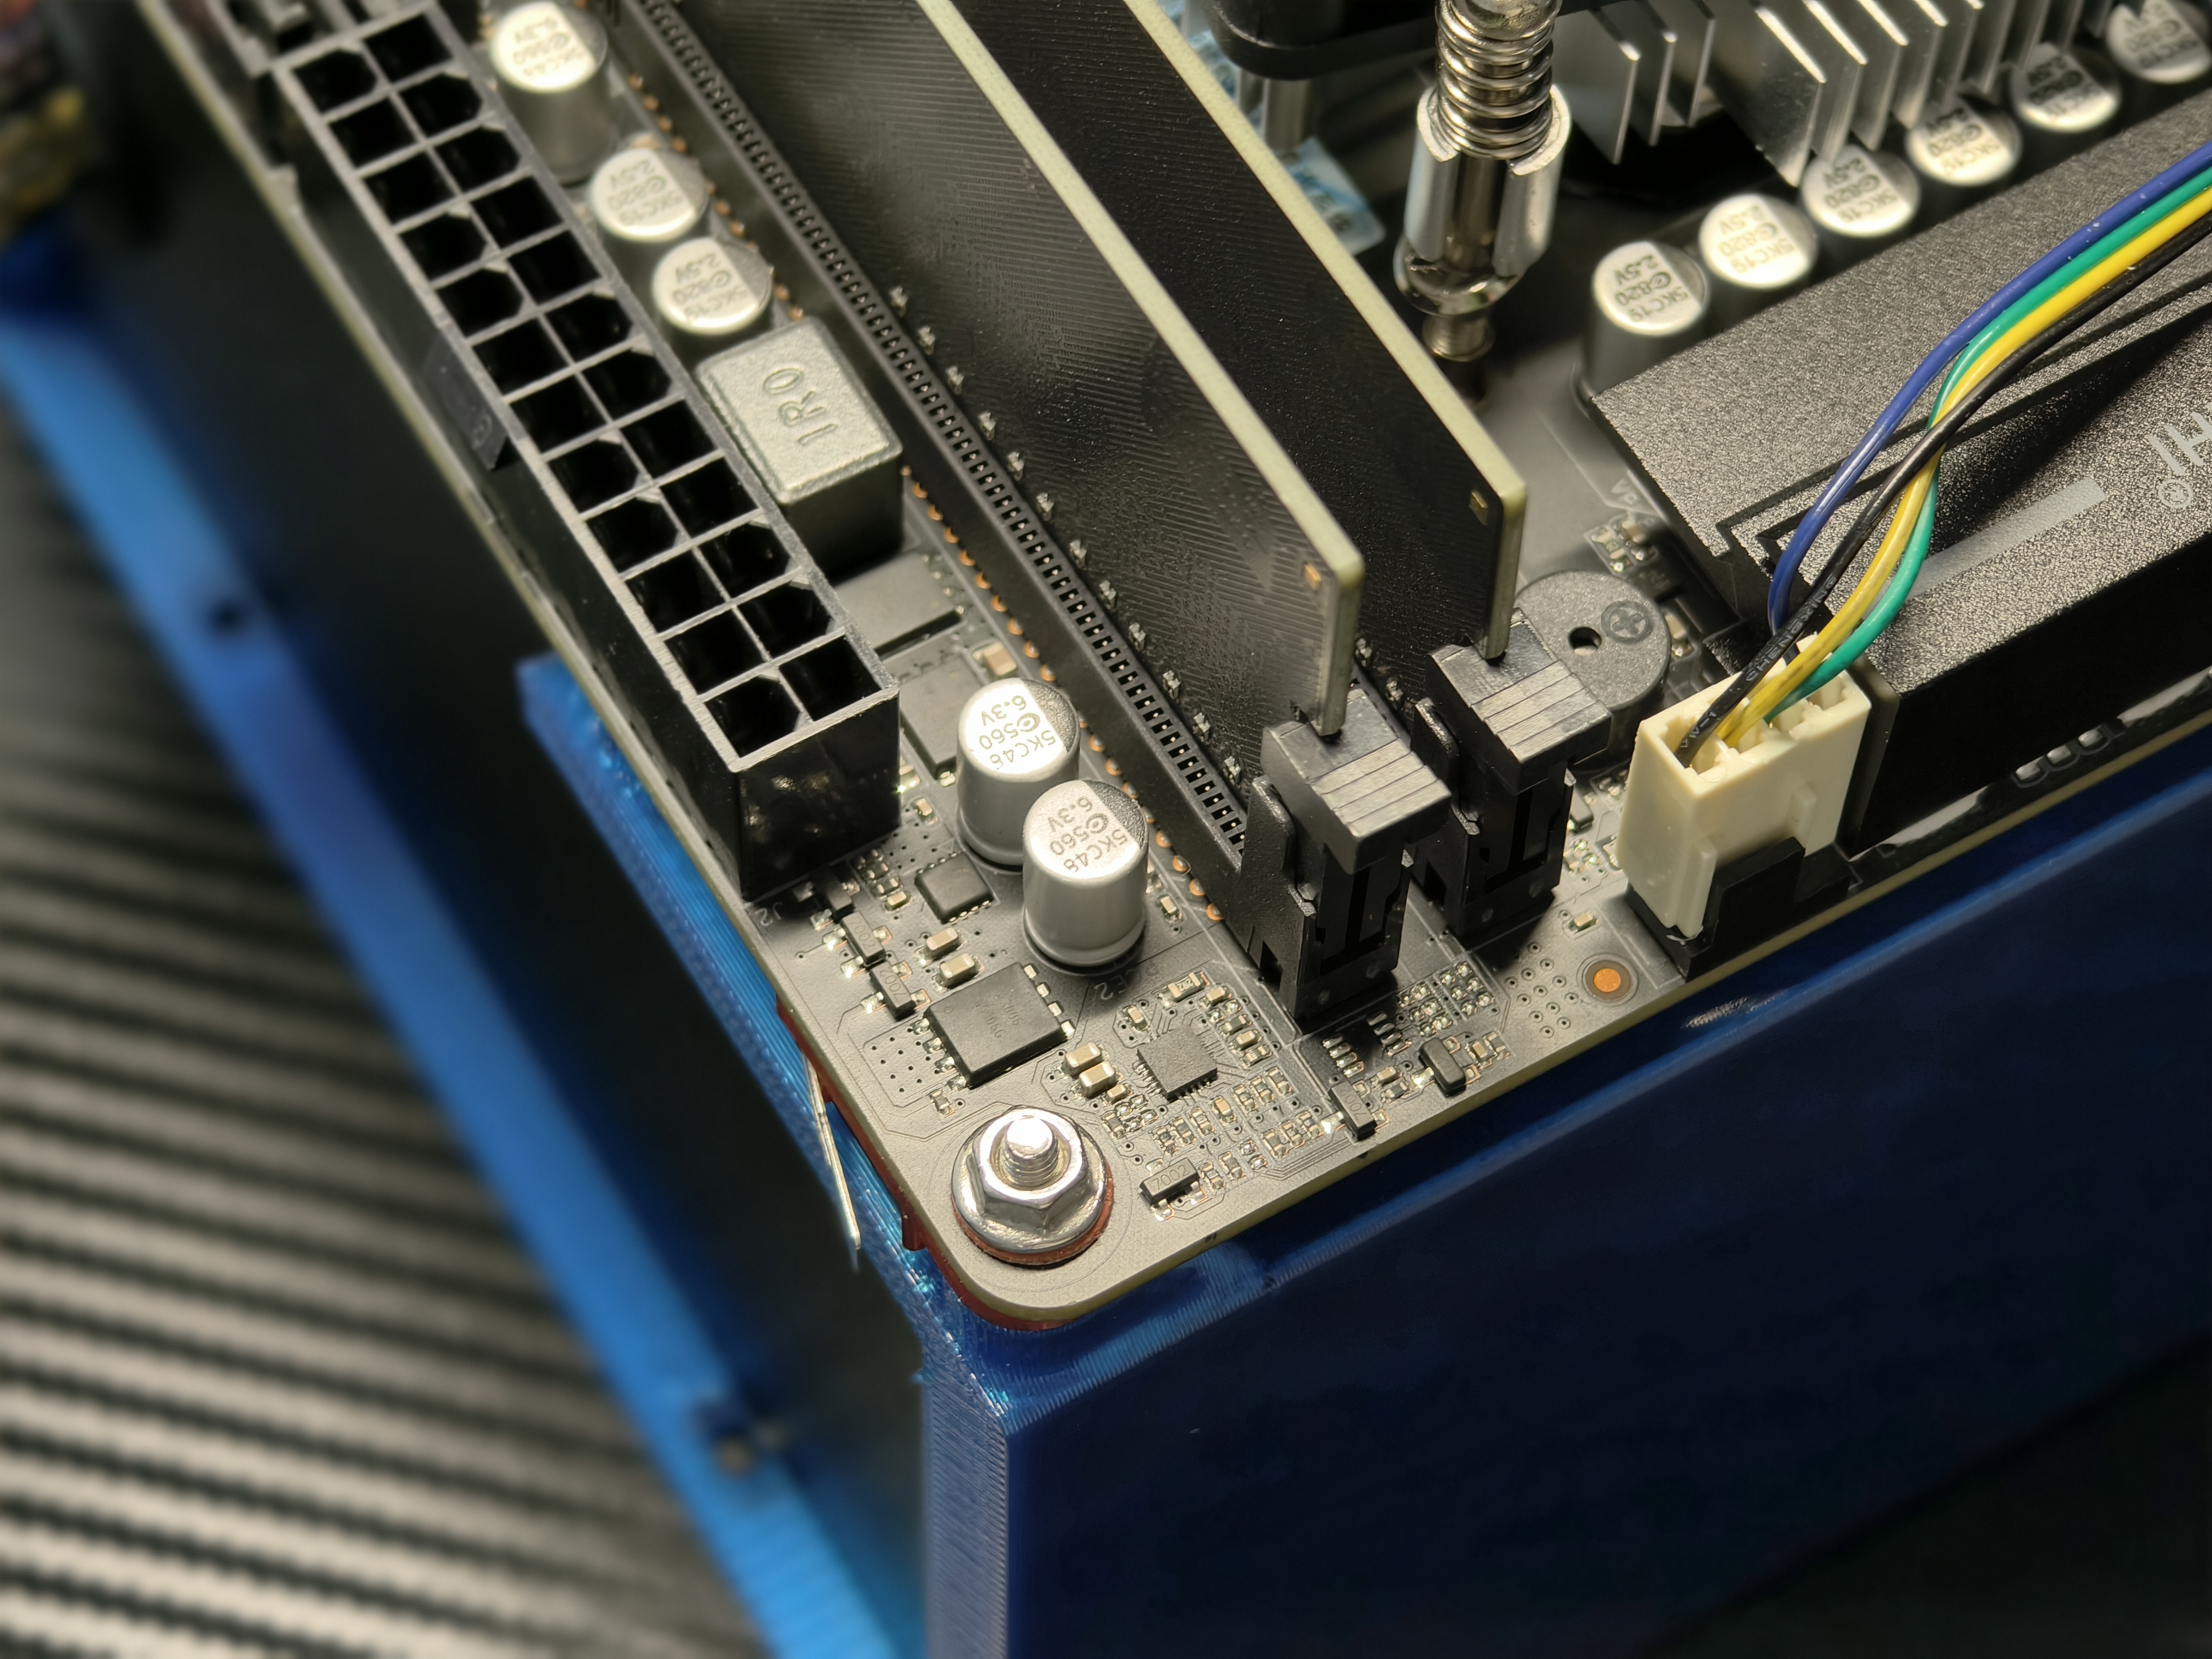
使用长螺丝反向固定主板和 PCIE 挡板,相比嵌入热熔螺母,强度高,更加稳定
Long screws are used to secure the motherboard and PCIE bracket in the reverse direction, which is stronger and more stable than embedding heat fused nuts.
-
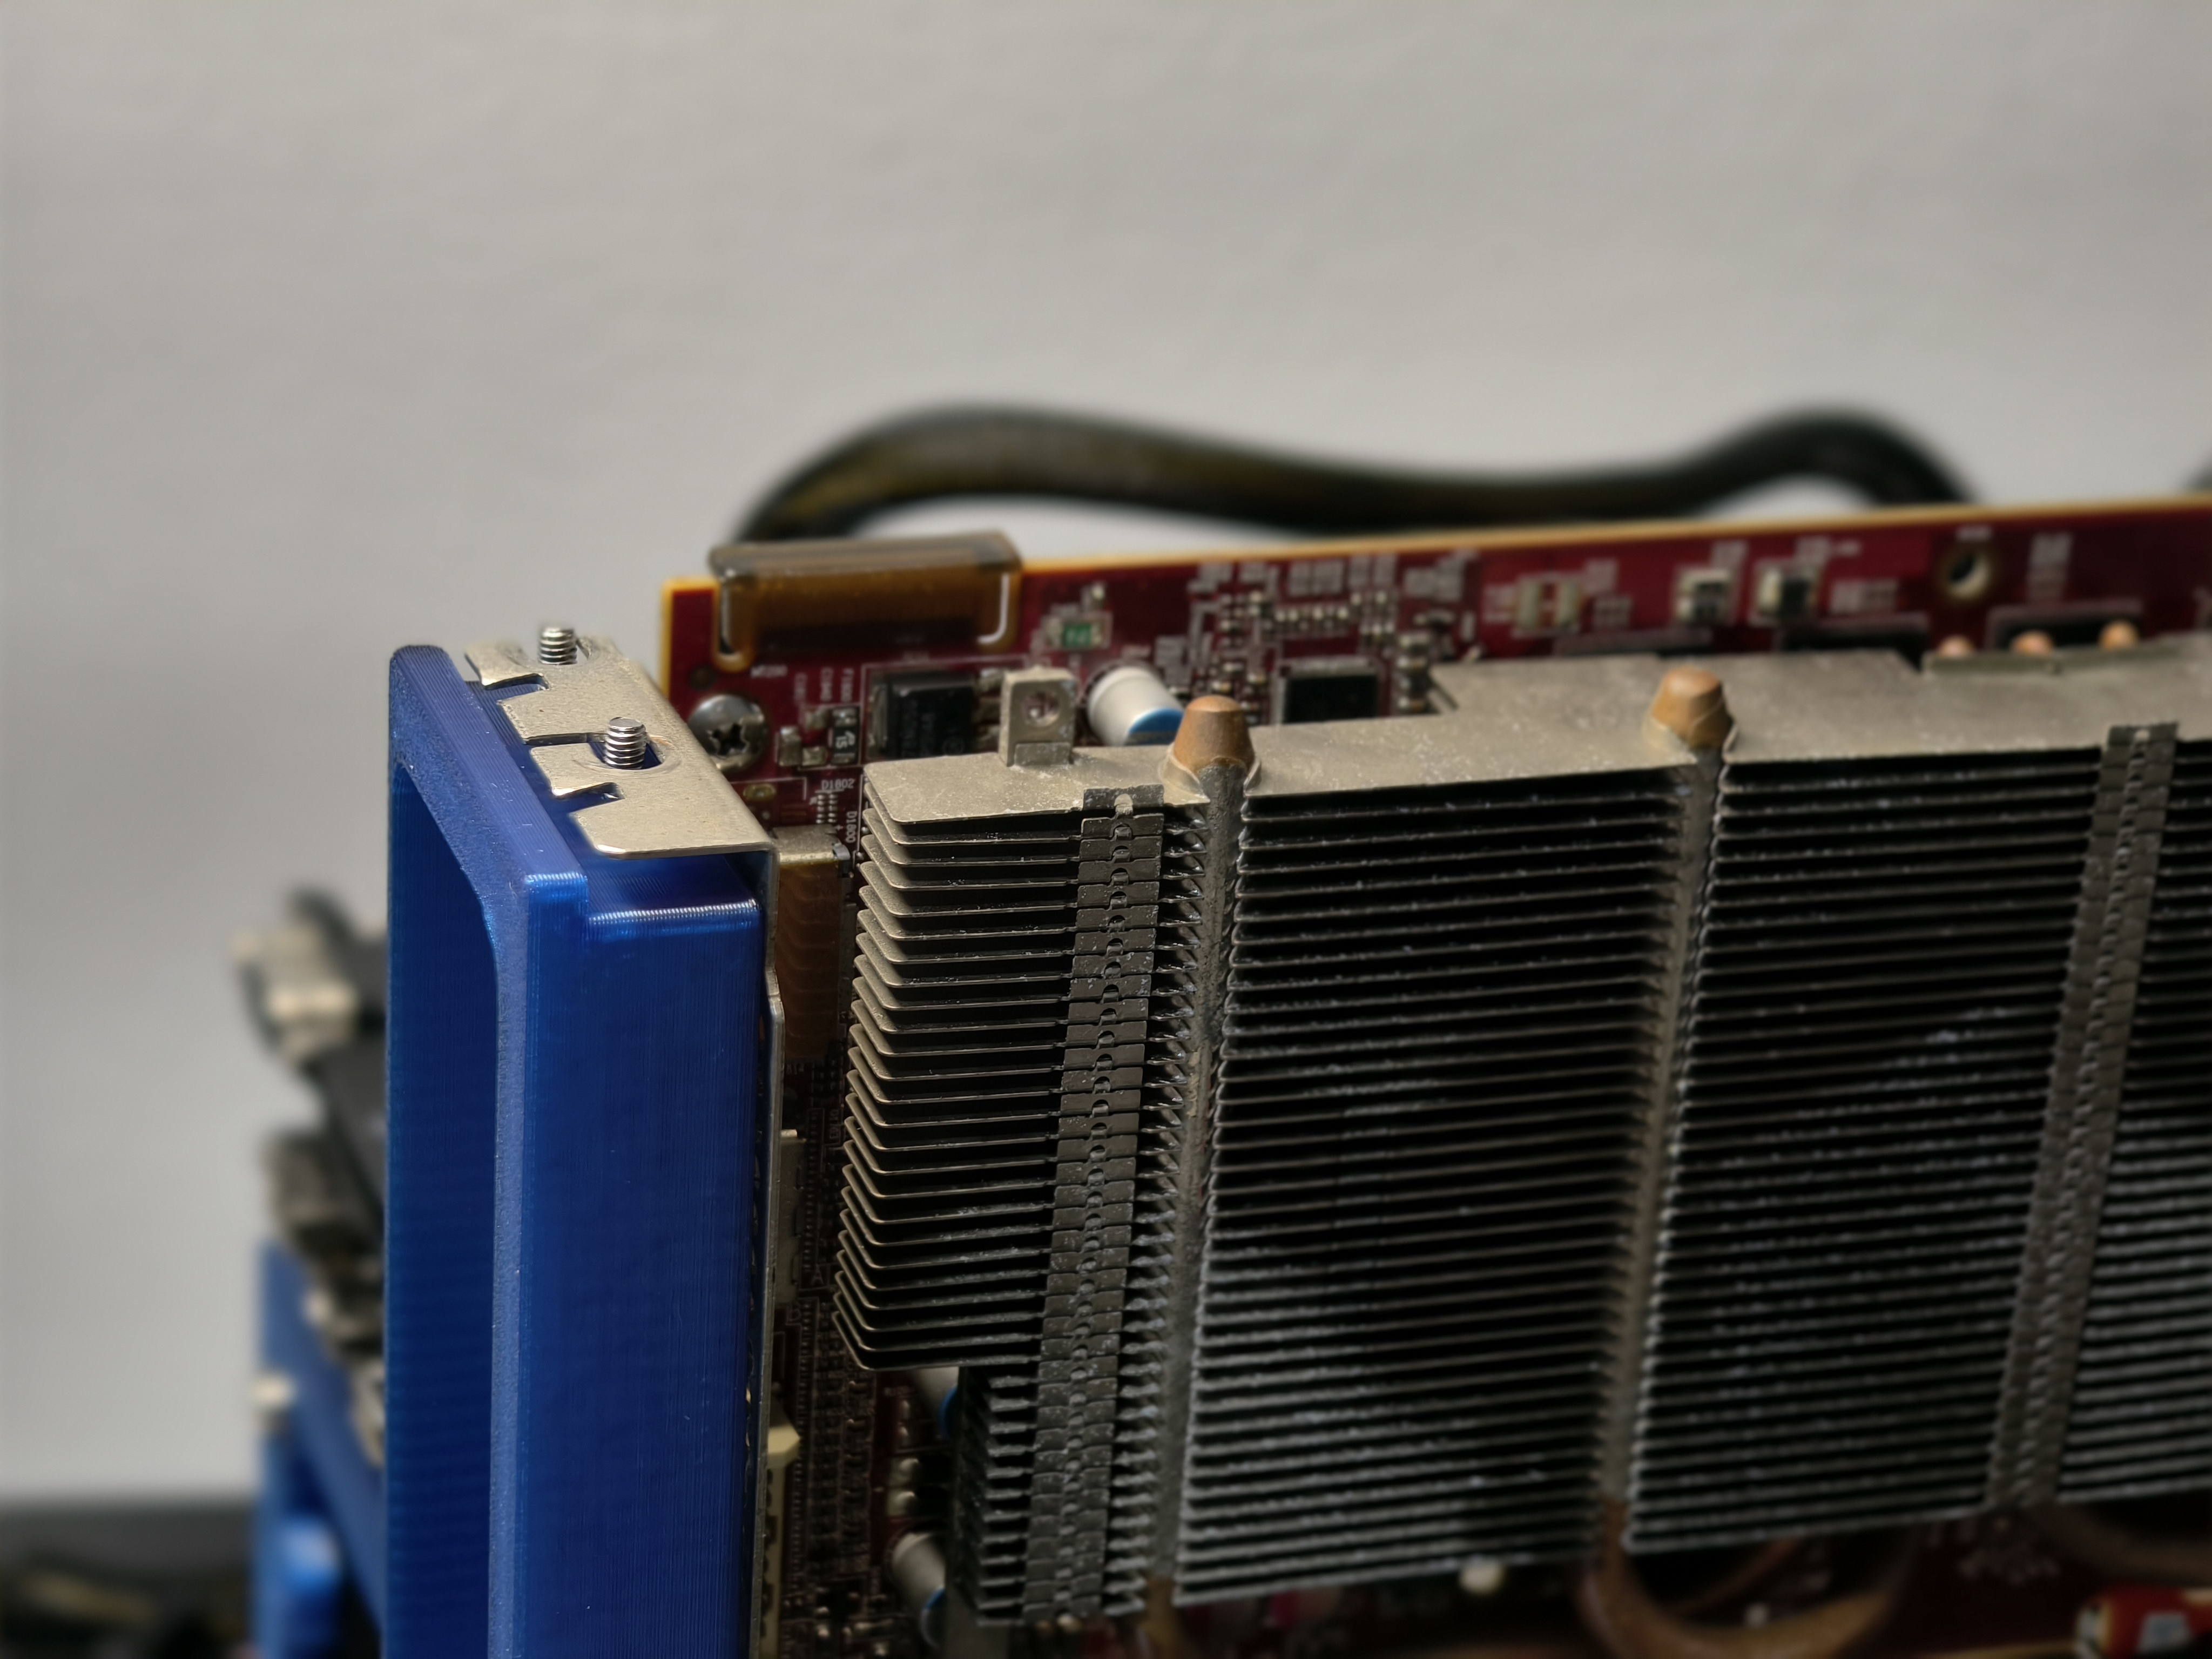
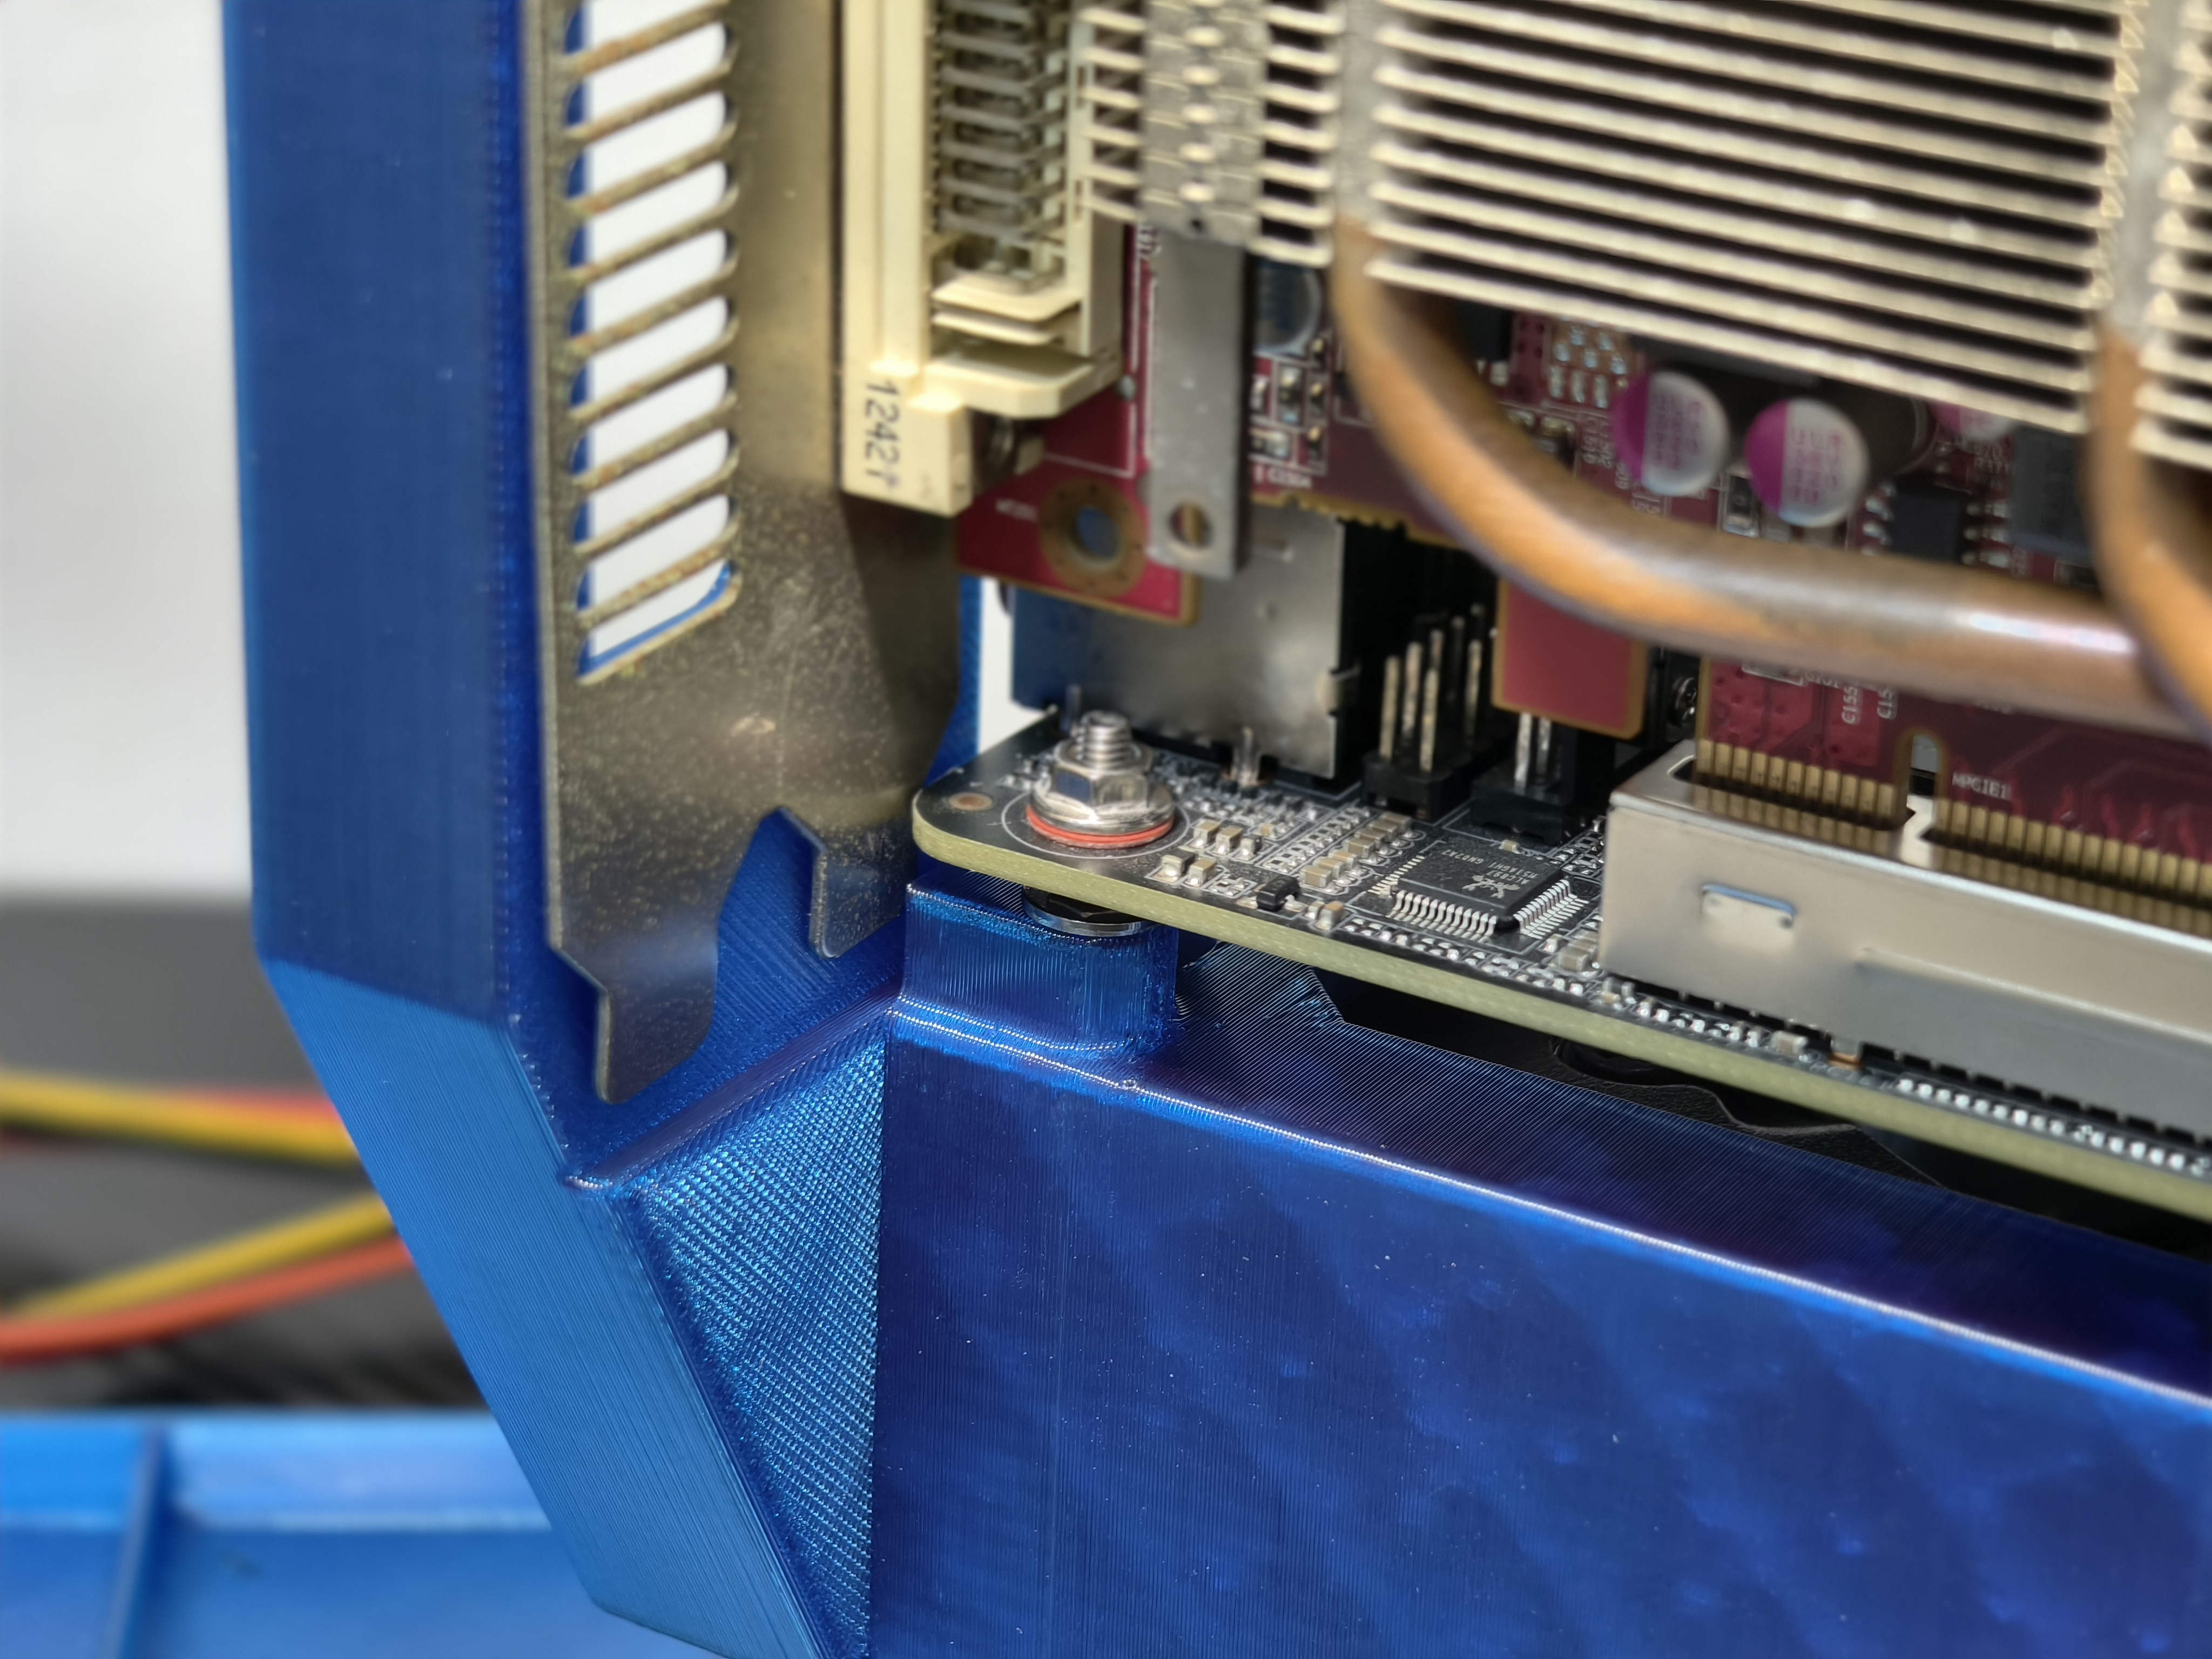
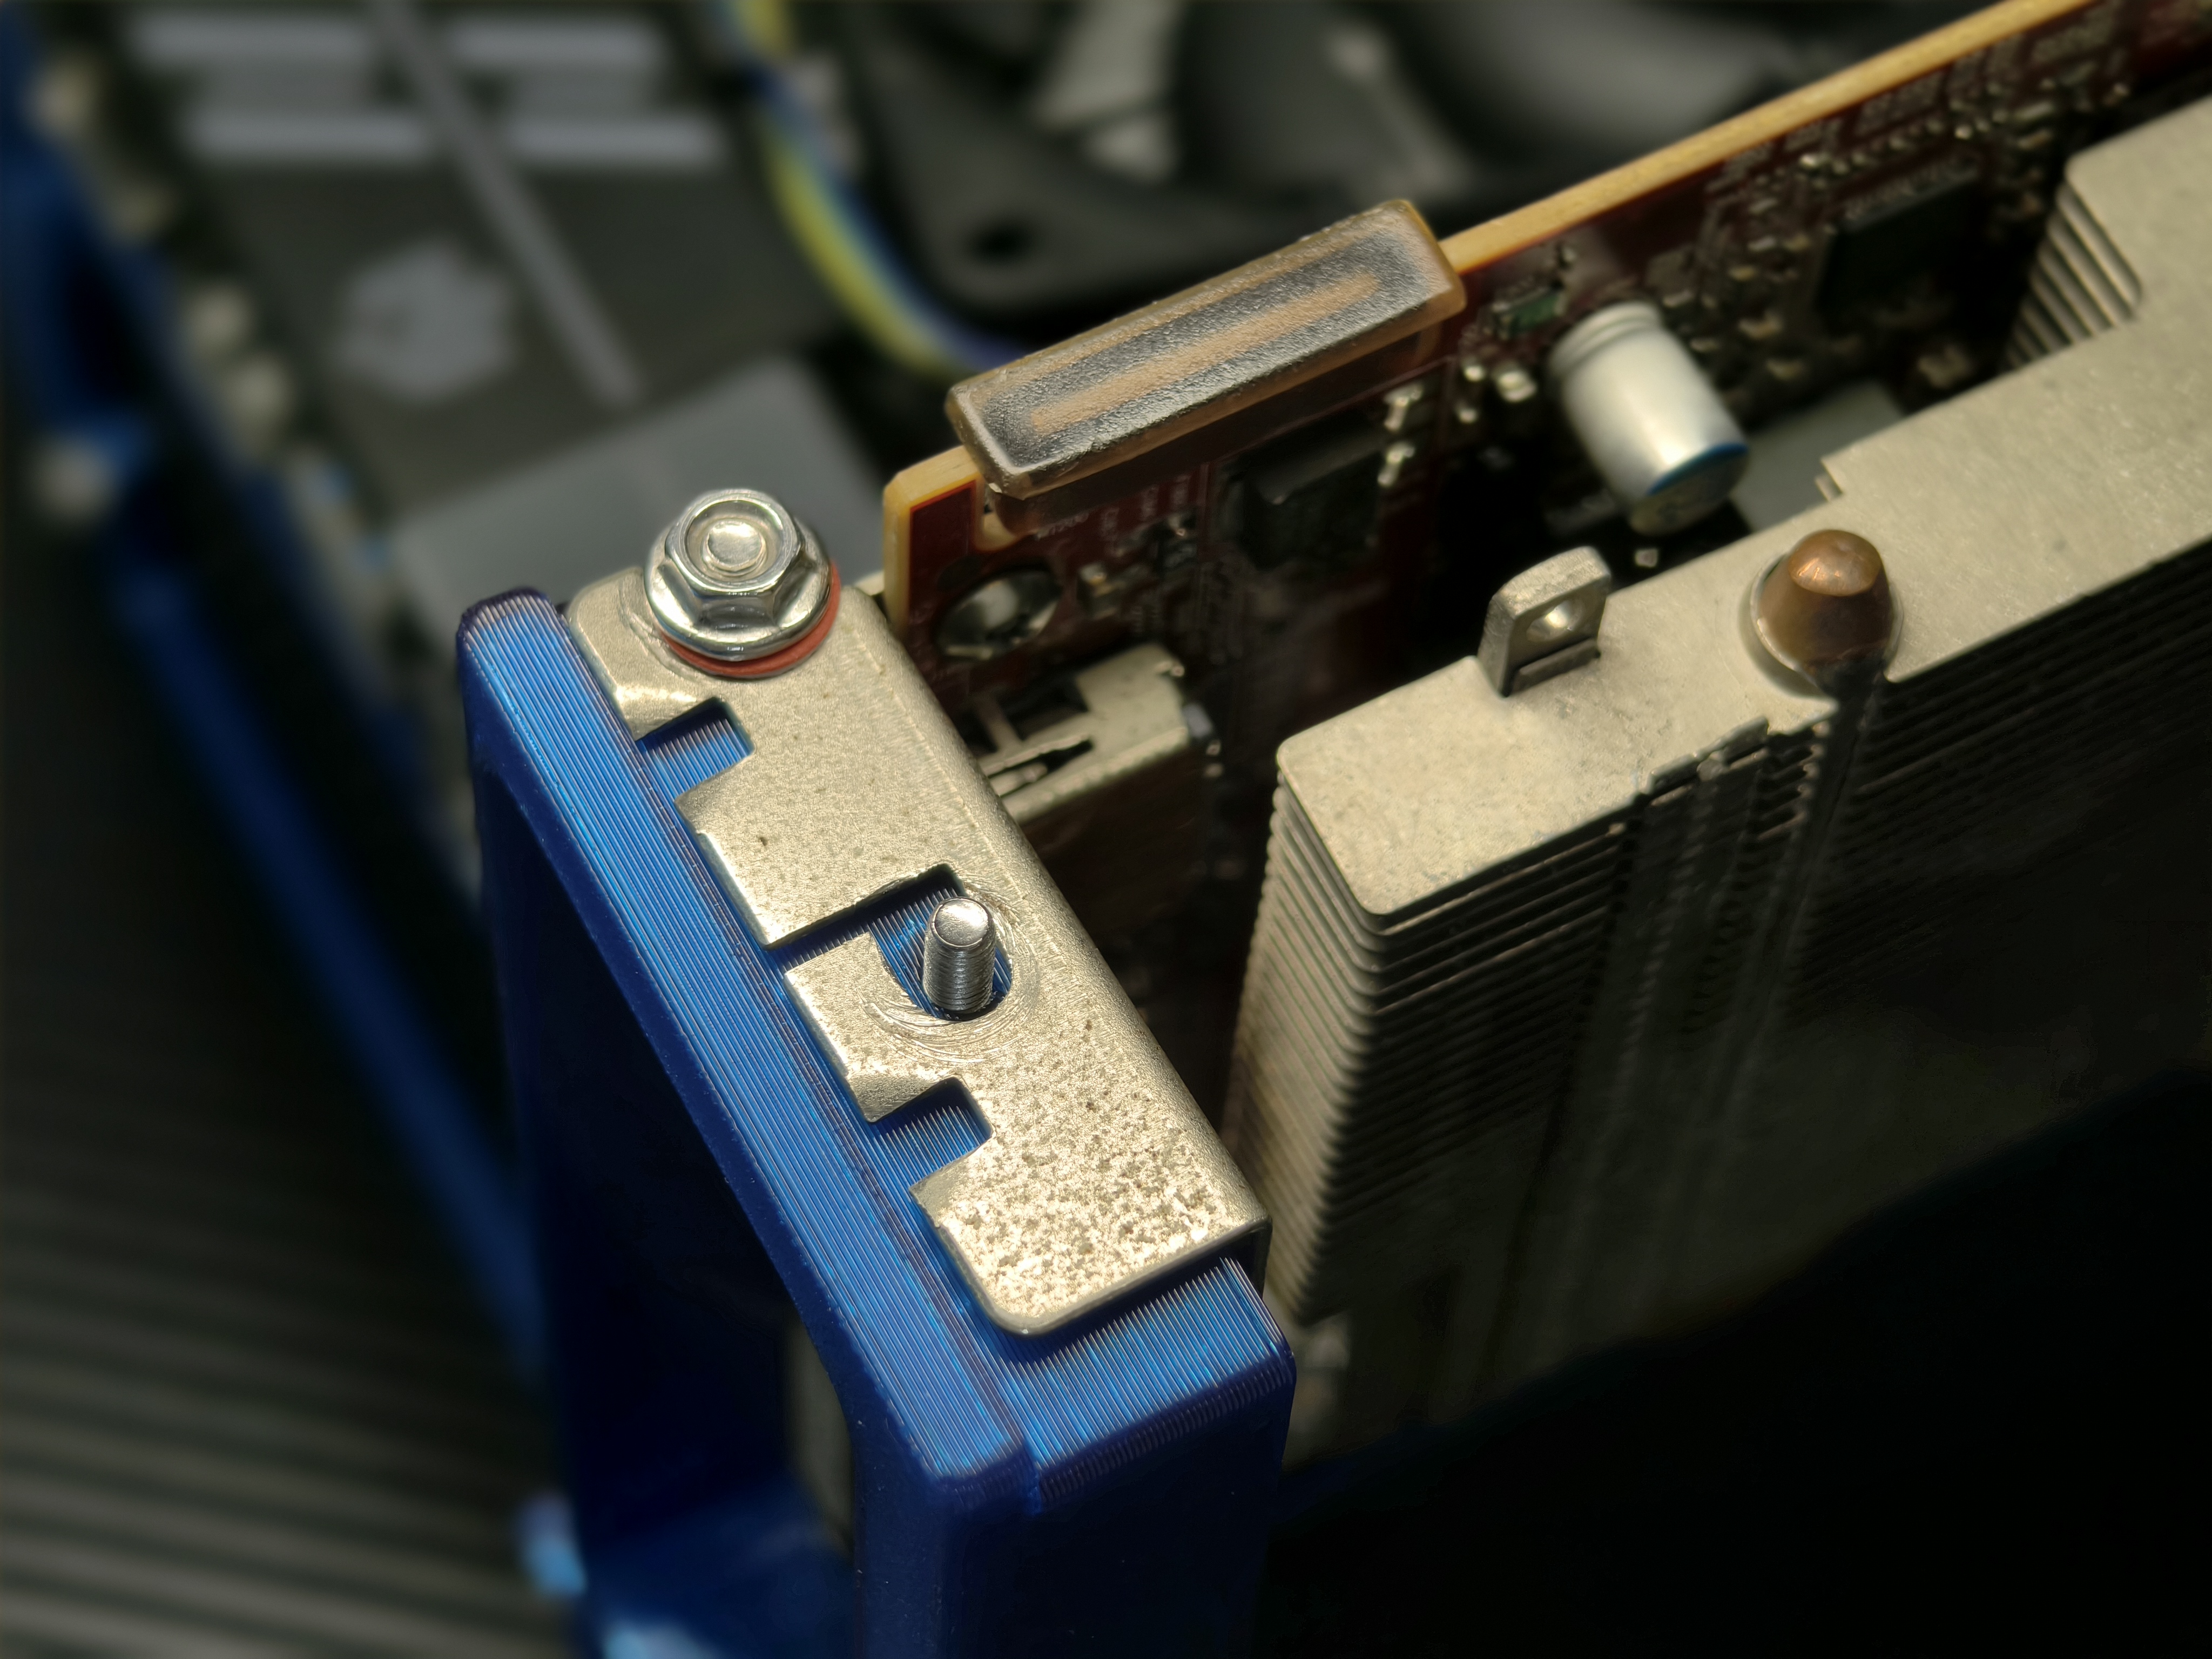
PCIE 固定支架加厚设计,精巧设计,避免与接头阻挡同时保持高强度
PCIE mounting stand with thicker design, compact design to avoid blocking the connector while maintaining high strength.
-
最大化减少零件数量,减少组装难度,增加强度
Minimizing the number of parts reduces the difficulty of assembly and increases strength
-
巧妙设计,兼容 SFX 电源和 ATX 电源,使用 SFX 电源的情况可以使用前盖遮挡理线
Clever design, compatible with SFX power supplies and ATX power supplies, front cover can be used to cover the cable management in case of using SFX power supplies
材料清单
bill of materials
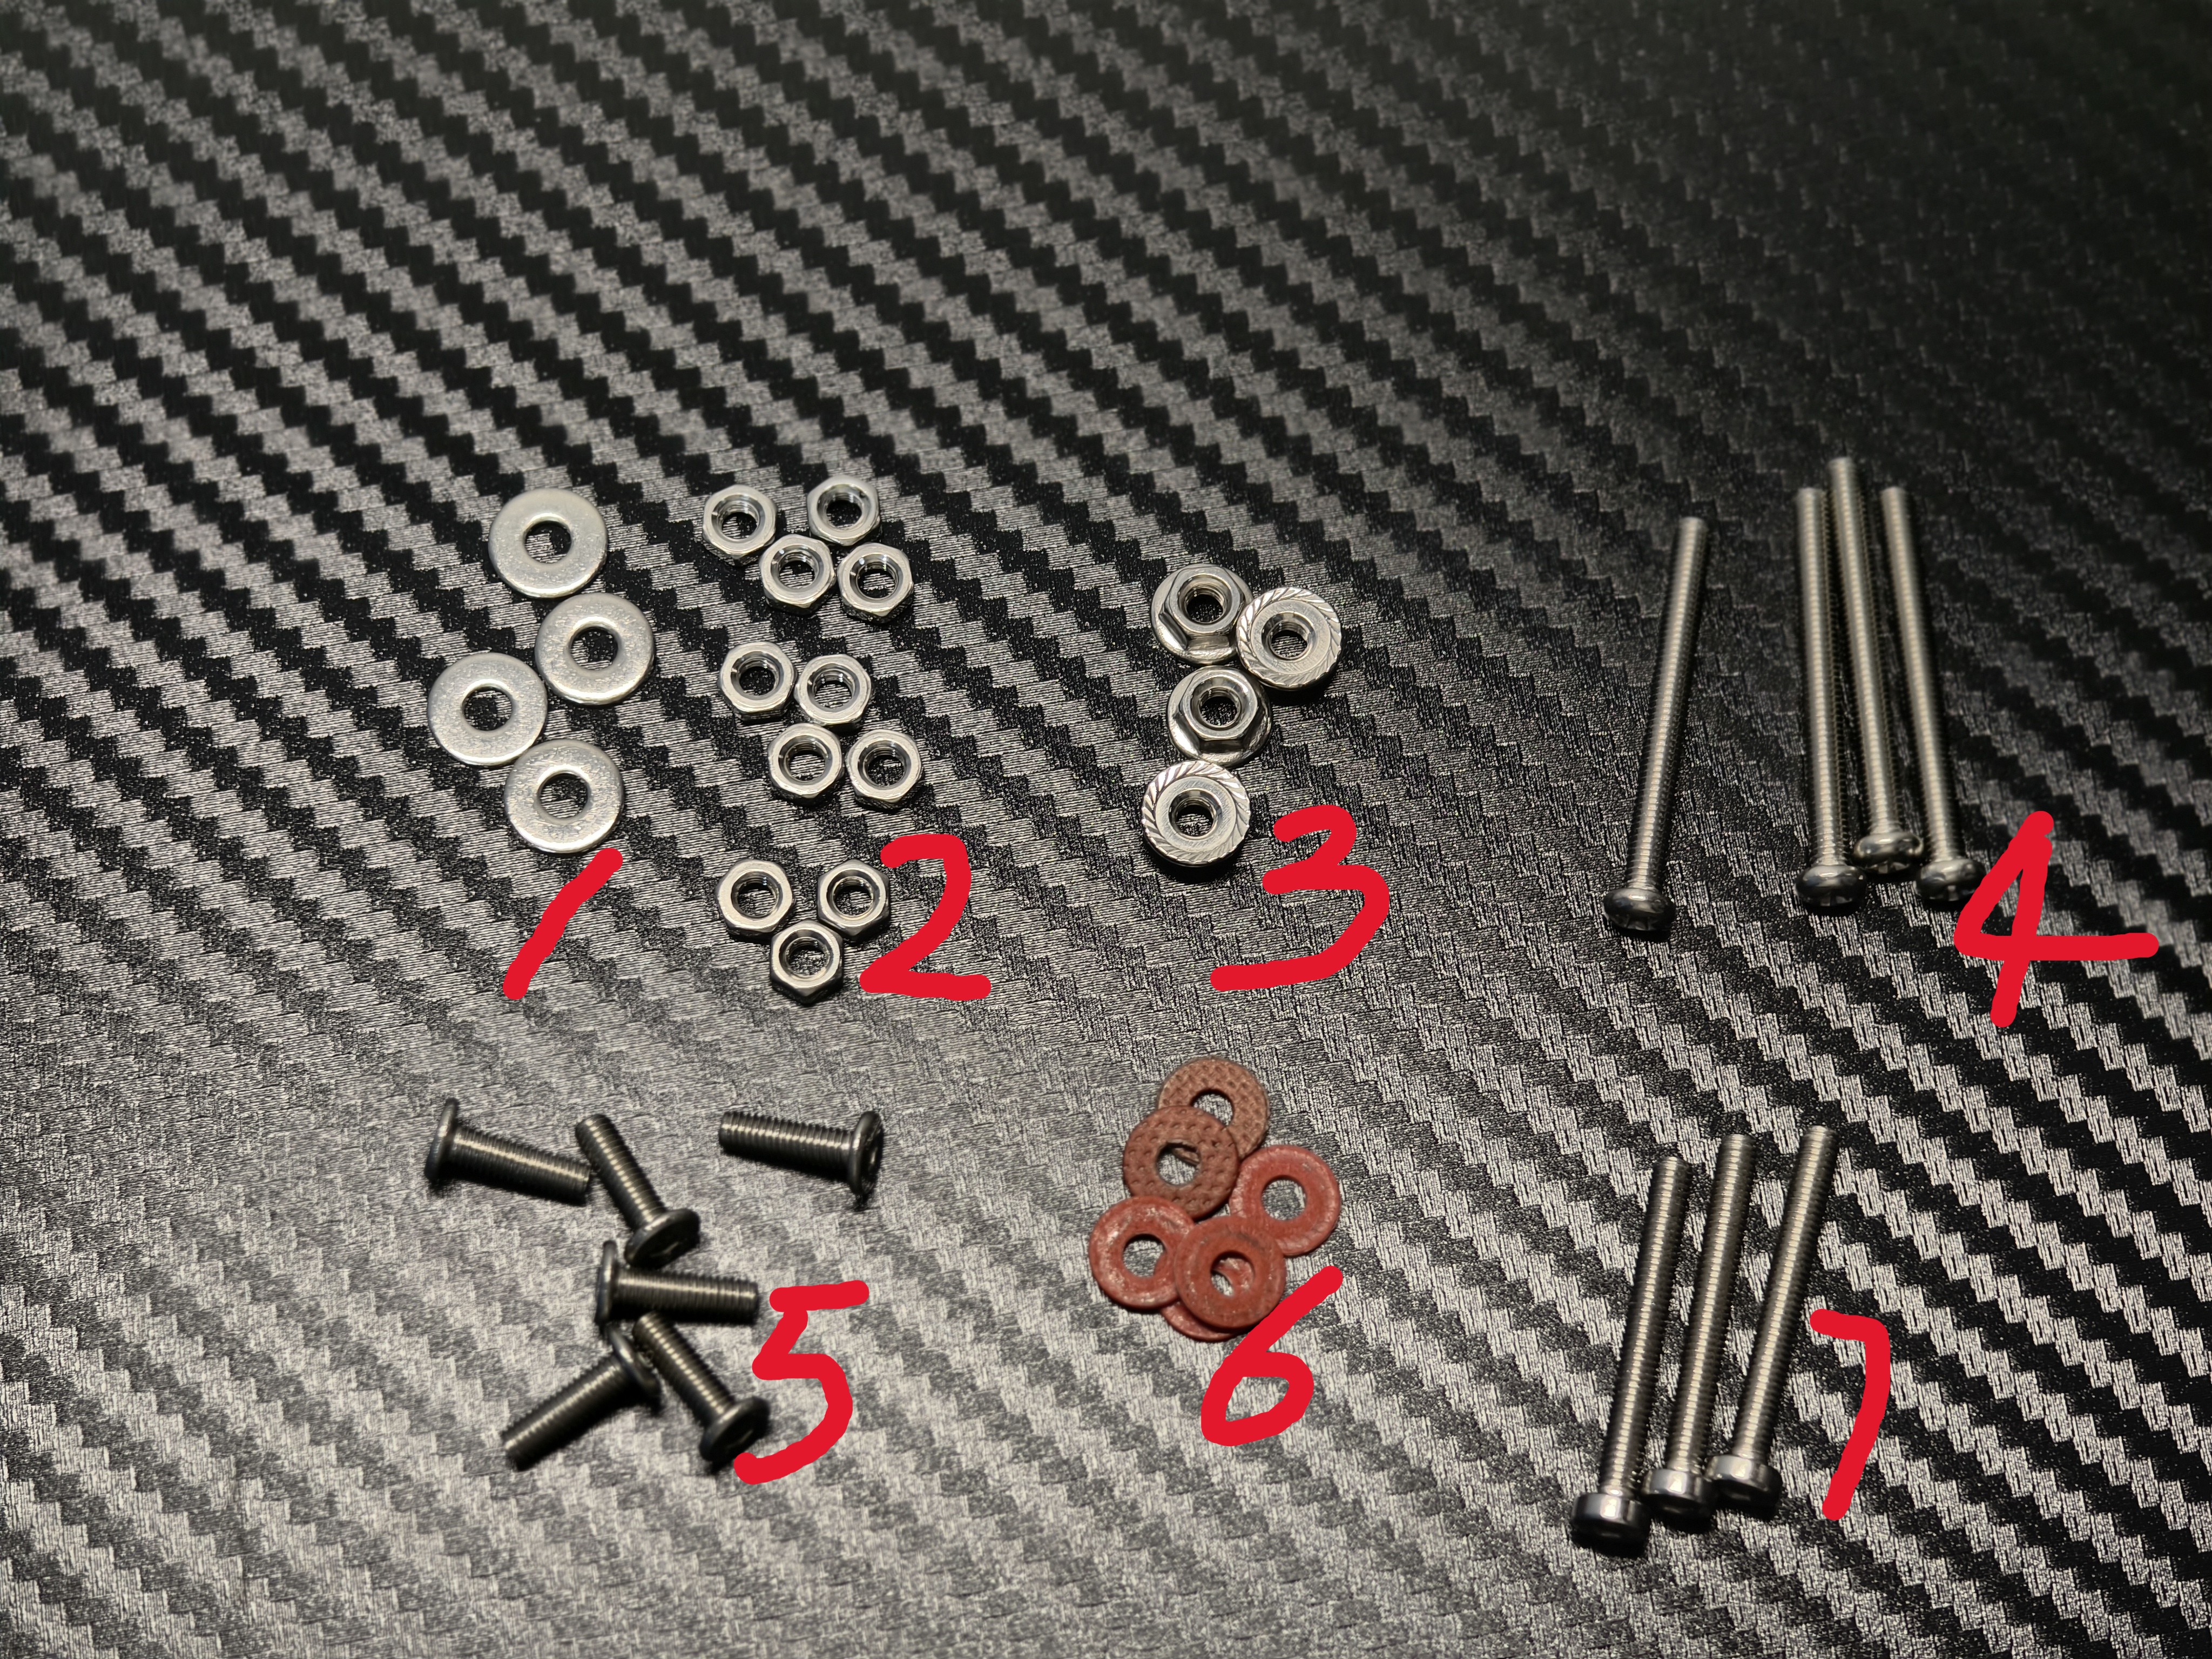
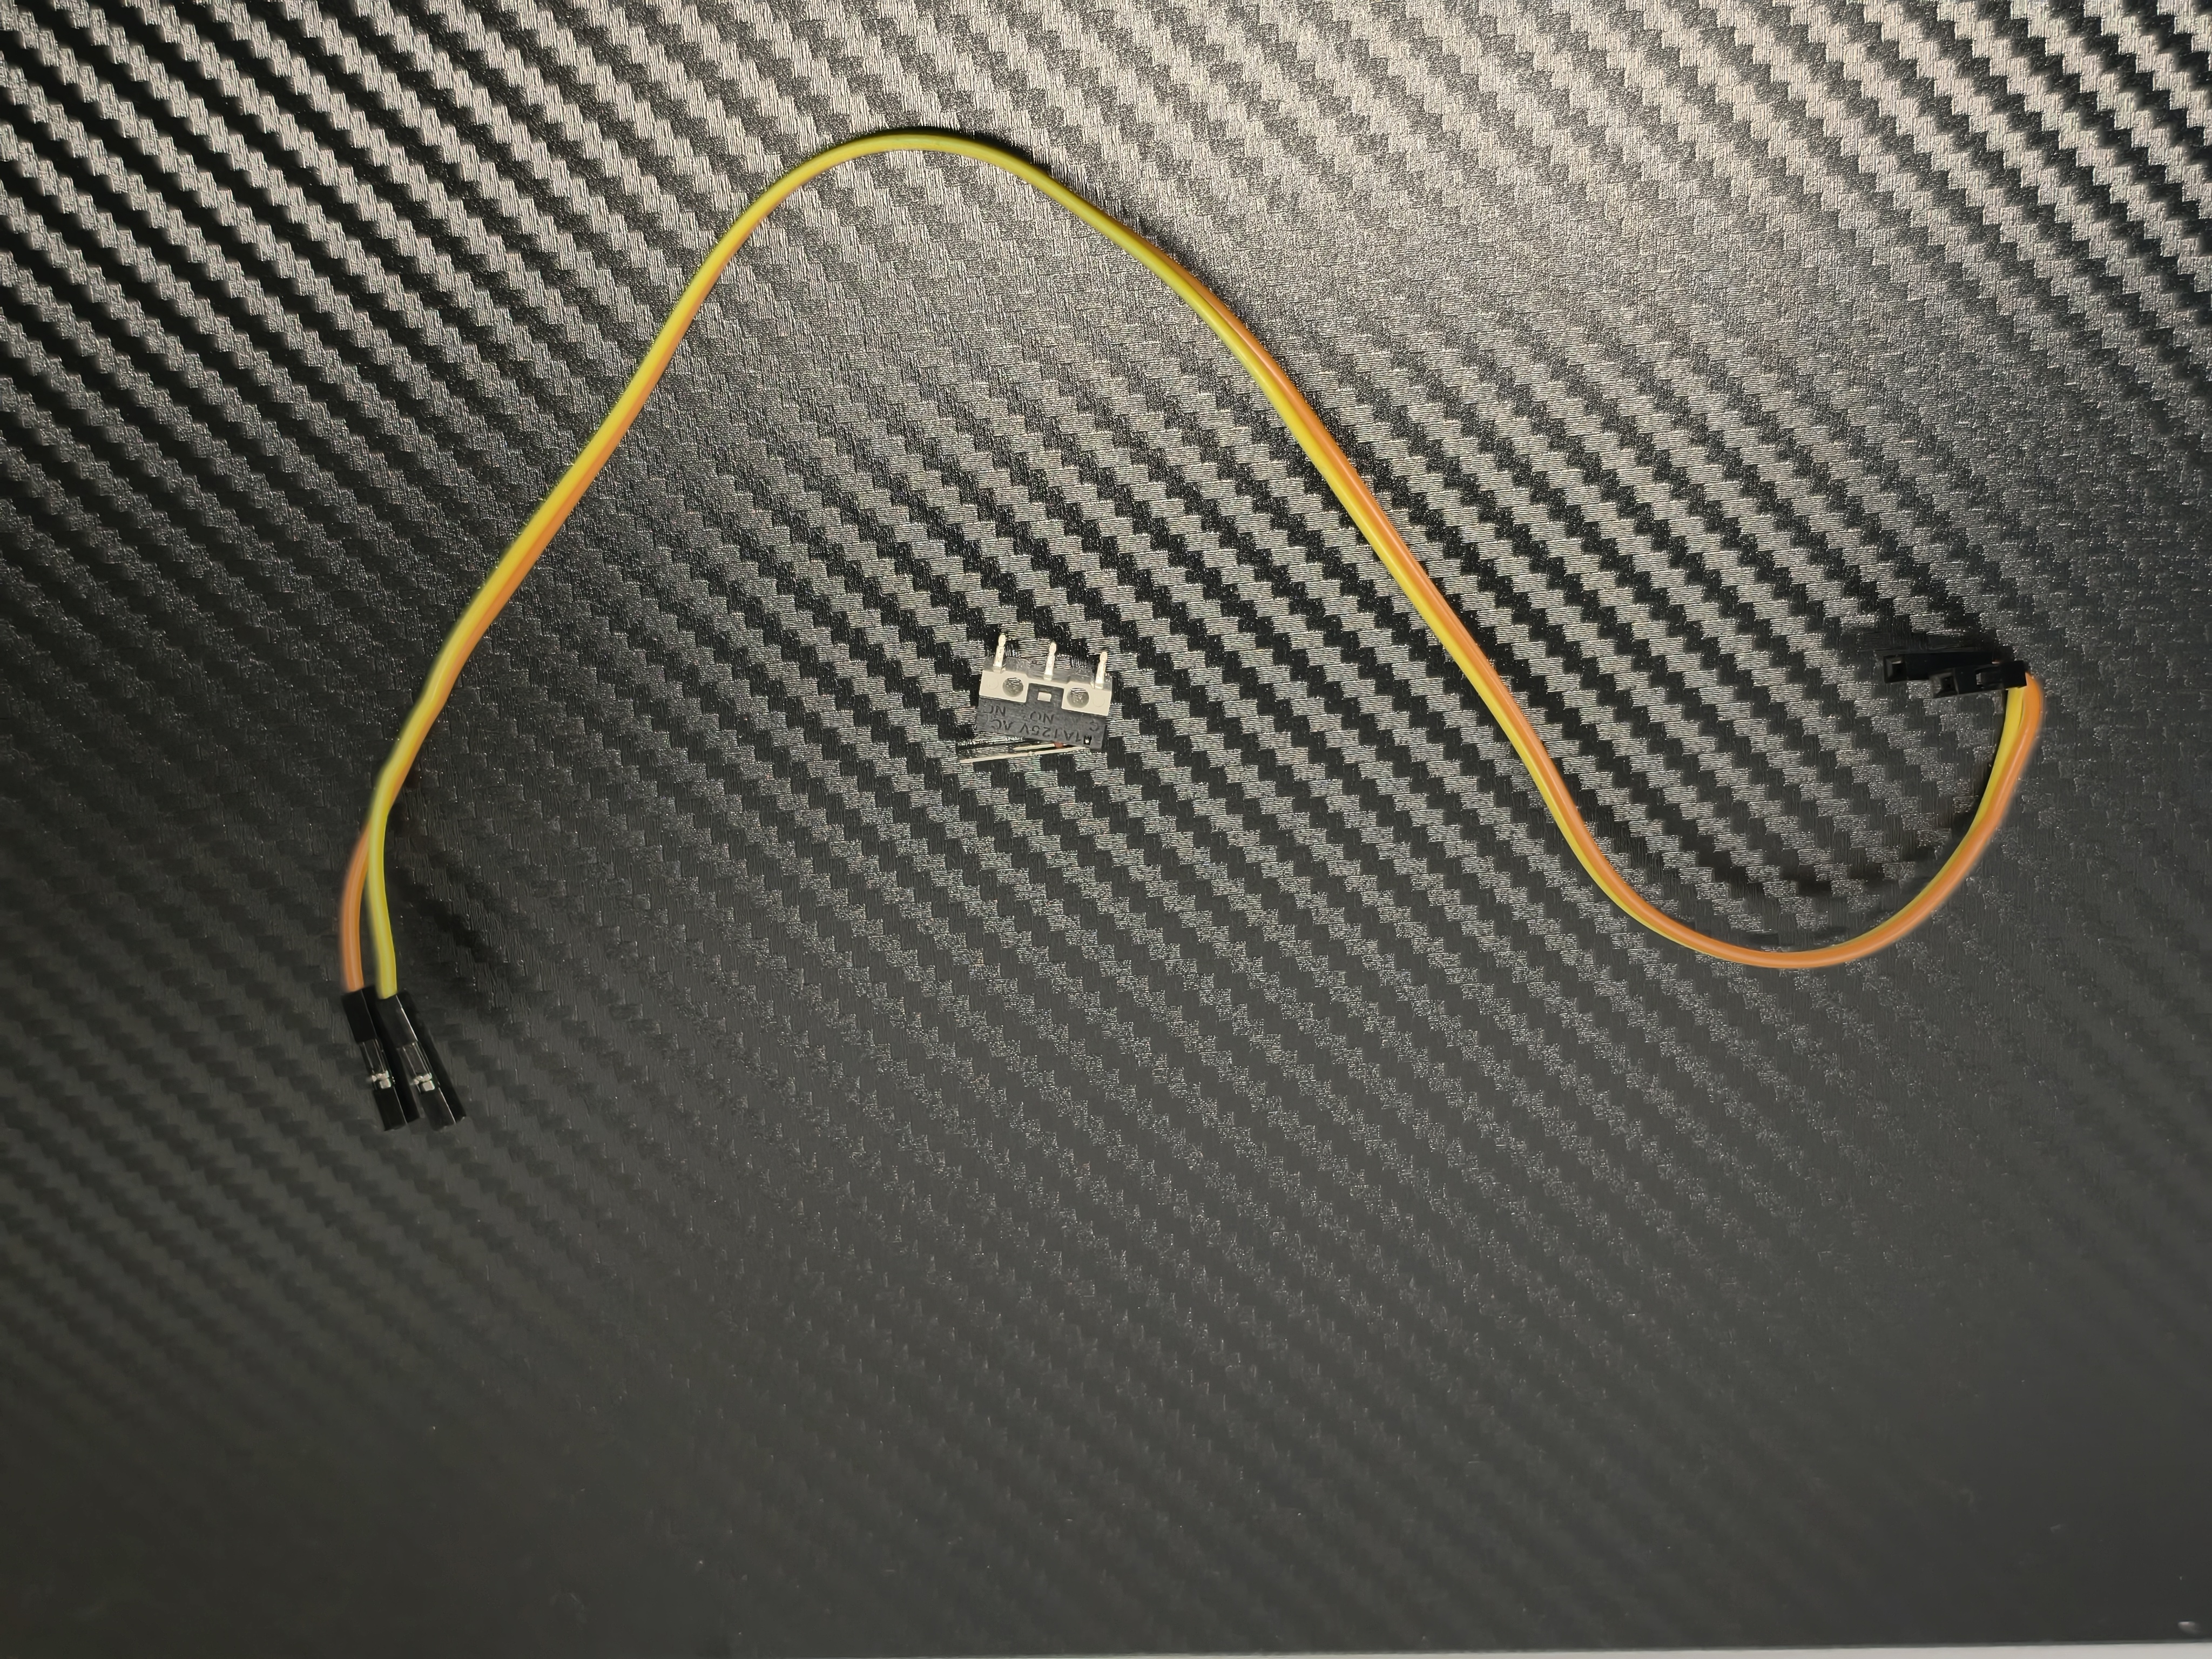
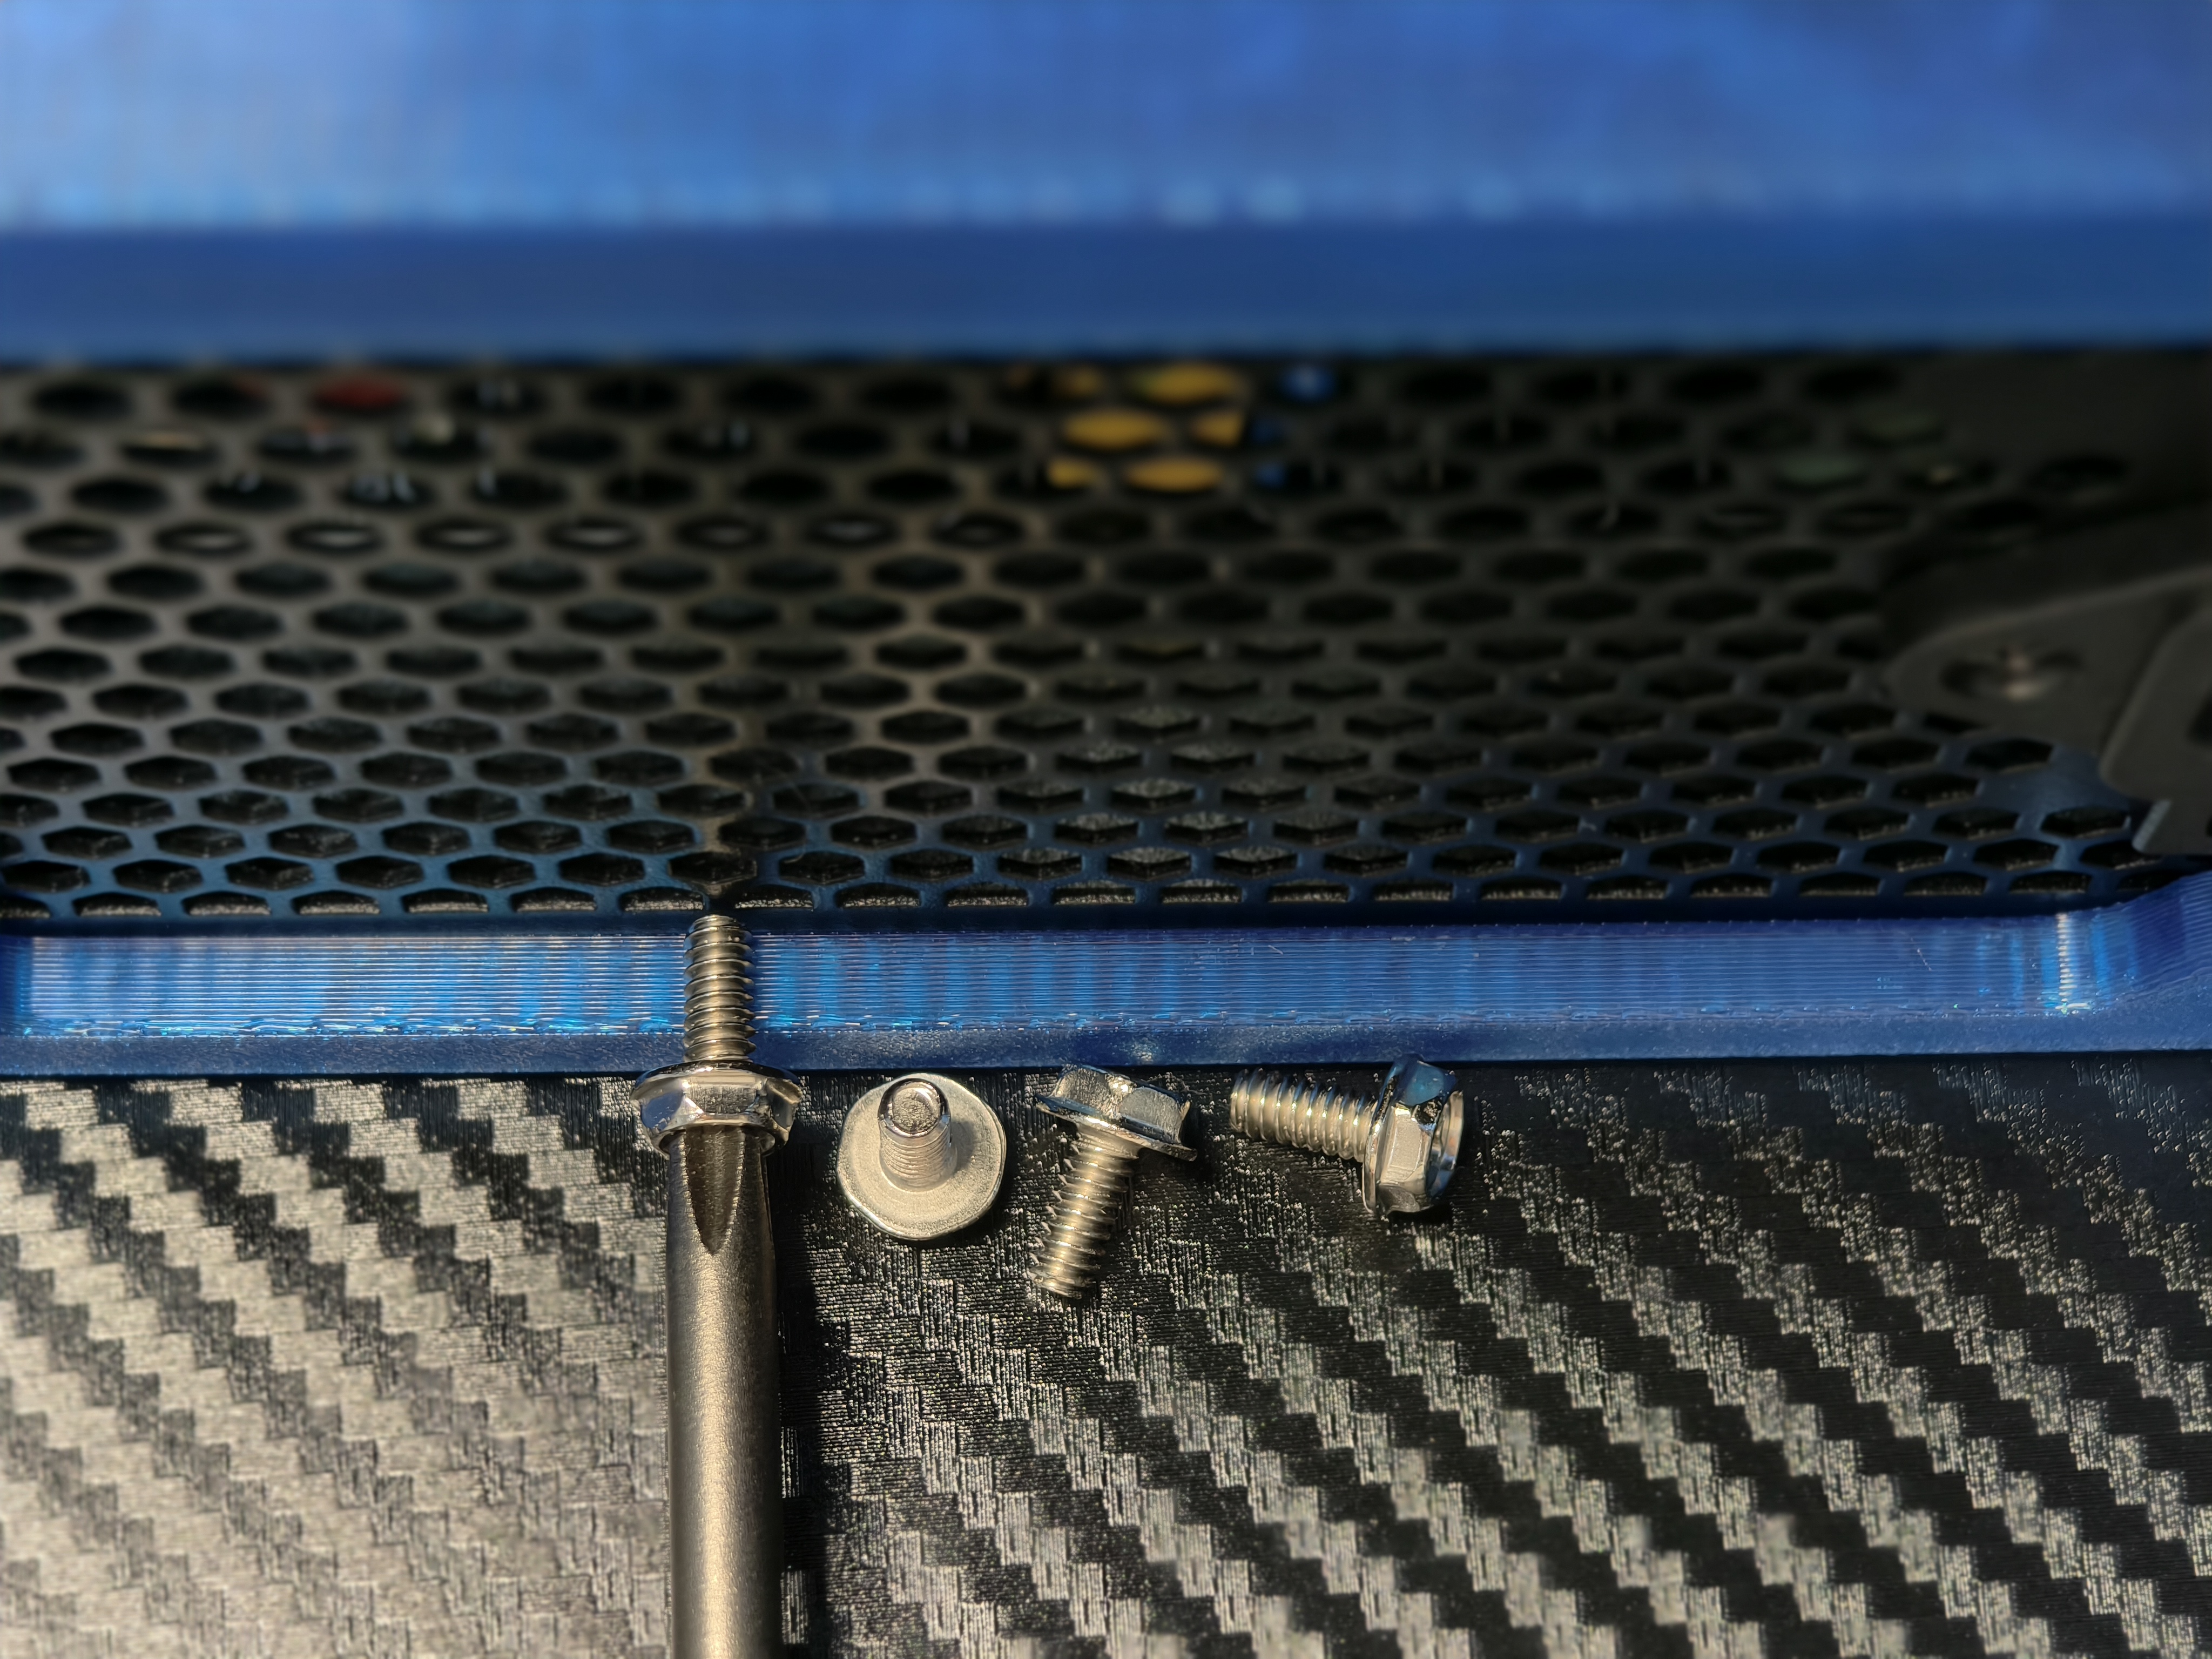
| 编号 | 零件 | 数量 | 用途 | 备注 |
| 1 | m3*10*1 金属垫圈 | 4 | 垫在主板螺丝和底座之间 | |
| 2 | m3 六角螺母 | 7 | 固定底座和螺丝 | |
| 3 | m3 法兰螺母 | 4 | 固定主板 | |
| 4 | m3*30 十字圆头螺丝 | 4 | 固定主板和底座 | 头部直径需要 5.2 mm |
| 5 | m3*10*6 内六角盘头螺丝 | 6 | 固定前盖以及 PCIE 挡板 | |
| 6 | m3*9*0.8 纸垫圈 | 6 | 固定主板以及 PCIE 挡板 | |
| 7 | m3*25 内六角薄杯头螺丝 | 3 | 固定 PCIE 支架和底座 | |
| - | 12.8*6.5*5.8mm 长柄微动开关 | 1 | 开机按钮 | |
| - | 30cm 双母头杜邦线 | 2 | 连接开机按钮和主板 | |
| - | 6#*8 十字外六角法兰螺丝 | 4 | 固定电源 | 太长的螺丝可能会损坏电源 |
| No. | Part | quantities | usage | mark |
| 1 | m3*10*1 Metal washers | 4 | Pad between motherboard screws and base | |
| 2 | m3 hex nut | 7 | Fixed base and screws | |
| 3 | m3 Flange nut | 4 | Fixed motherboard | |
| 4 | m3*30 Phillips round head screws | 4 | Securing the motherboard and base | Head diameter requires 5.2 mm |
| 5 | m3*10*6 Hexagon socket flat head screws | 6 | Secure front cover and PCIE baffle | |
| 6 | m3*9*0.8 paper washer | 6 | Secure the motherboard and PCIE bracket | |
| 7 | m3*25 Hex socket thin cup head screws | 3 | Fixed PCIE bracket and base | |
| - | 12.8*6.5*5.8mm Long handle microswitch | 1 | power button | |
| - | 30cm Duplex female DuPont cable | 2 | Connecting the power button and the motherboard | |
| - | 6#*8 Cross hex socket flange screws | 4 | Fixed power supply | Screws that are too long may damage the power supply |
组装说明
Assembly Instructions
-
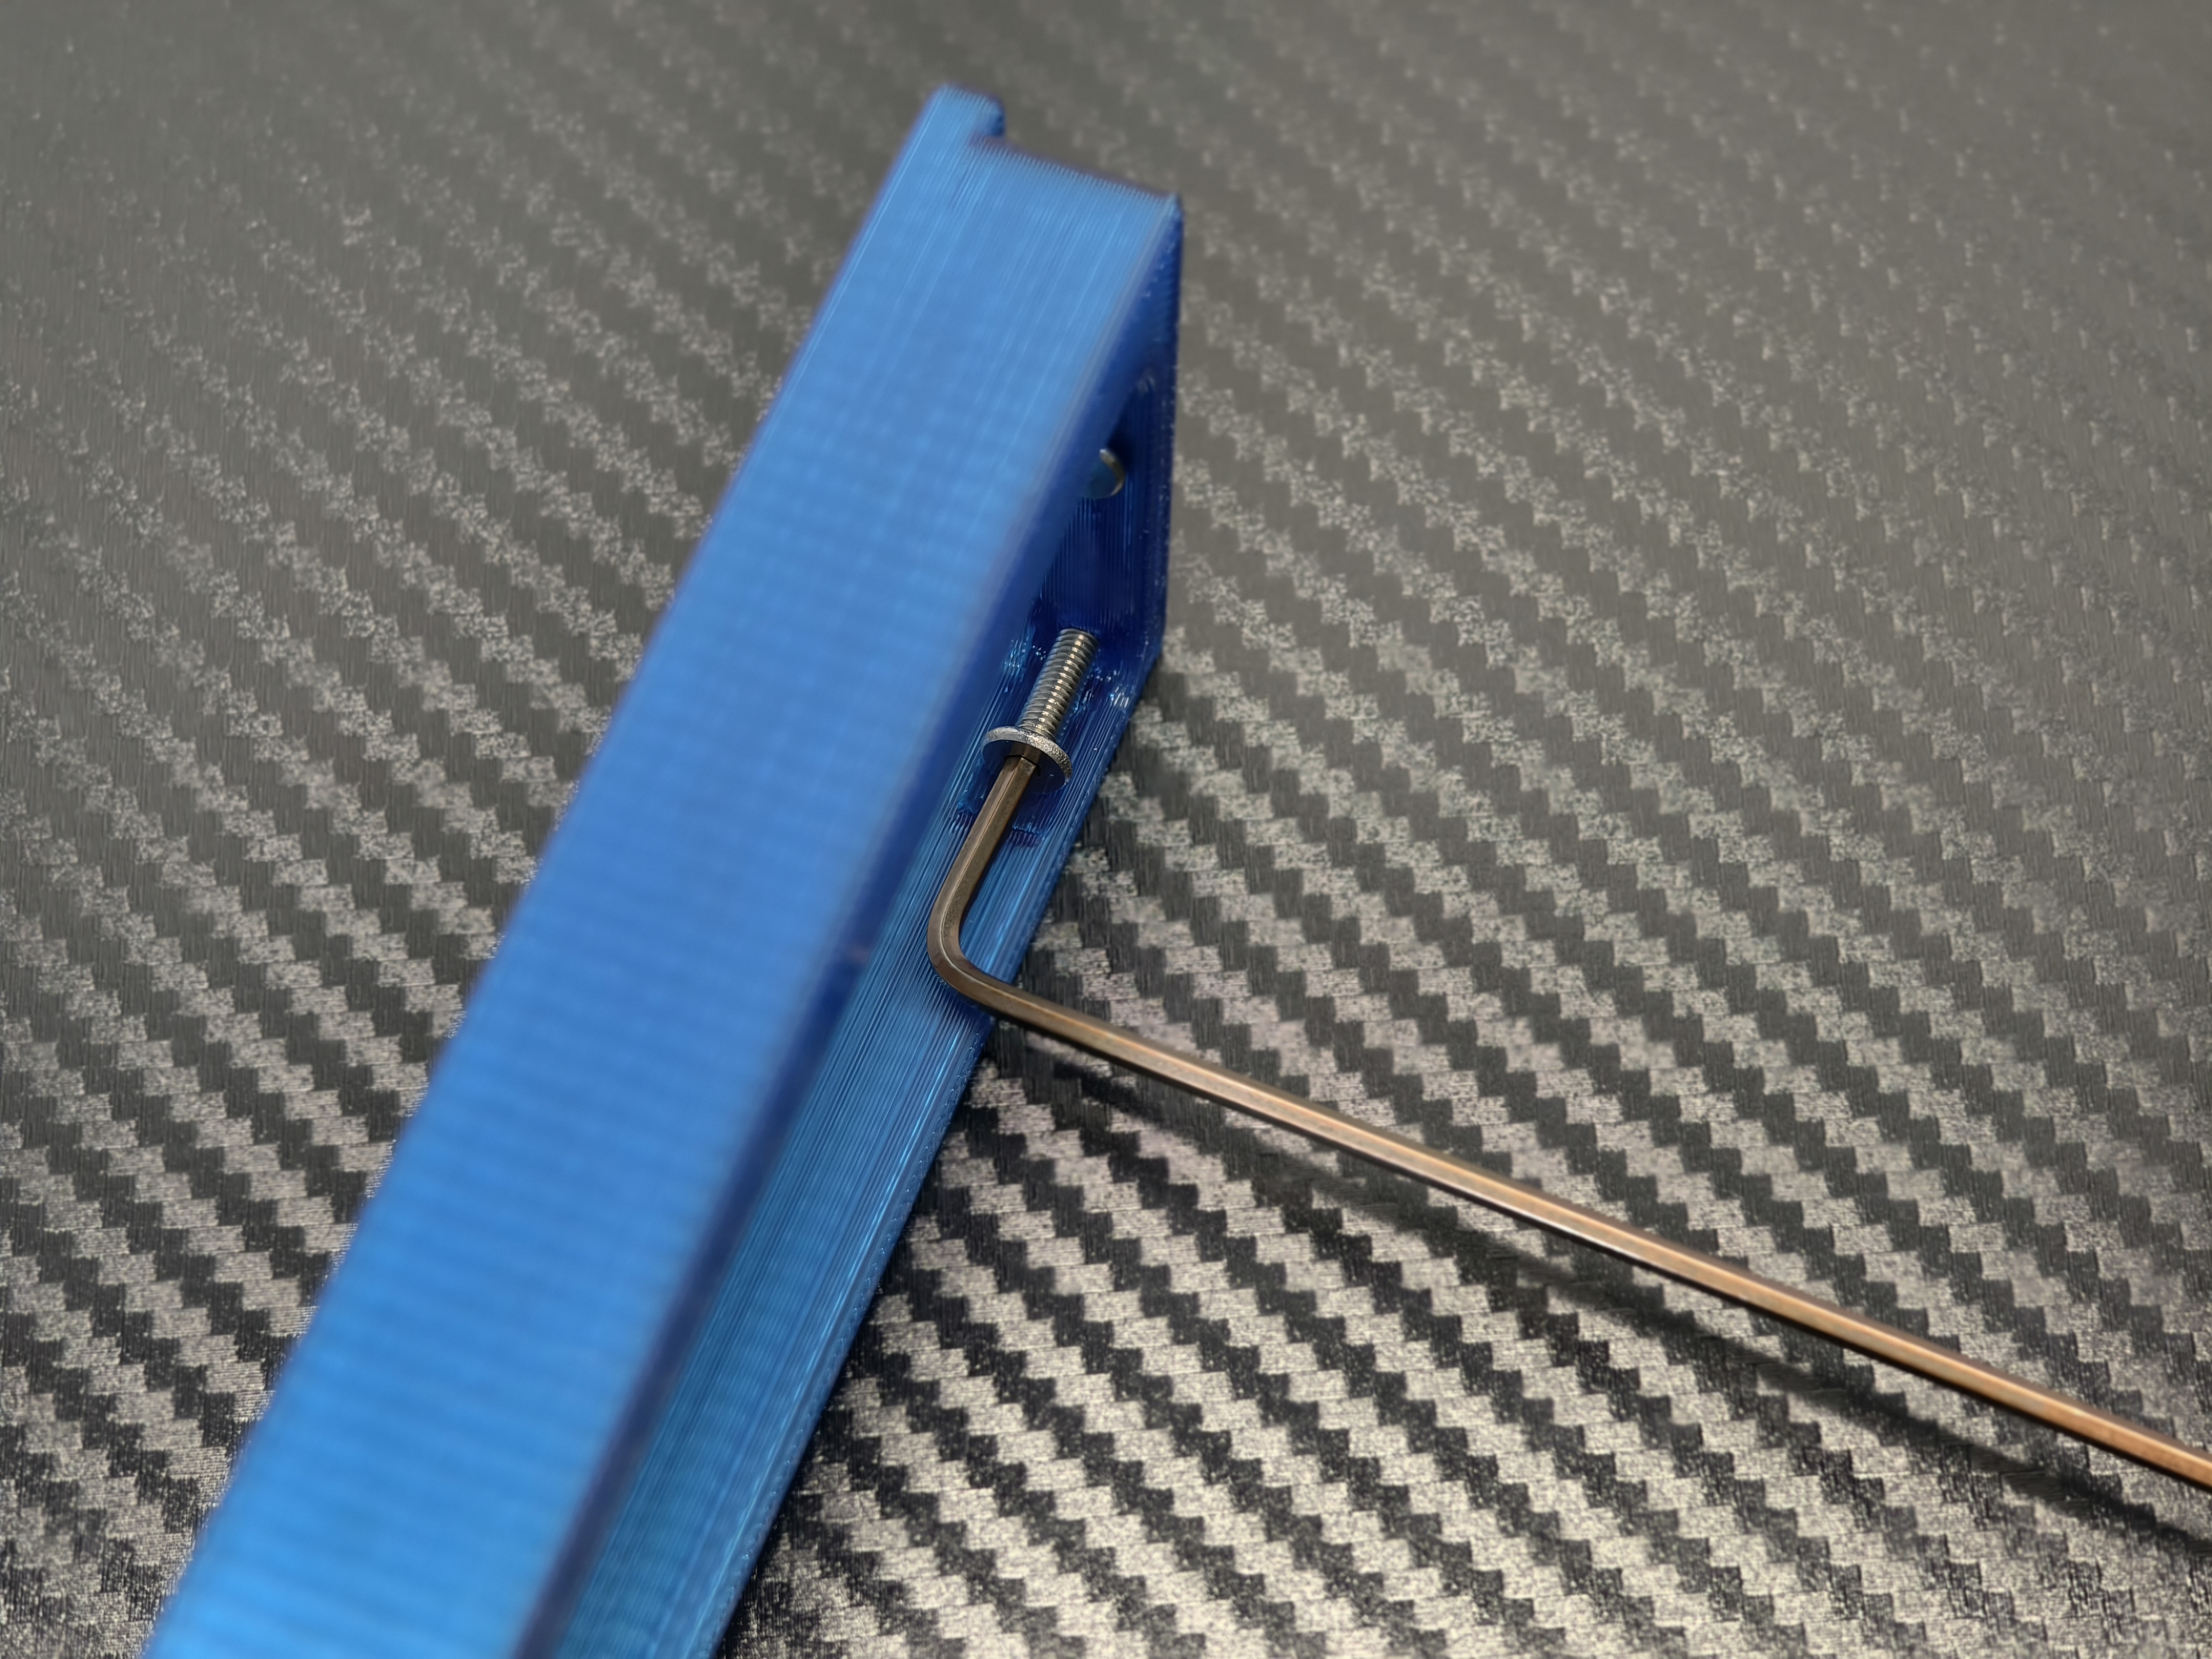
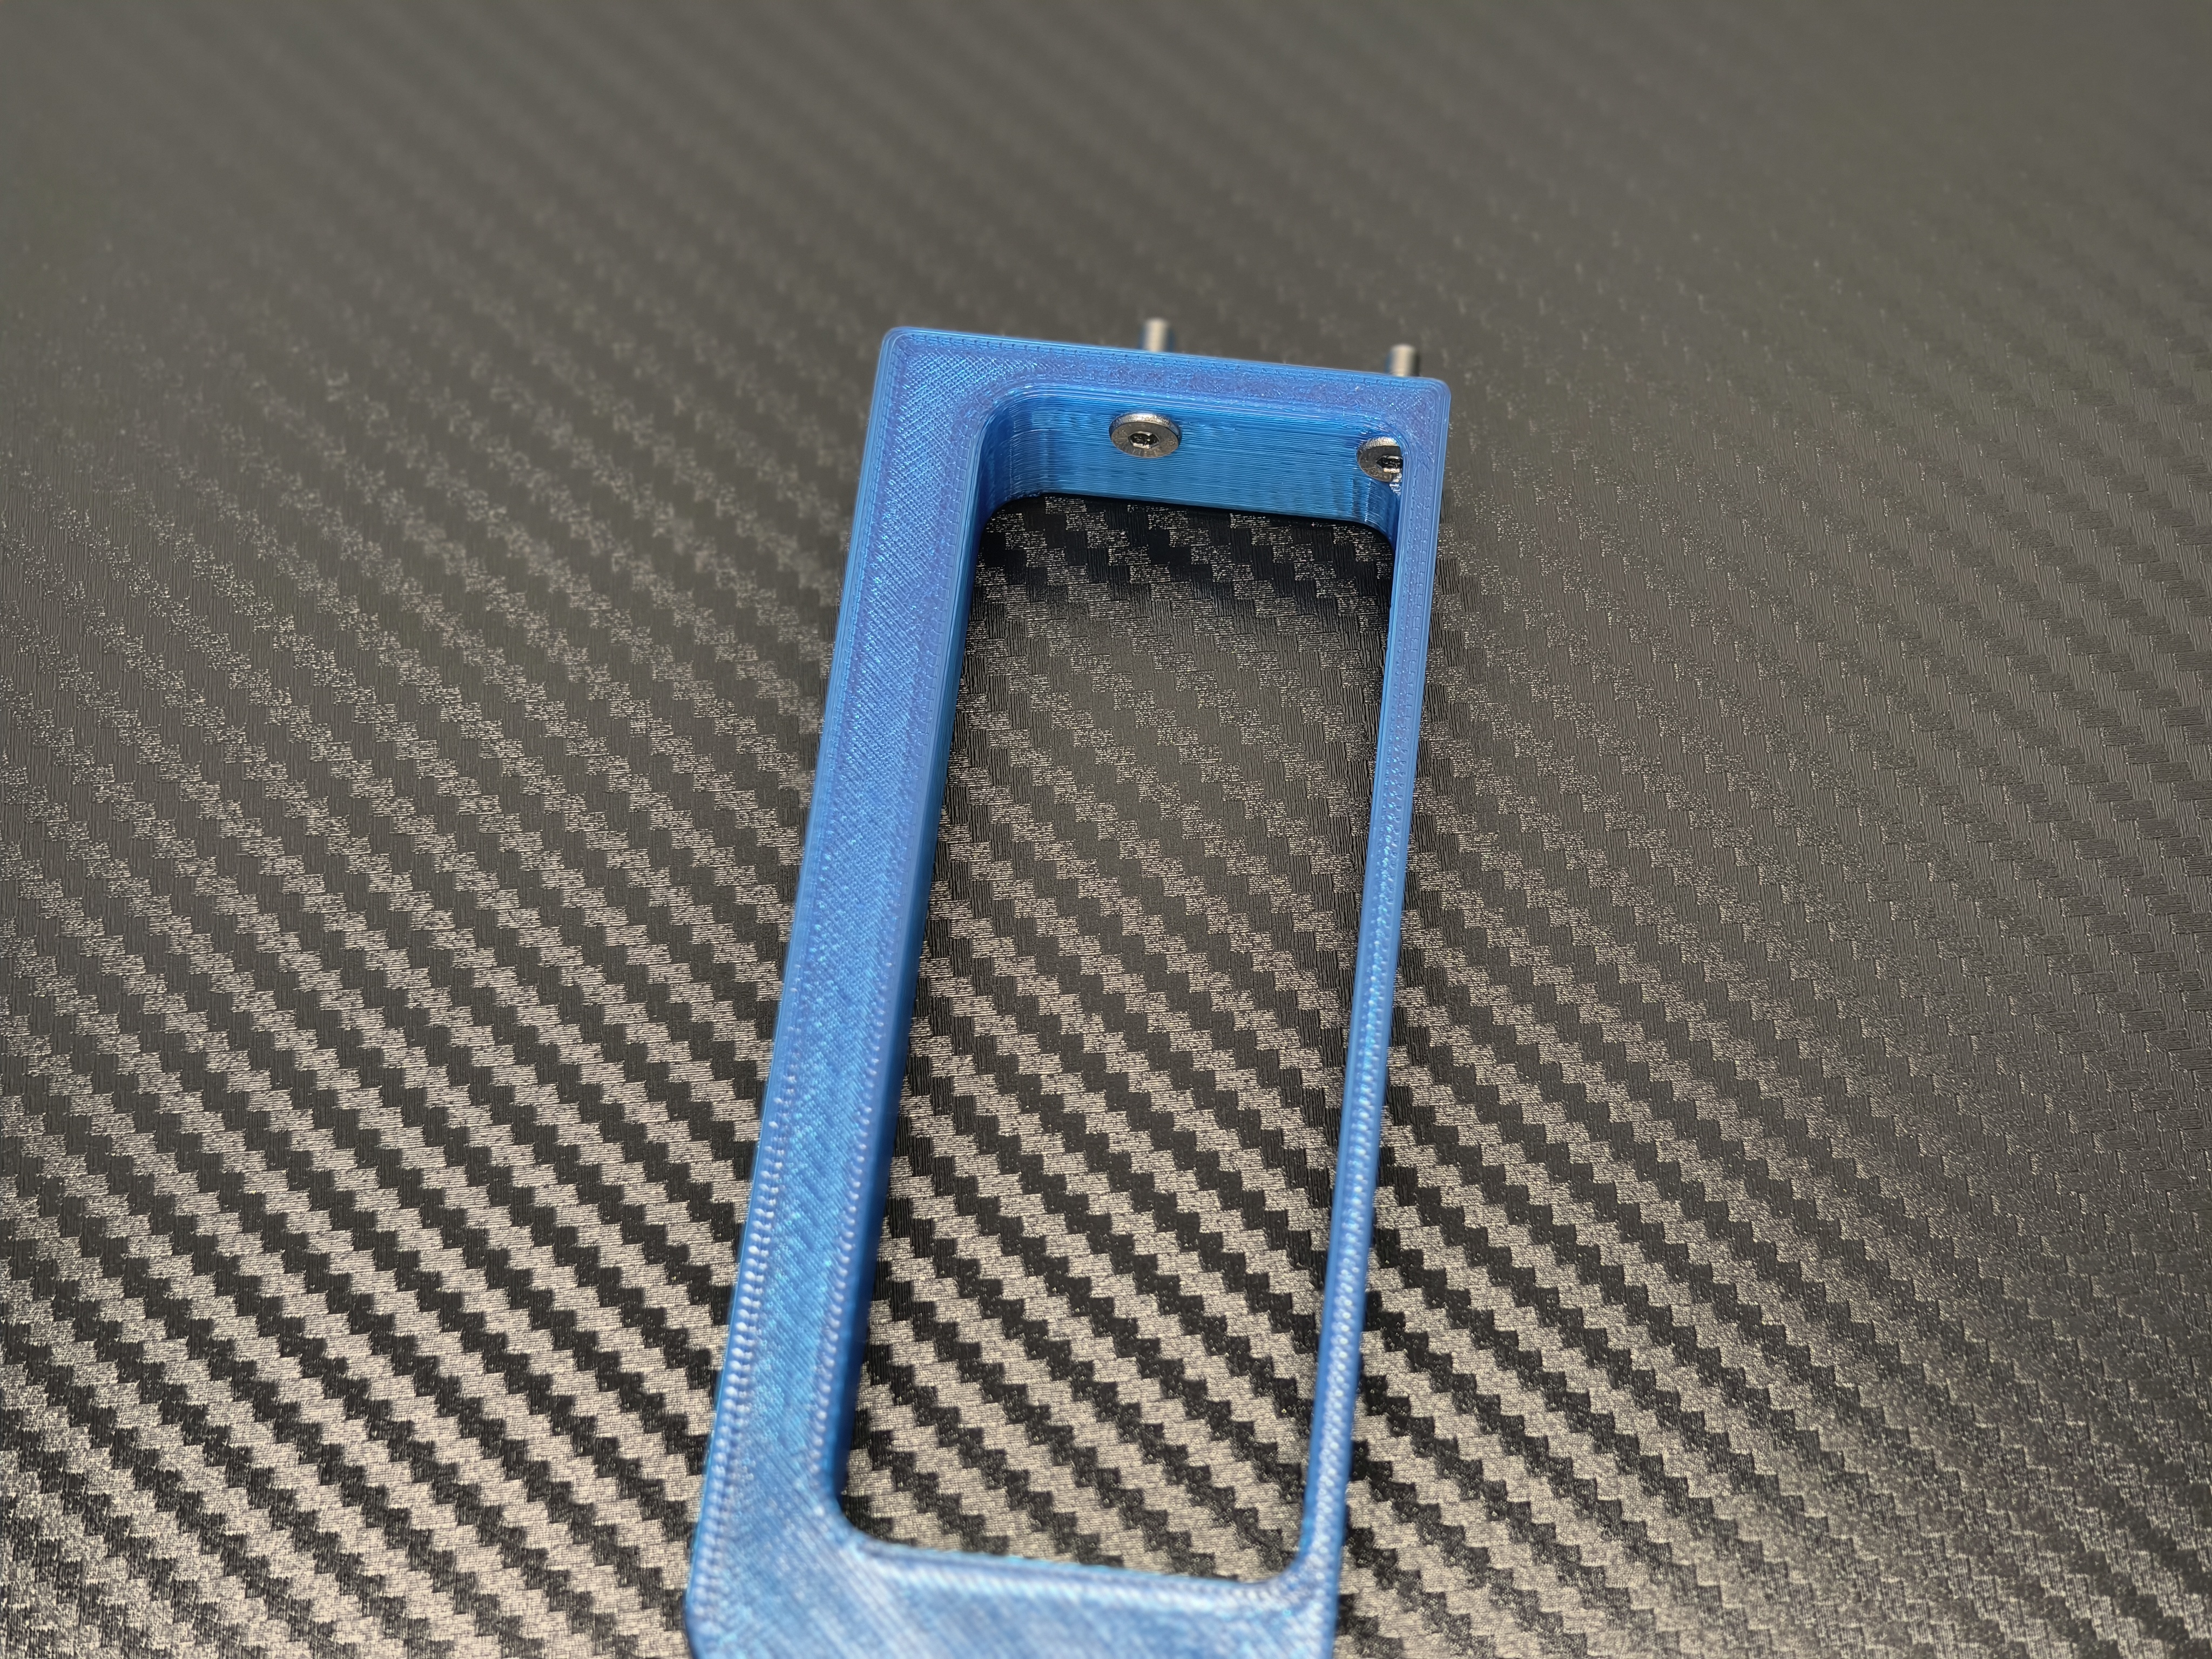
拧入 PCIE 支架螺丝
Screw in the PCIE bracket screws
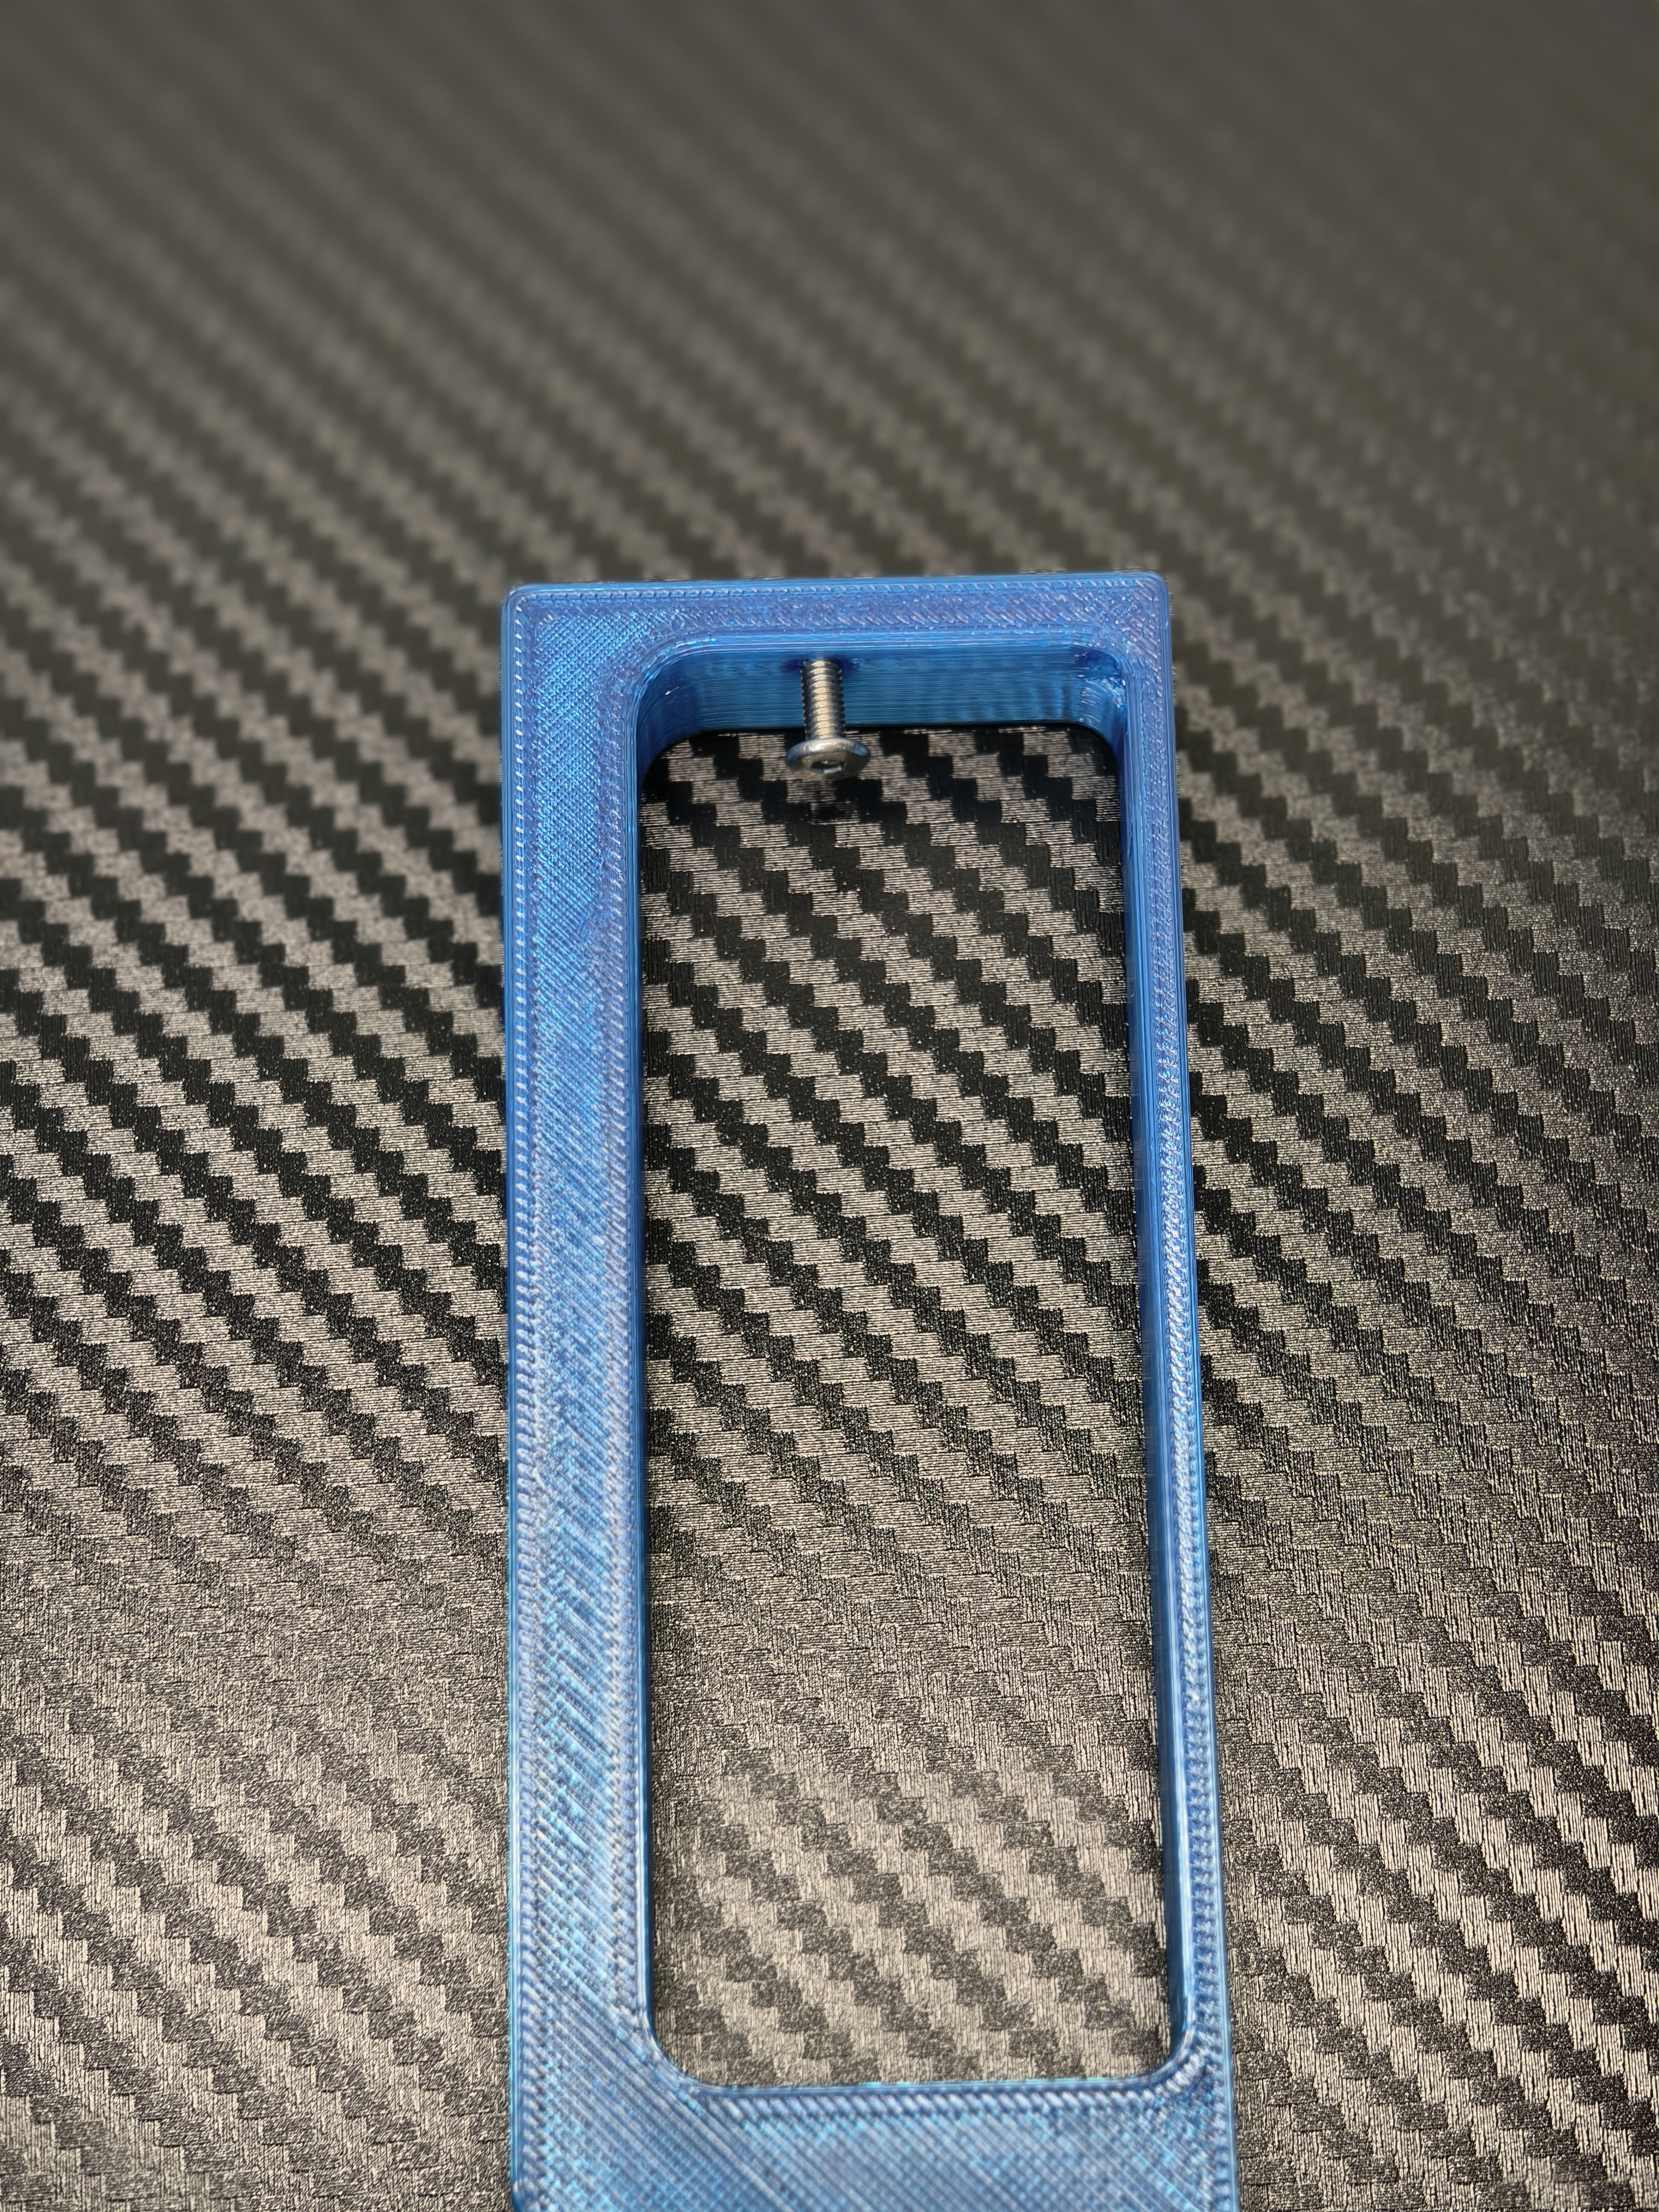
-
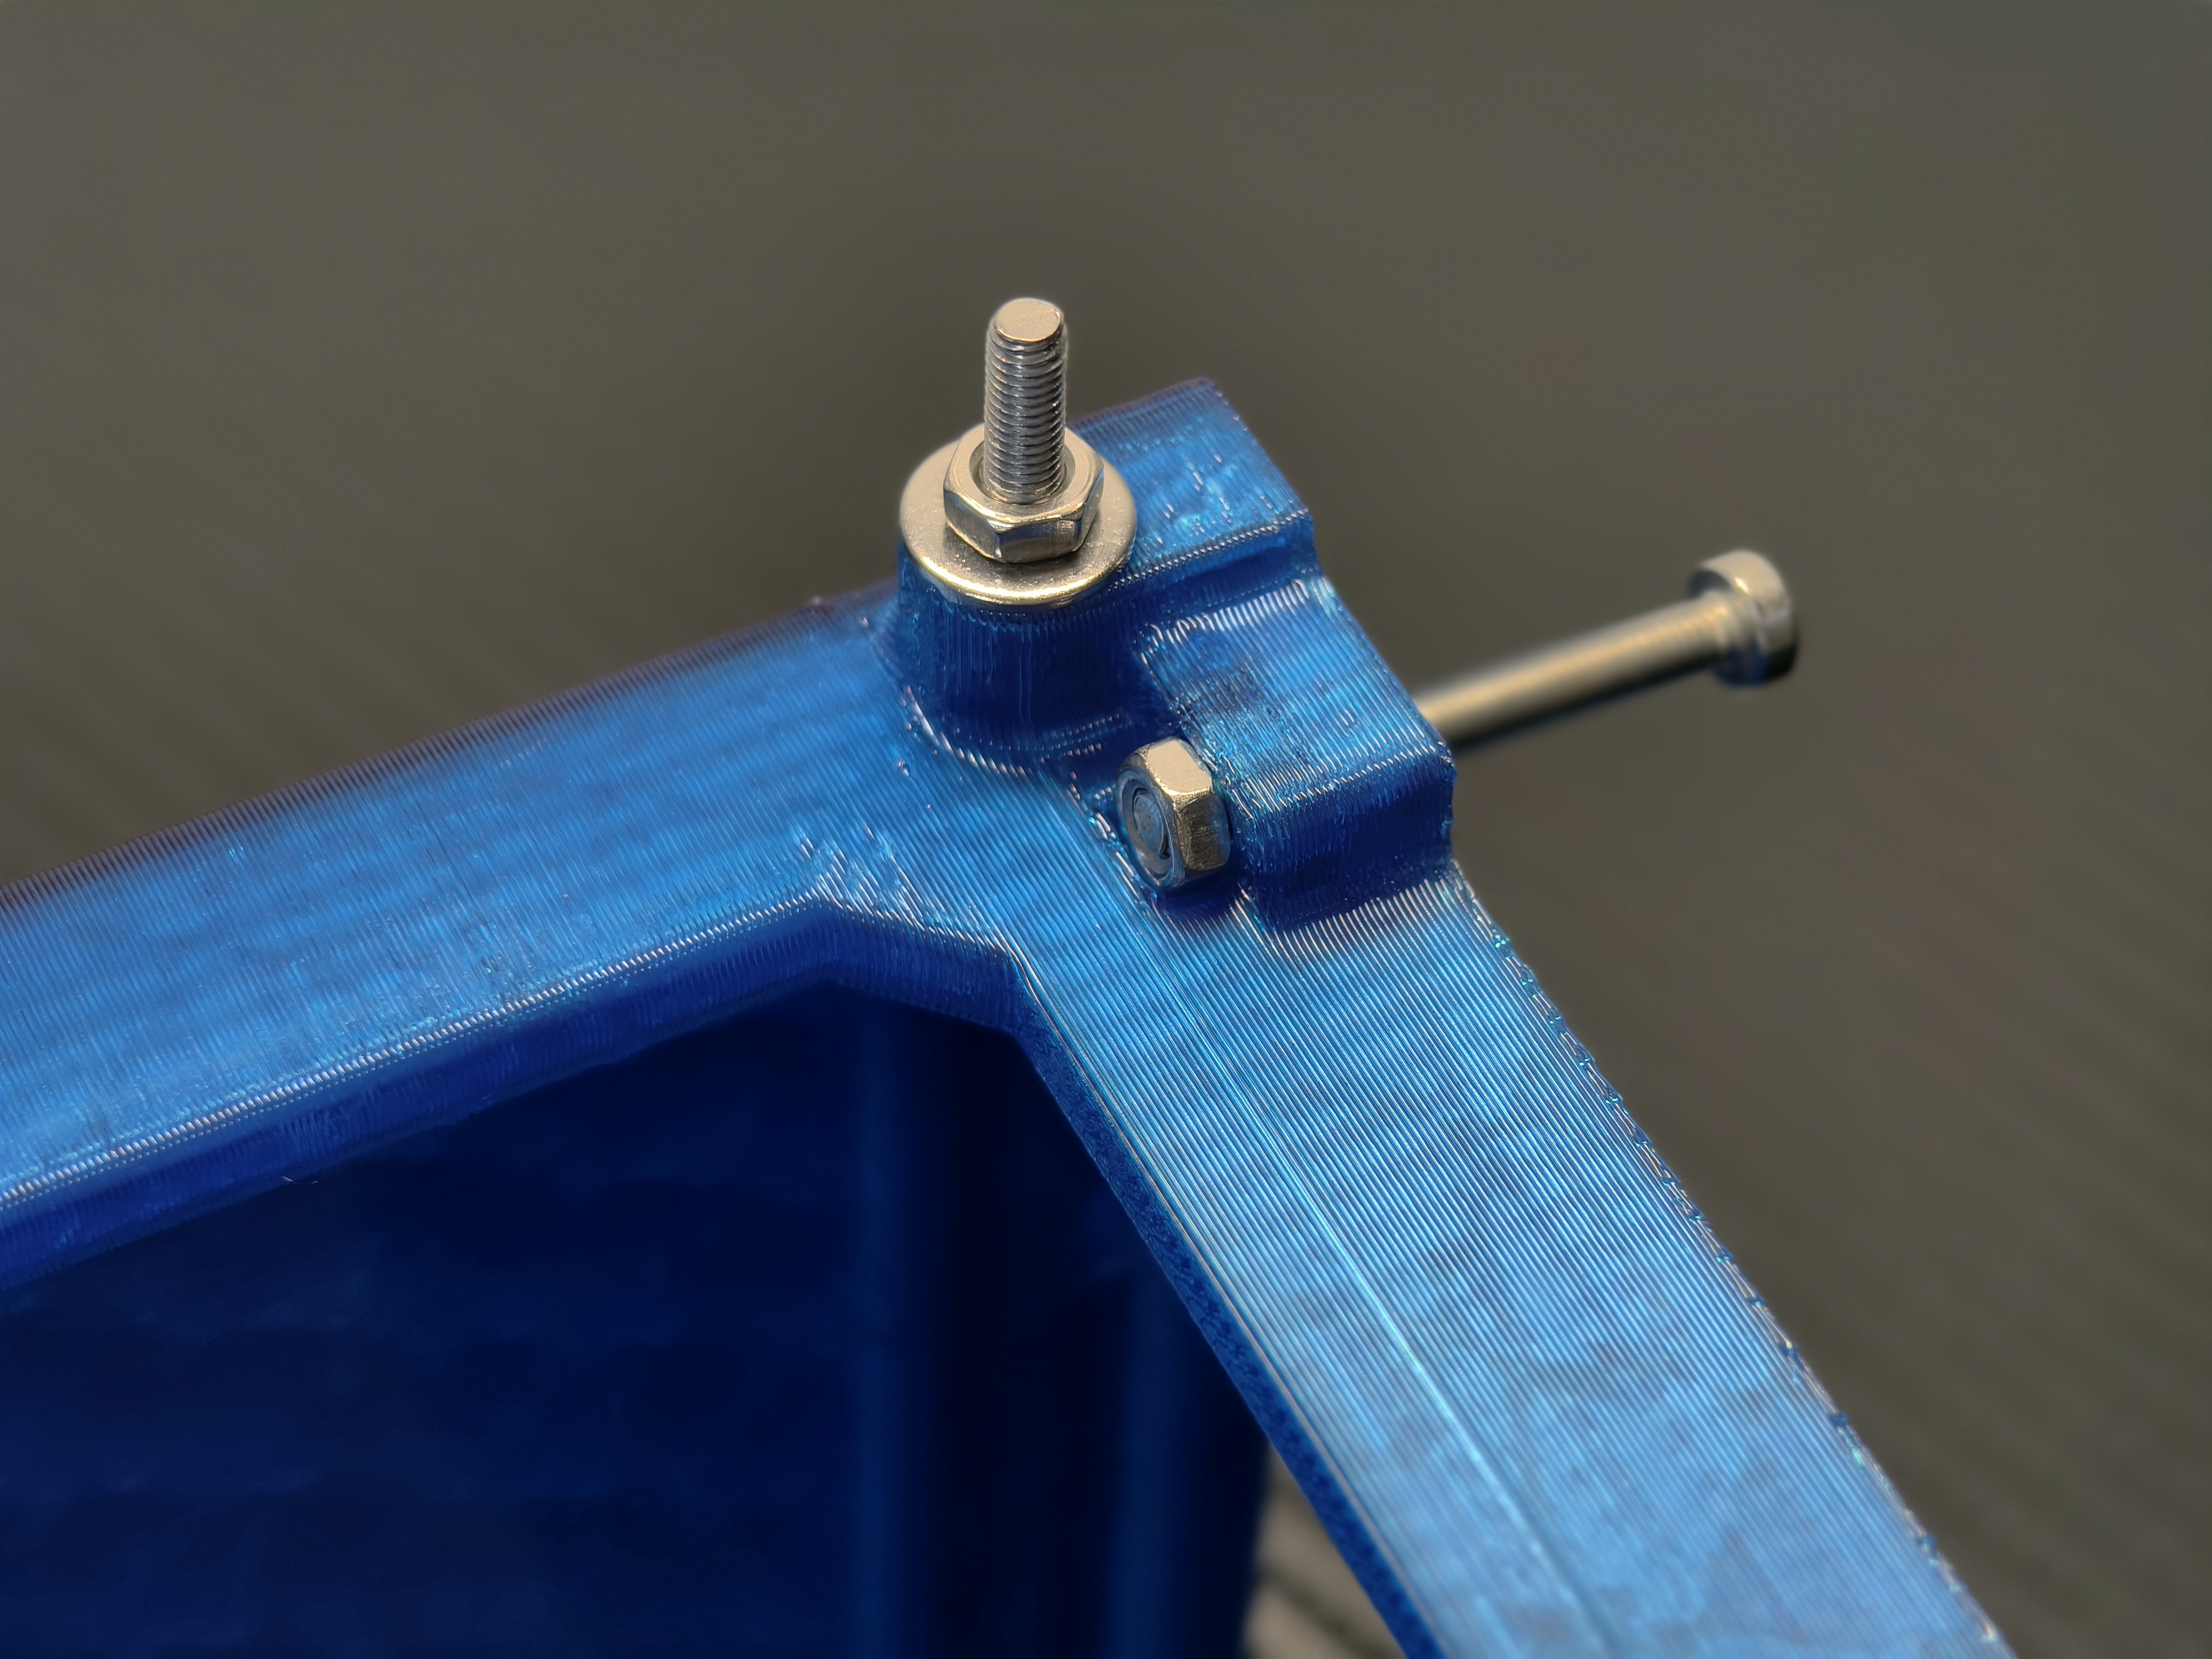
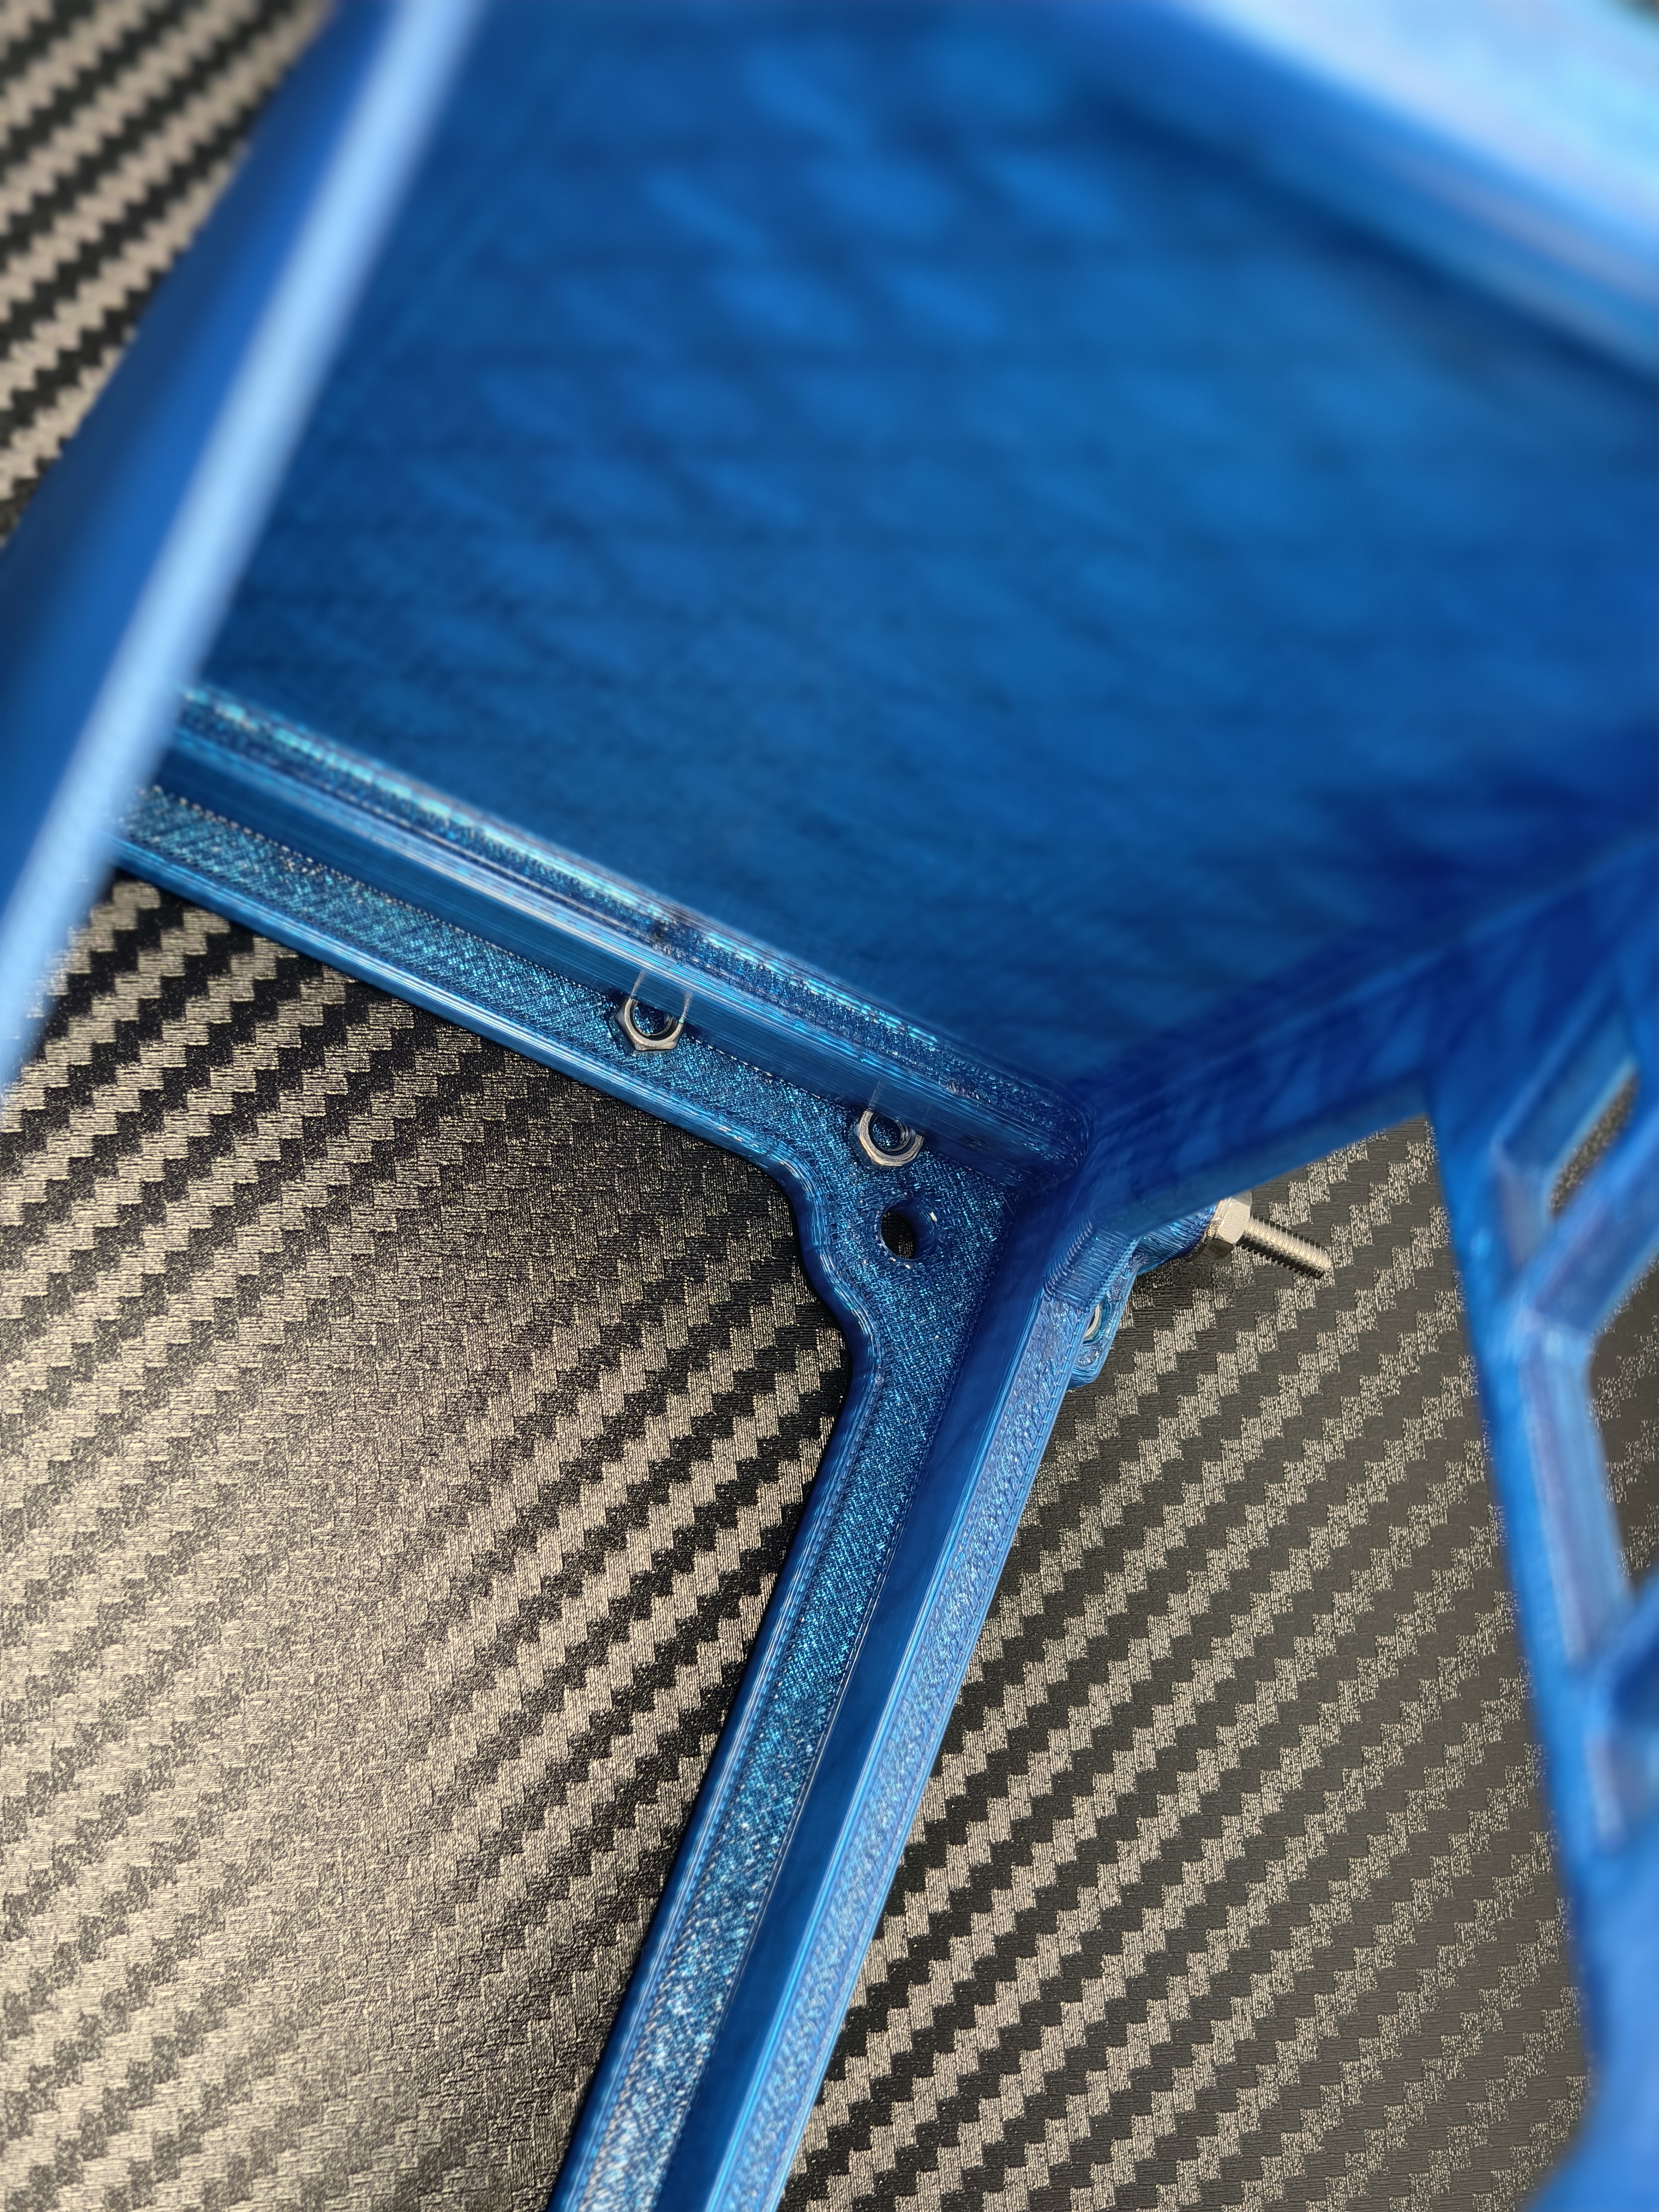
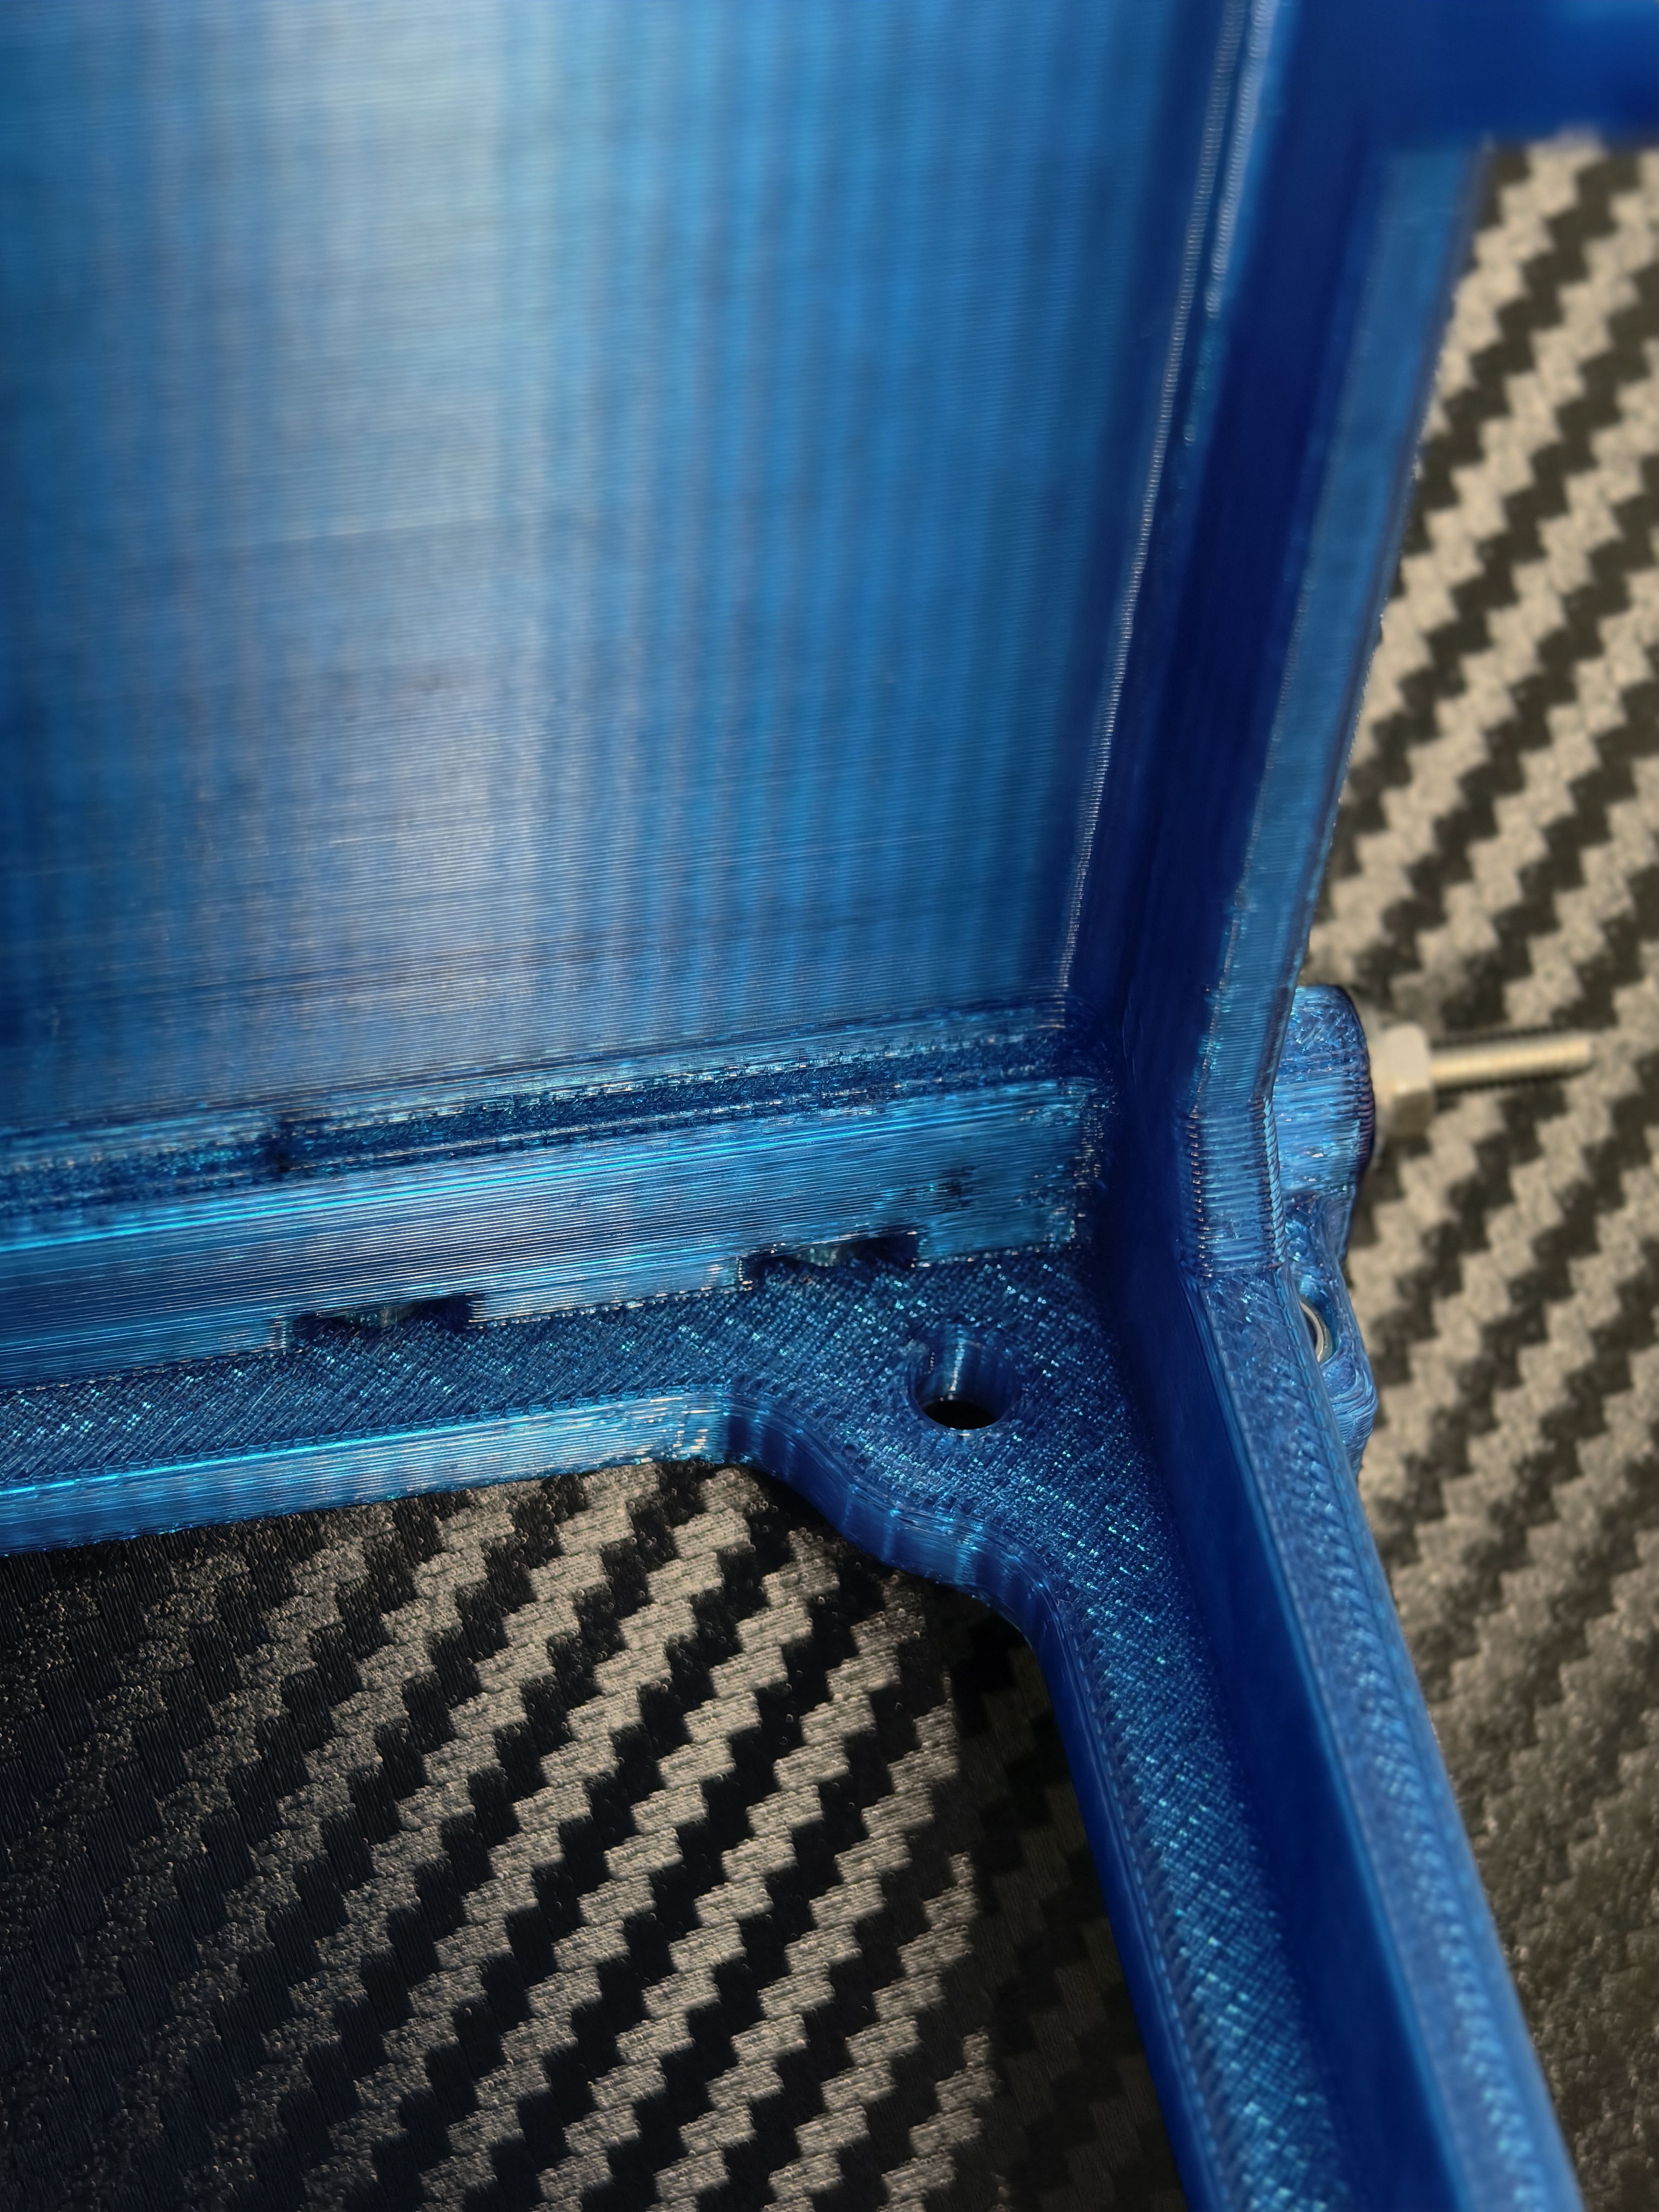
放置螺母
Placement of PCIE stand retaining nut
-
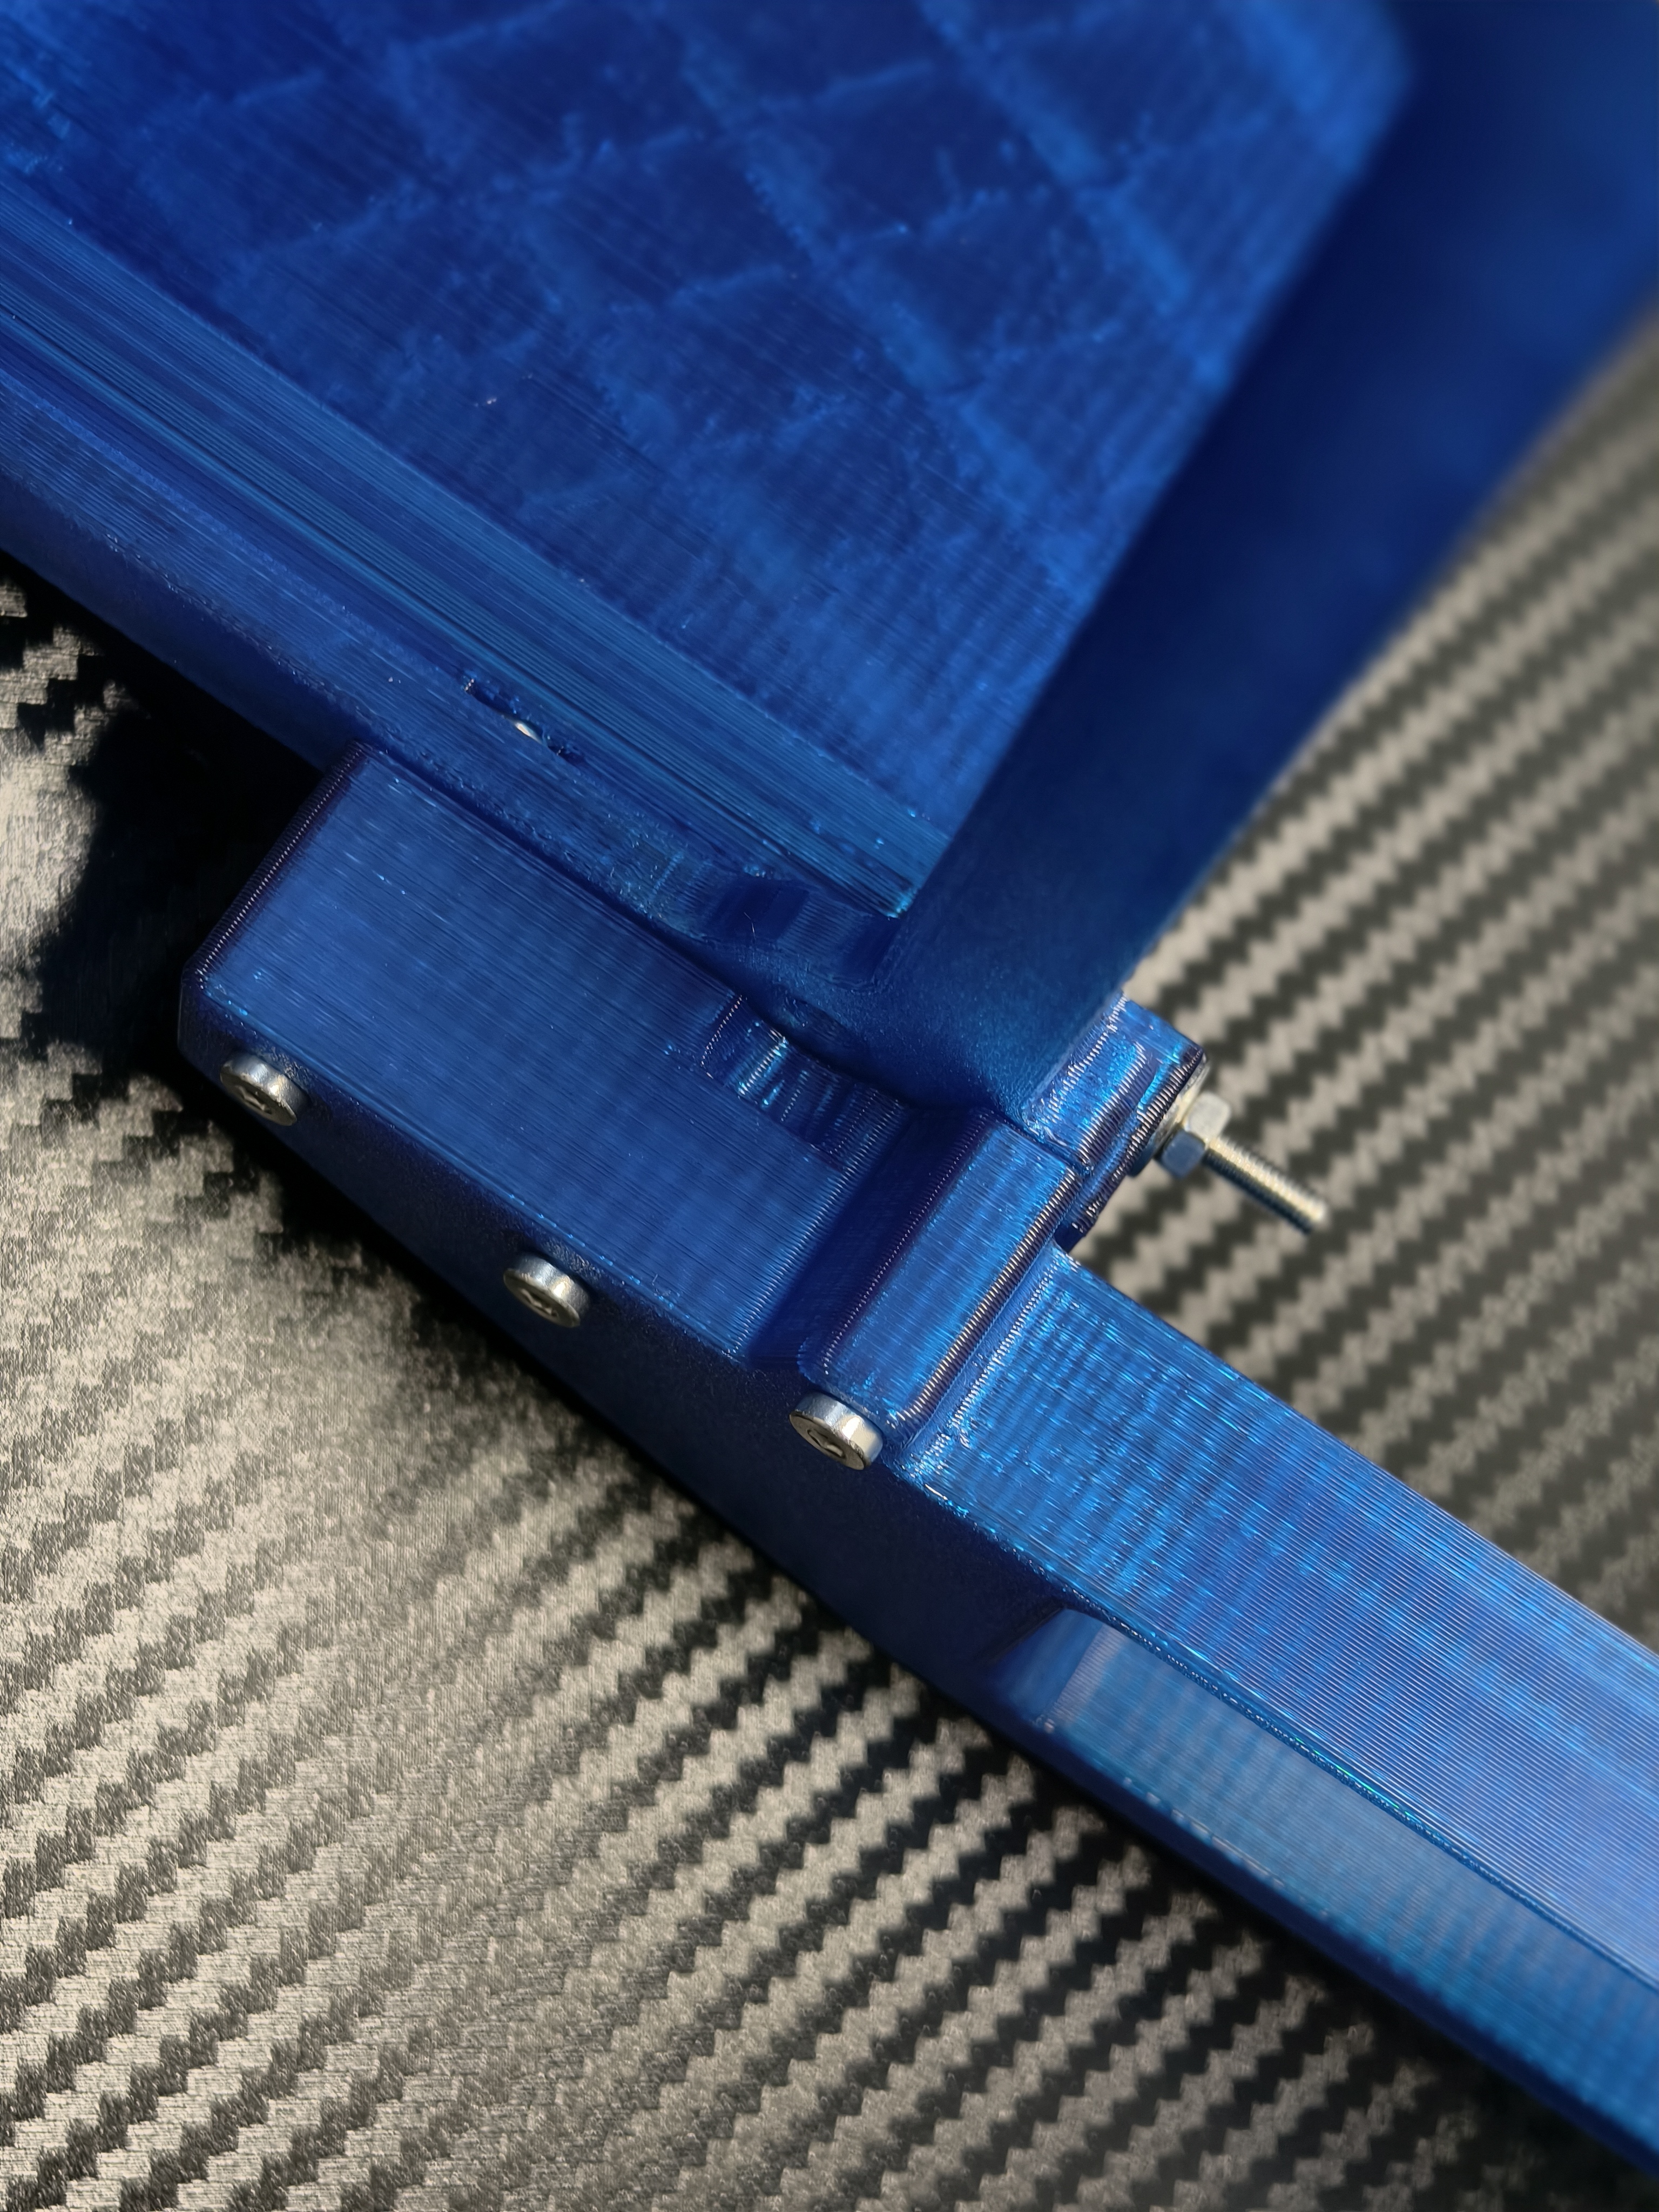
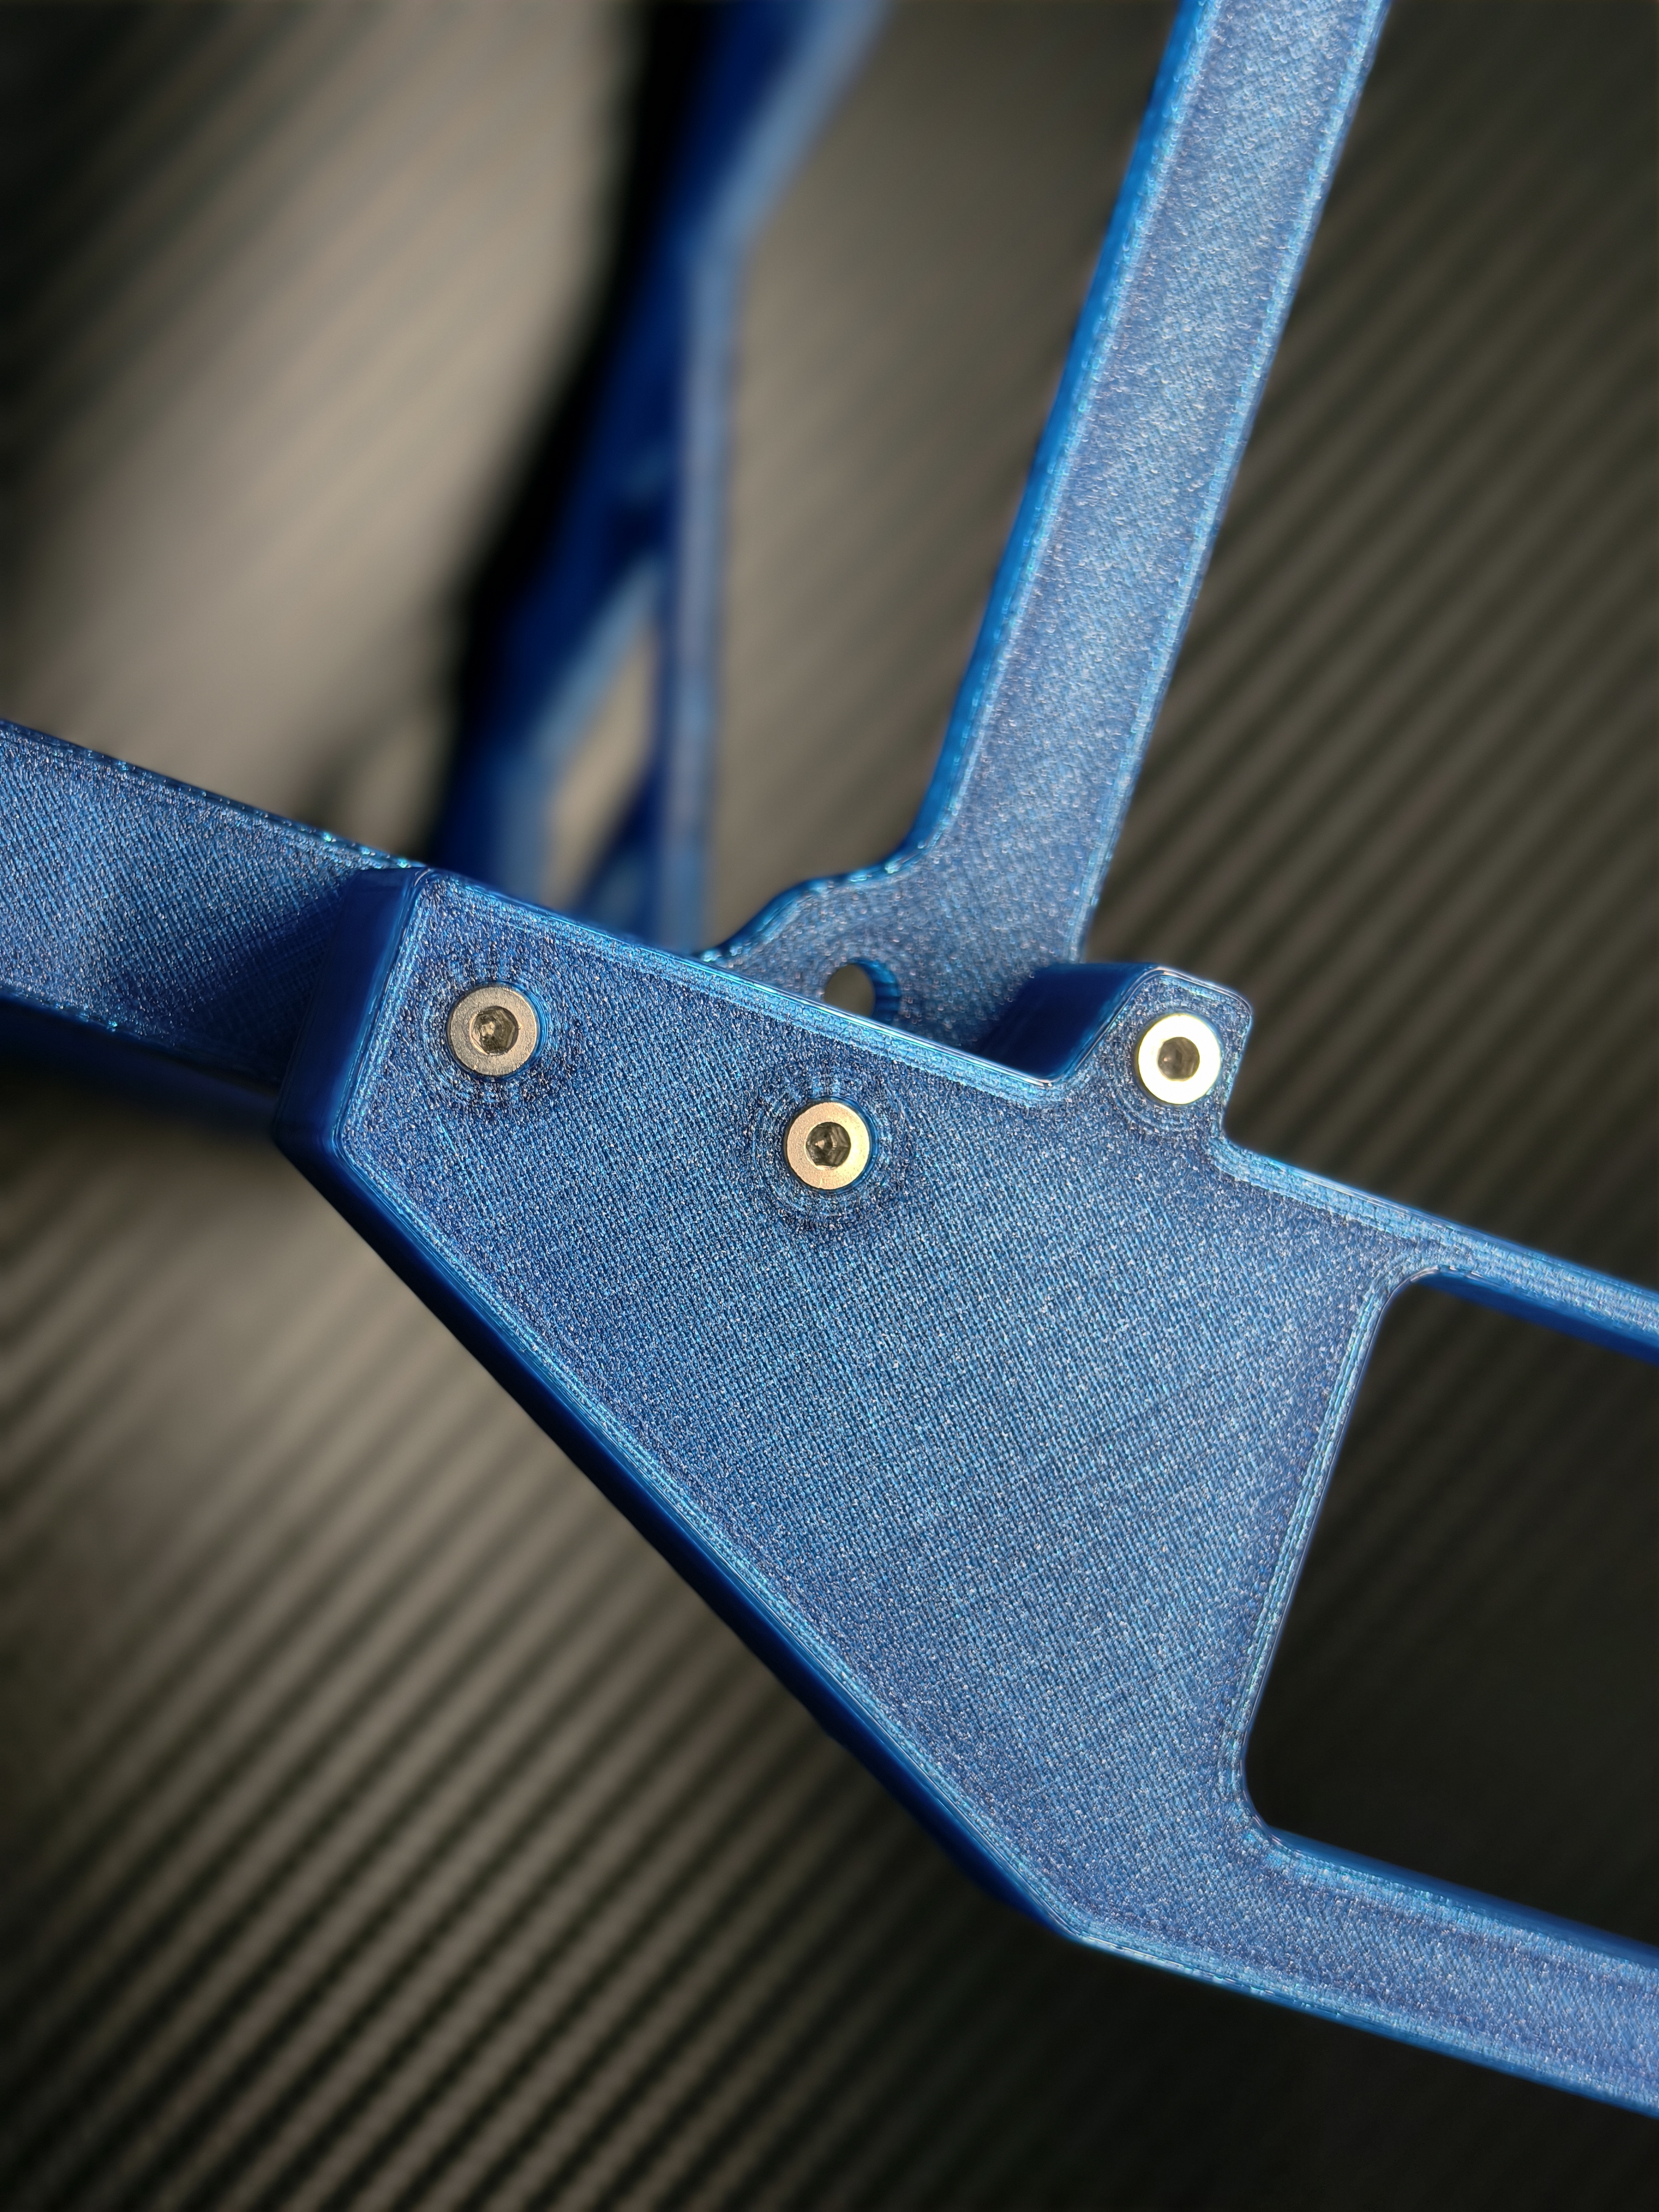
拧入固定支架和底座的螺丝
Screw in the screws that hold the stand and base
-
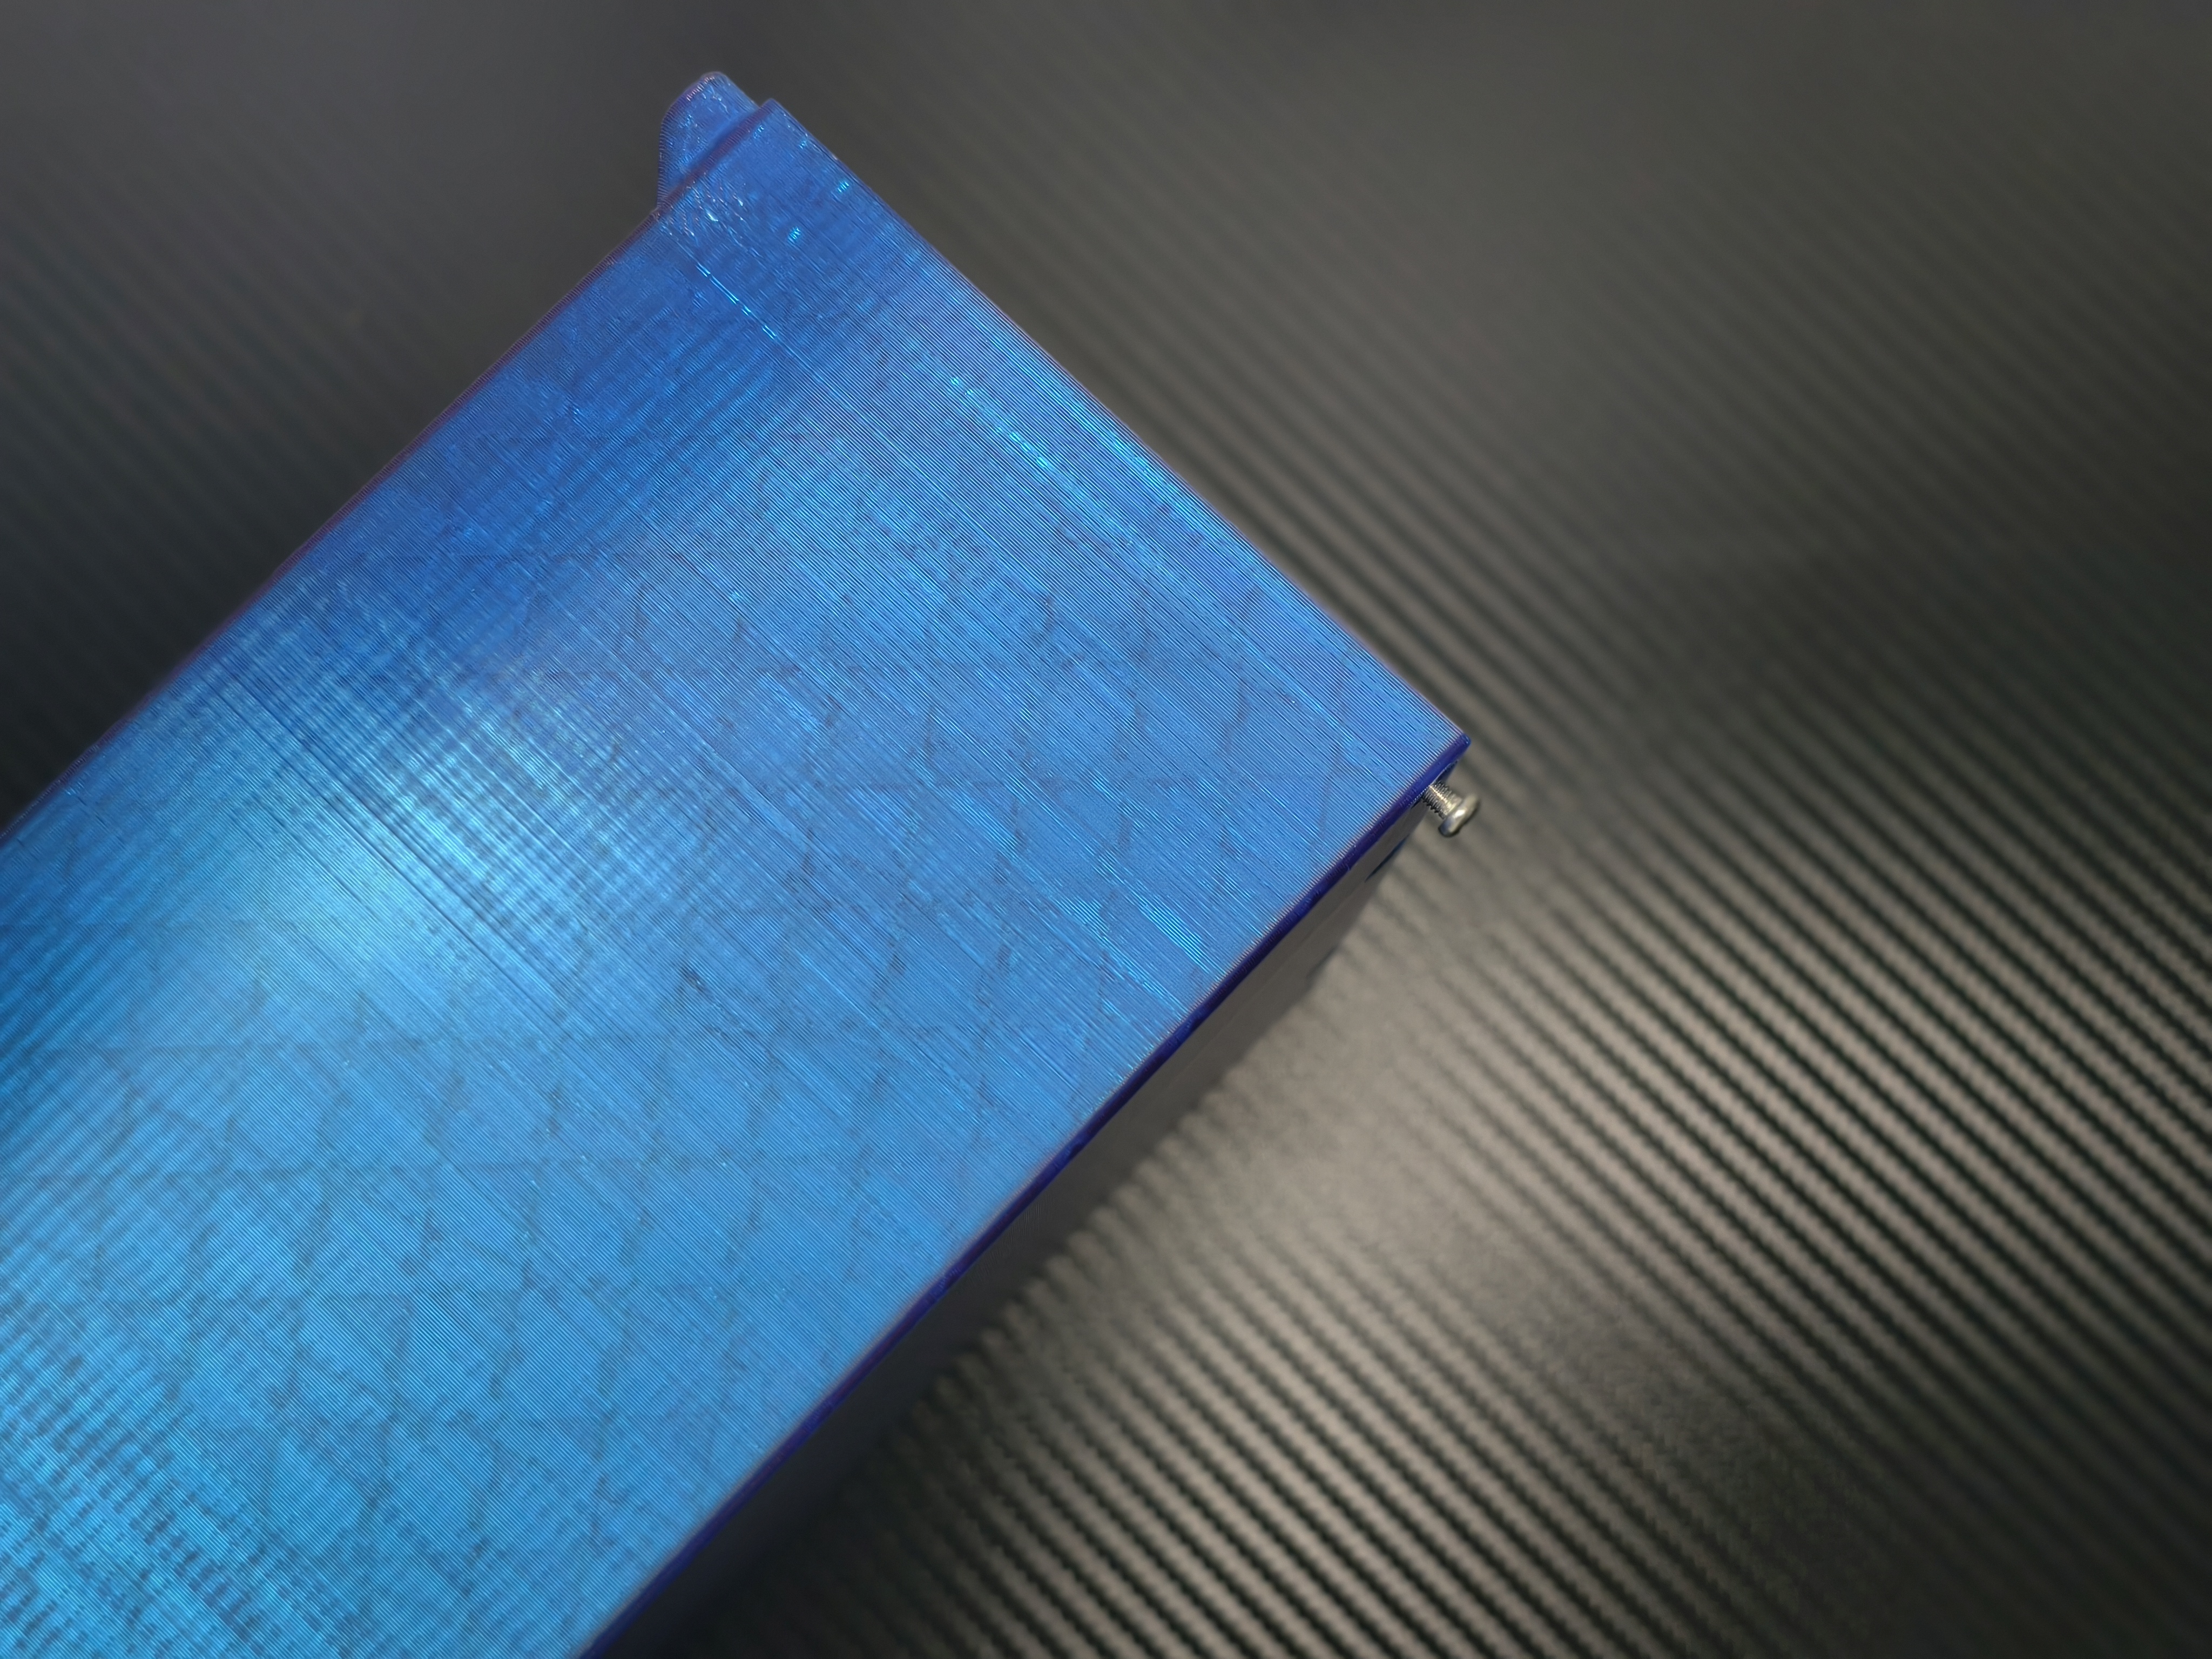
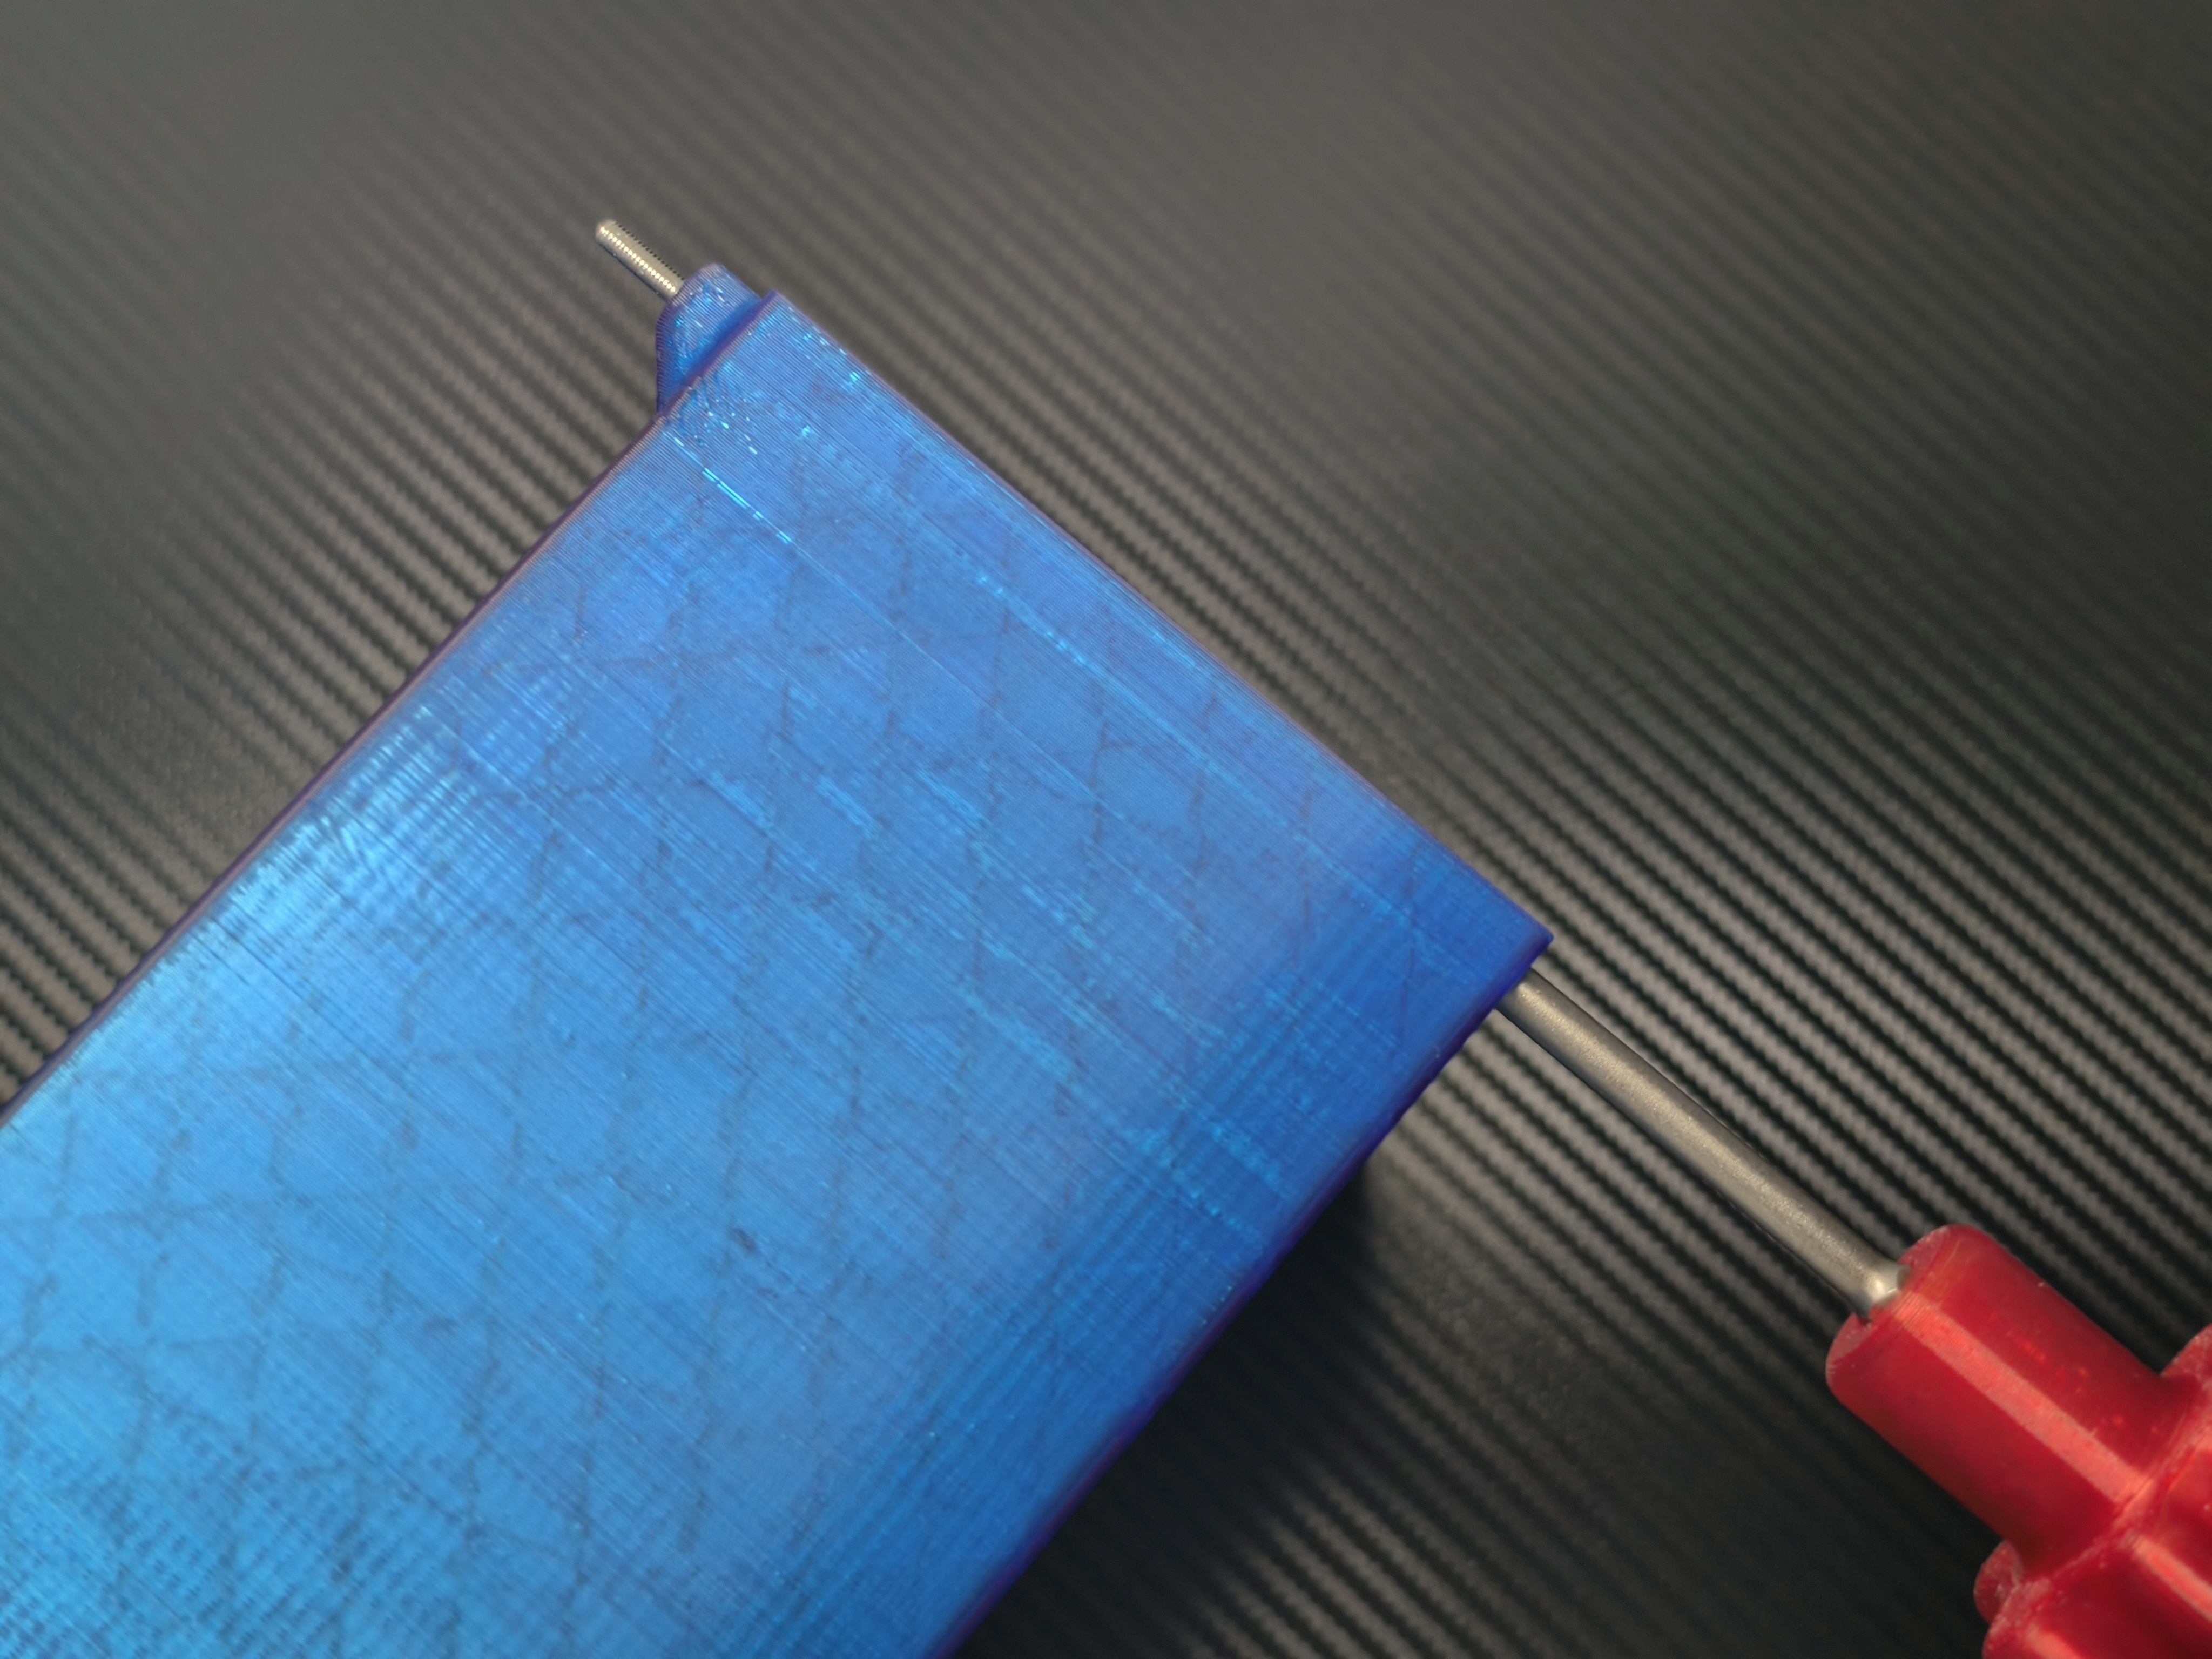
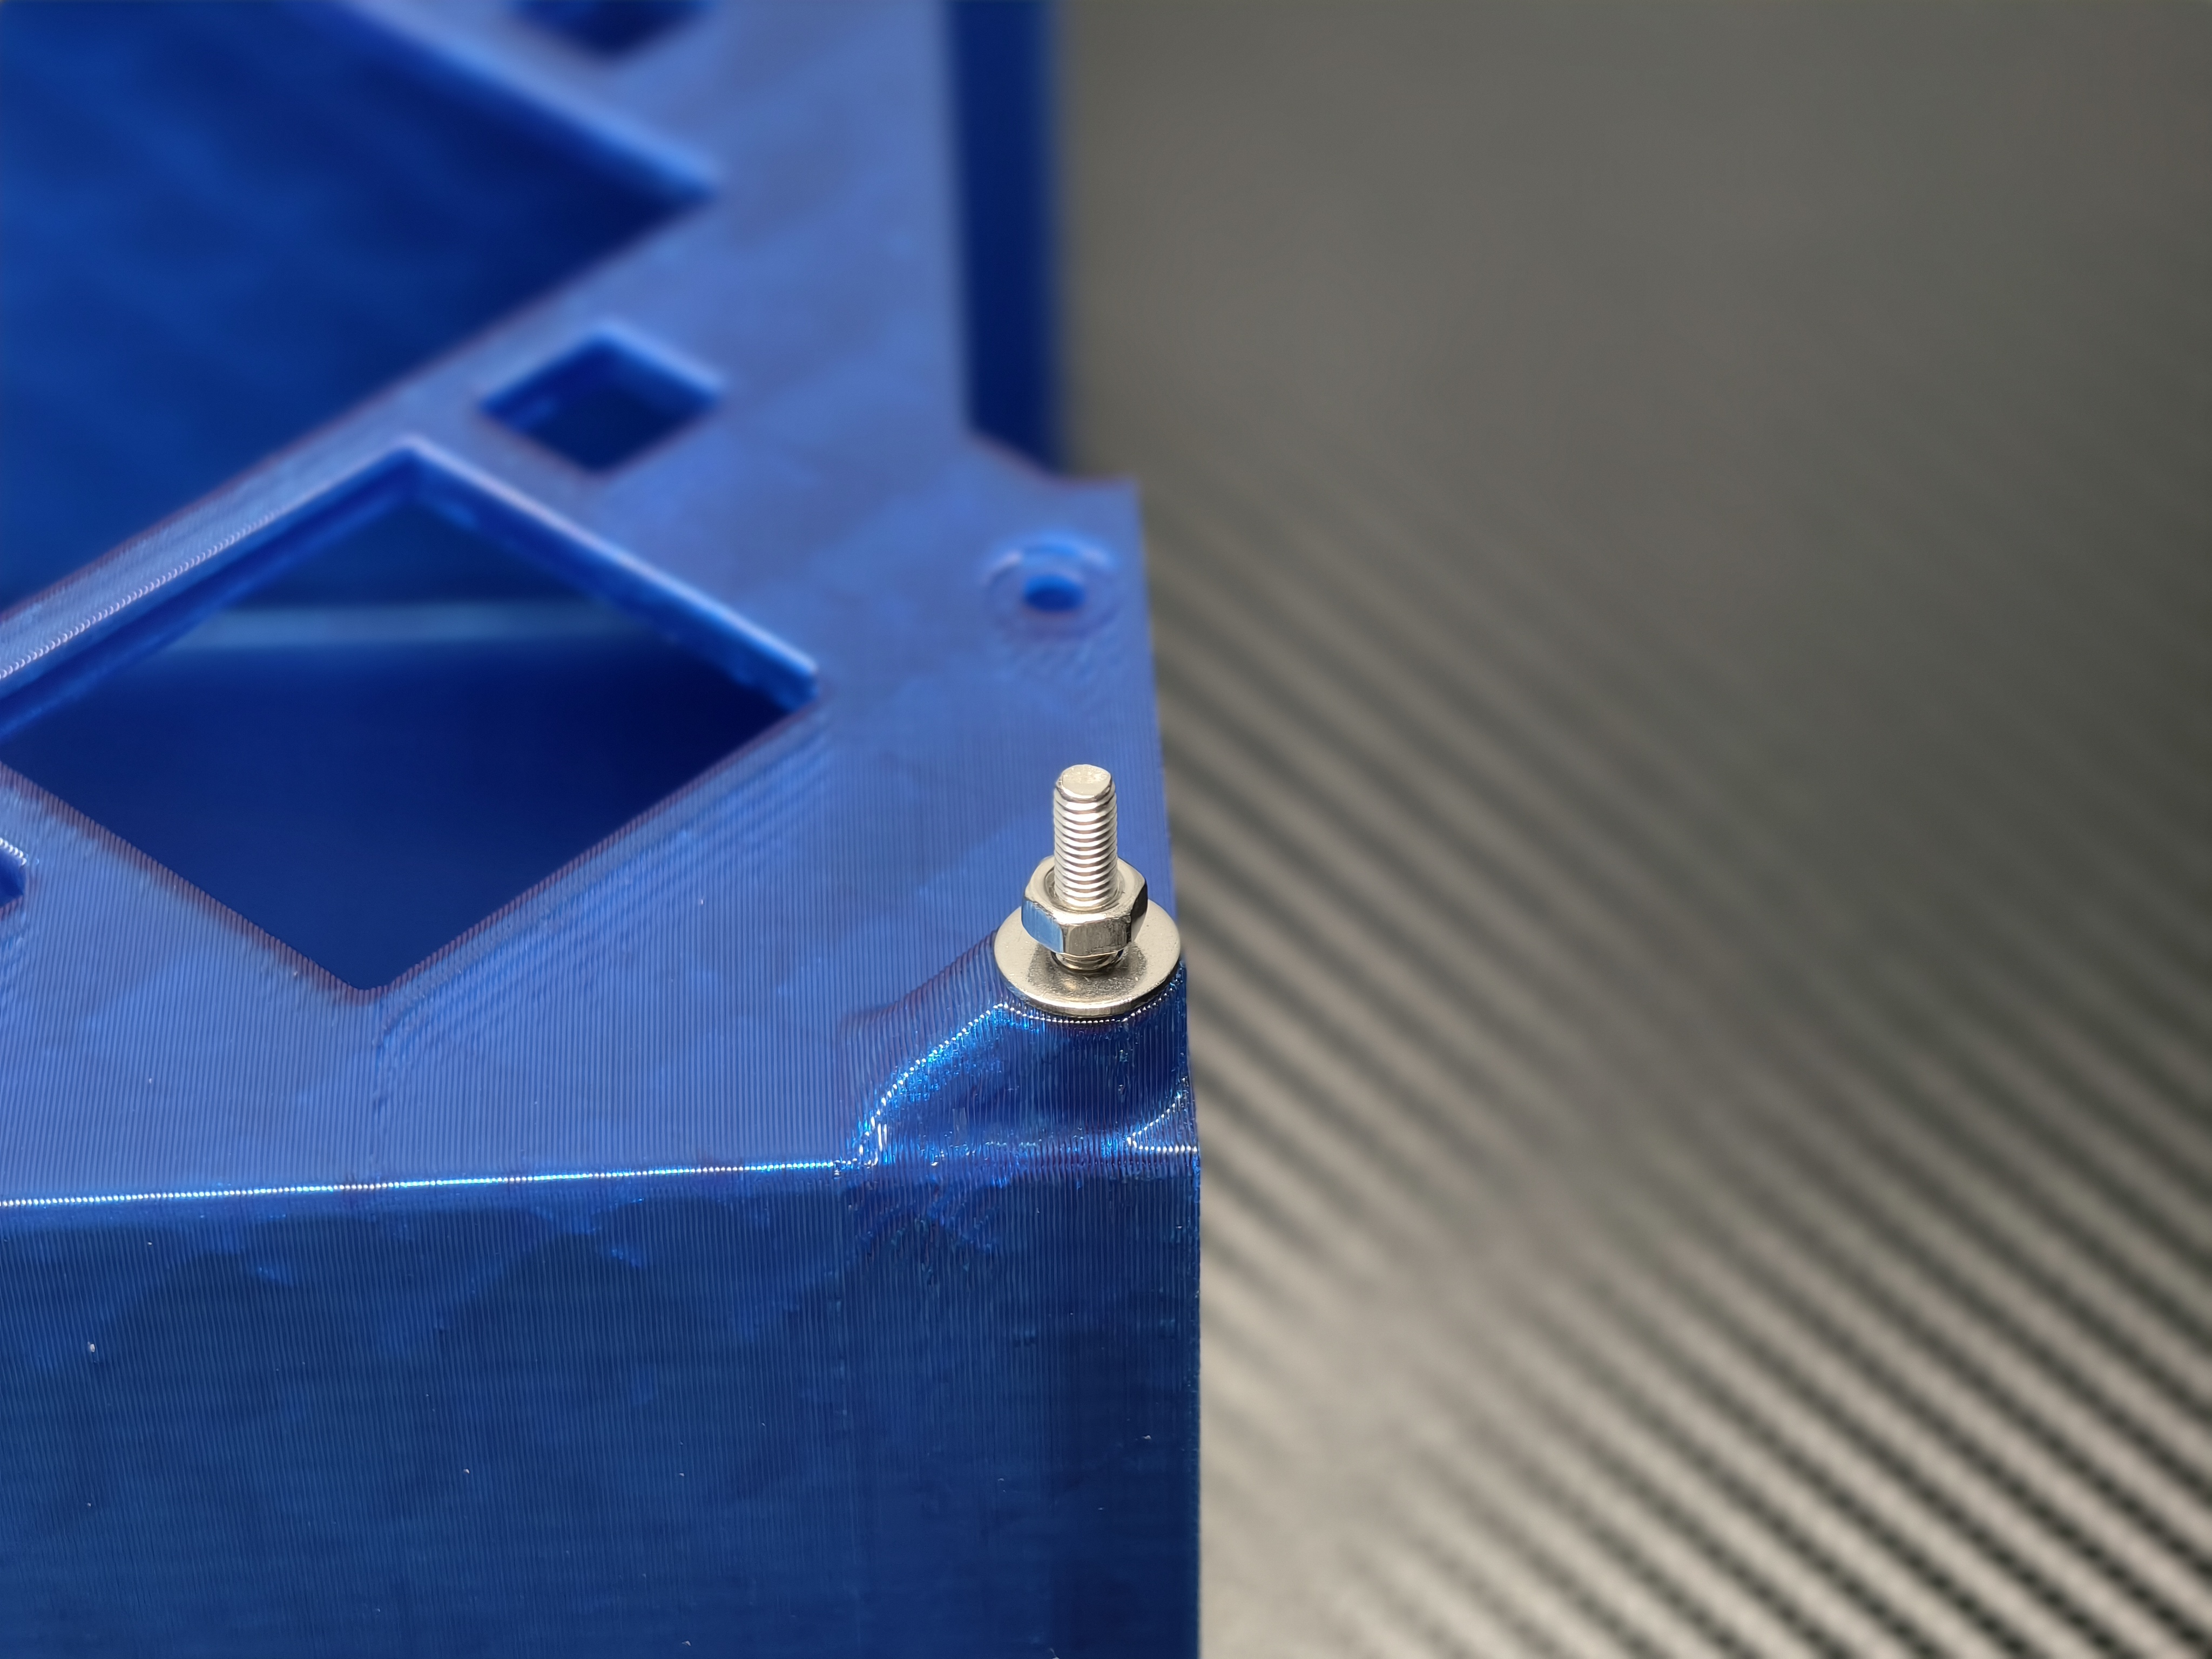
拧入主板固定螺丝
Screw in the motherboard fixing screws
-
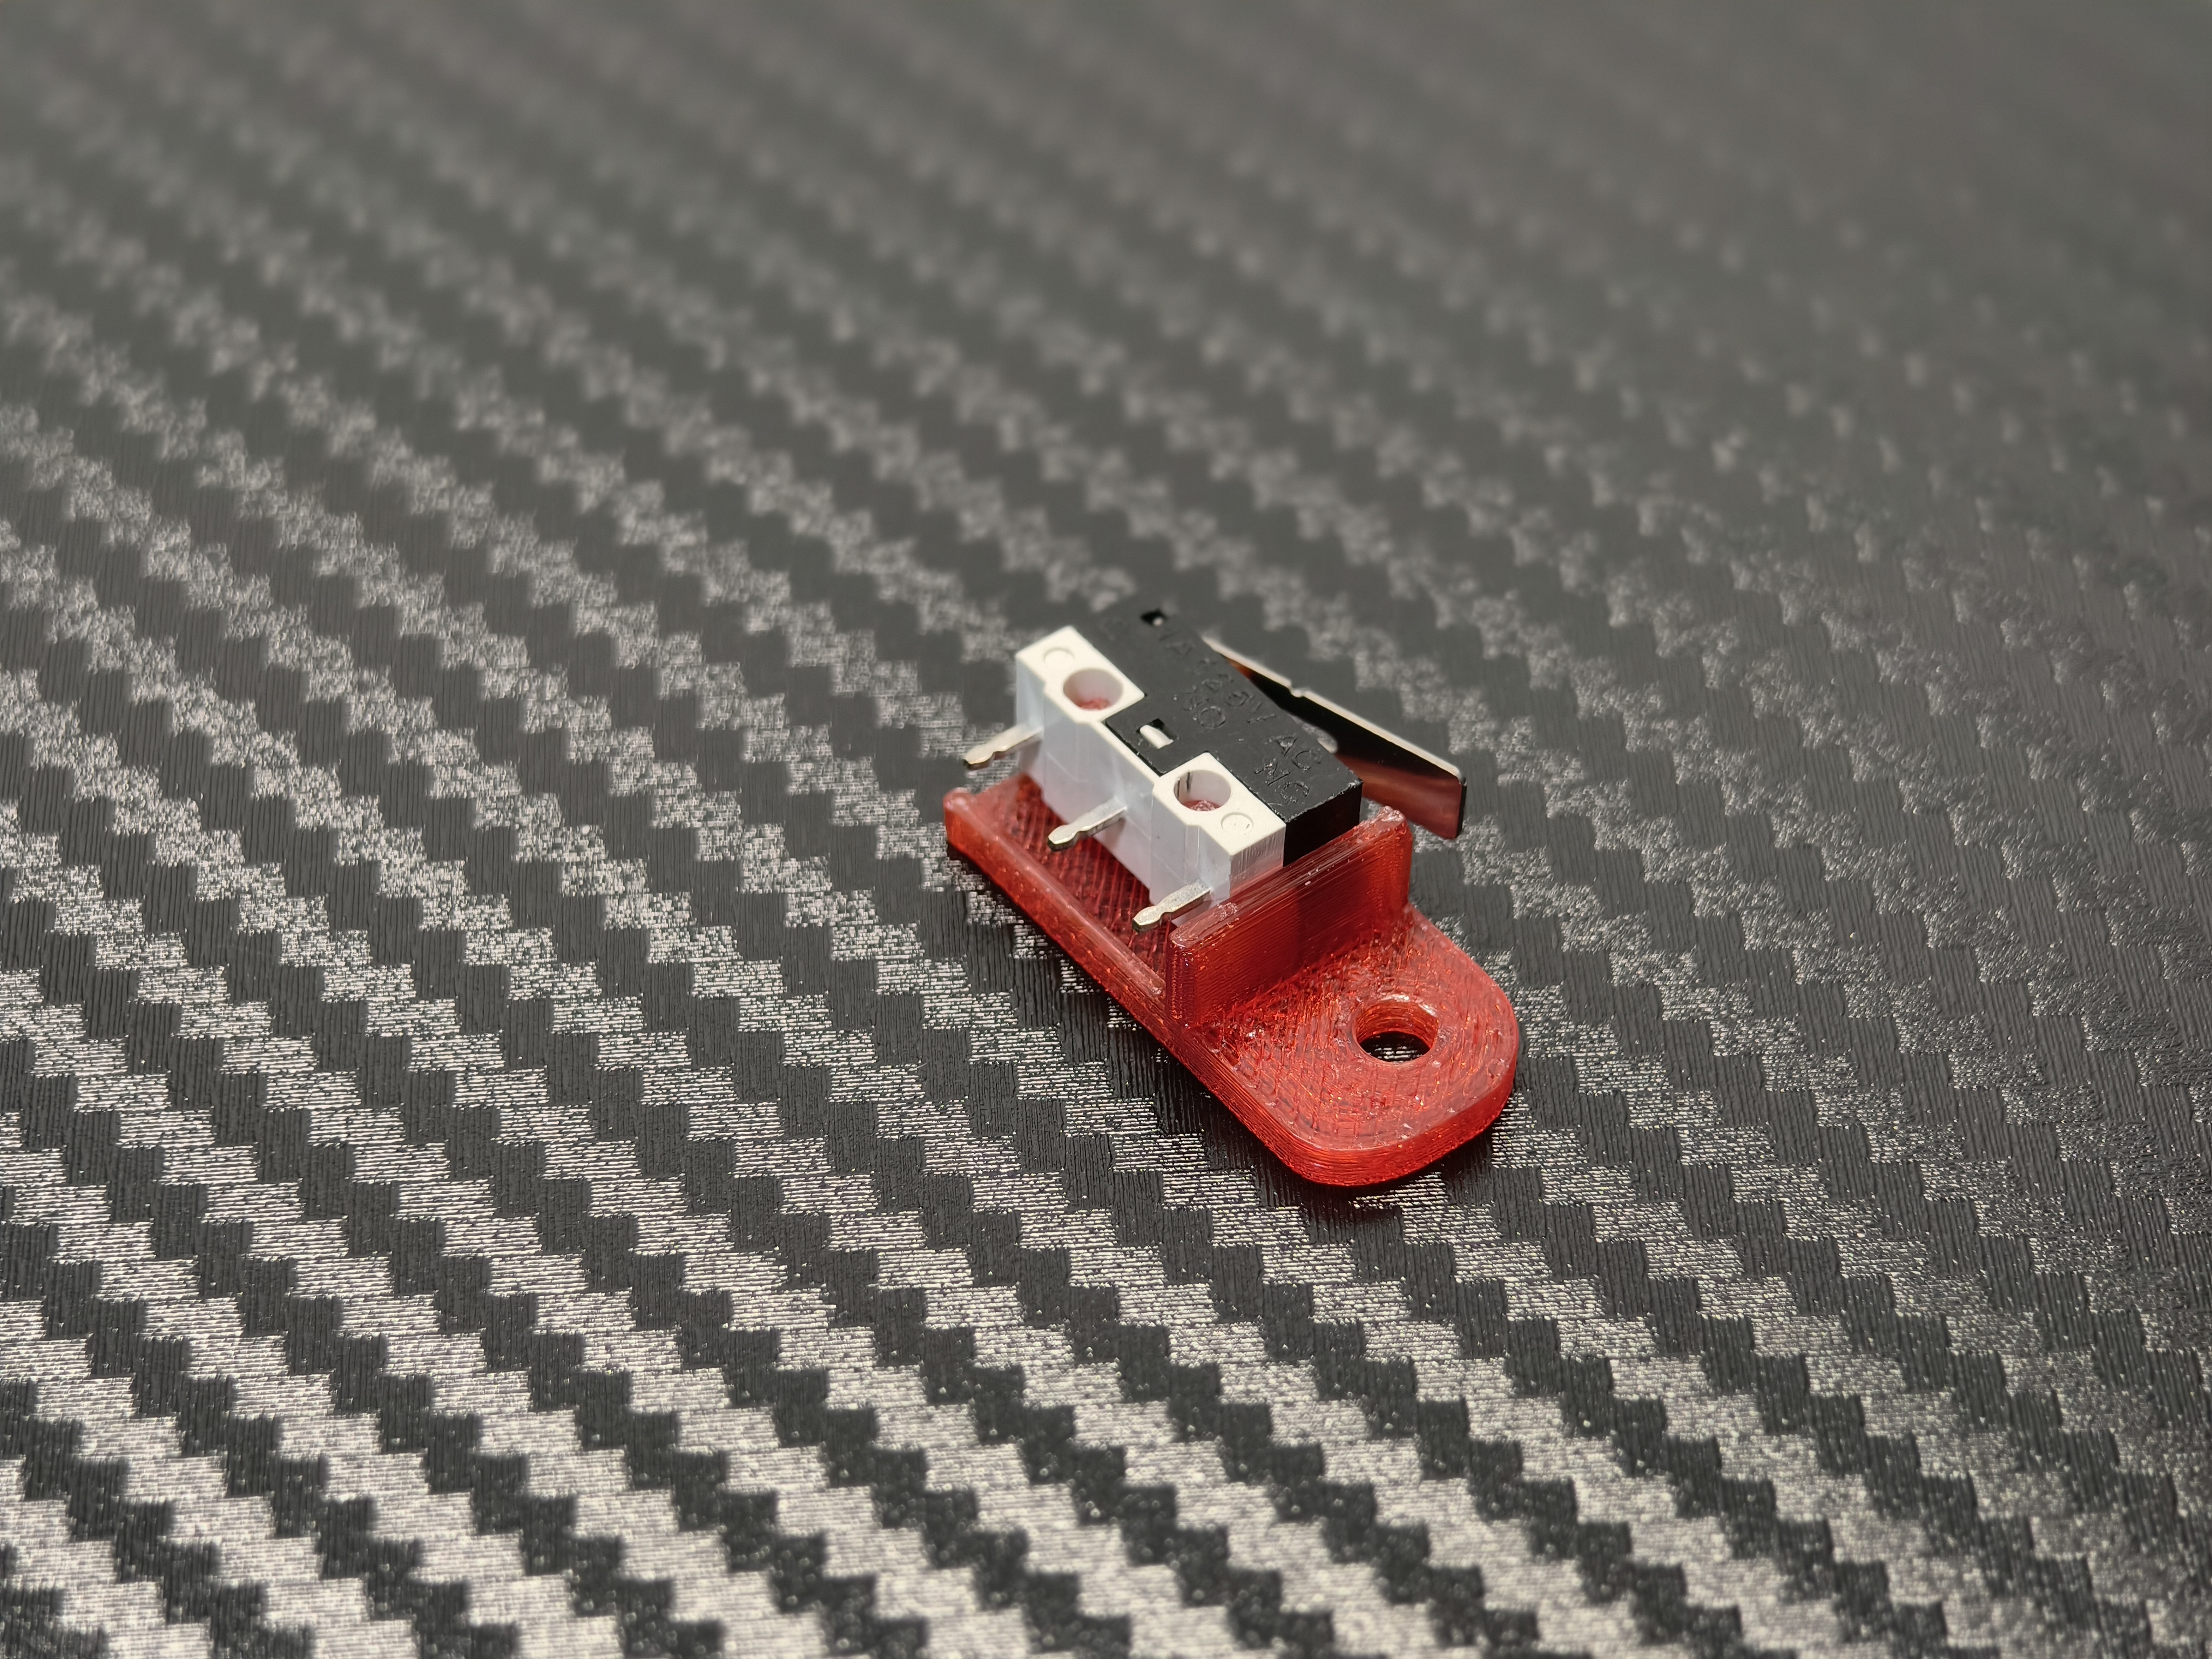
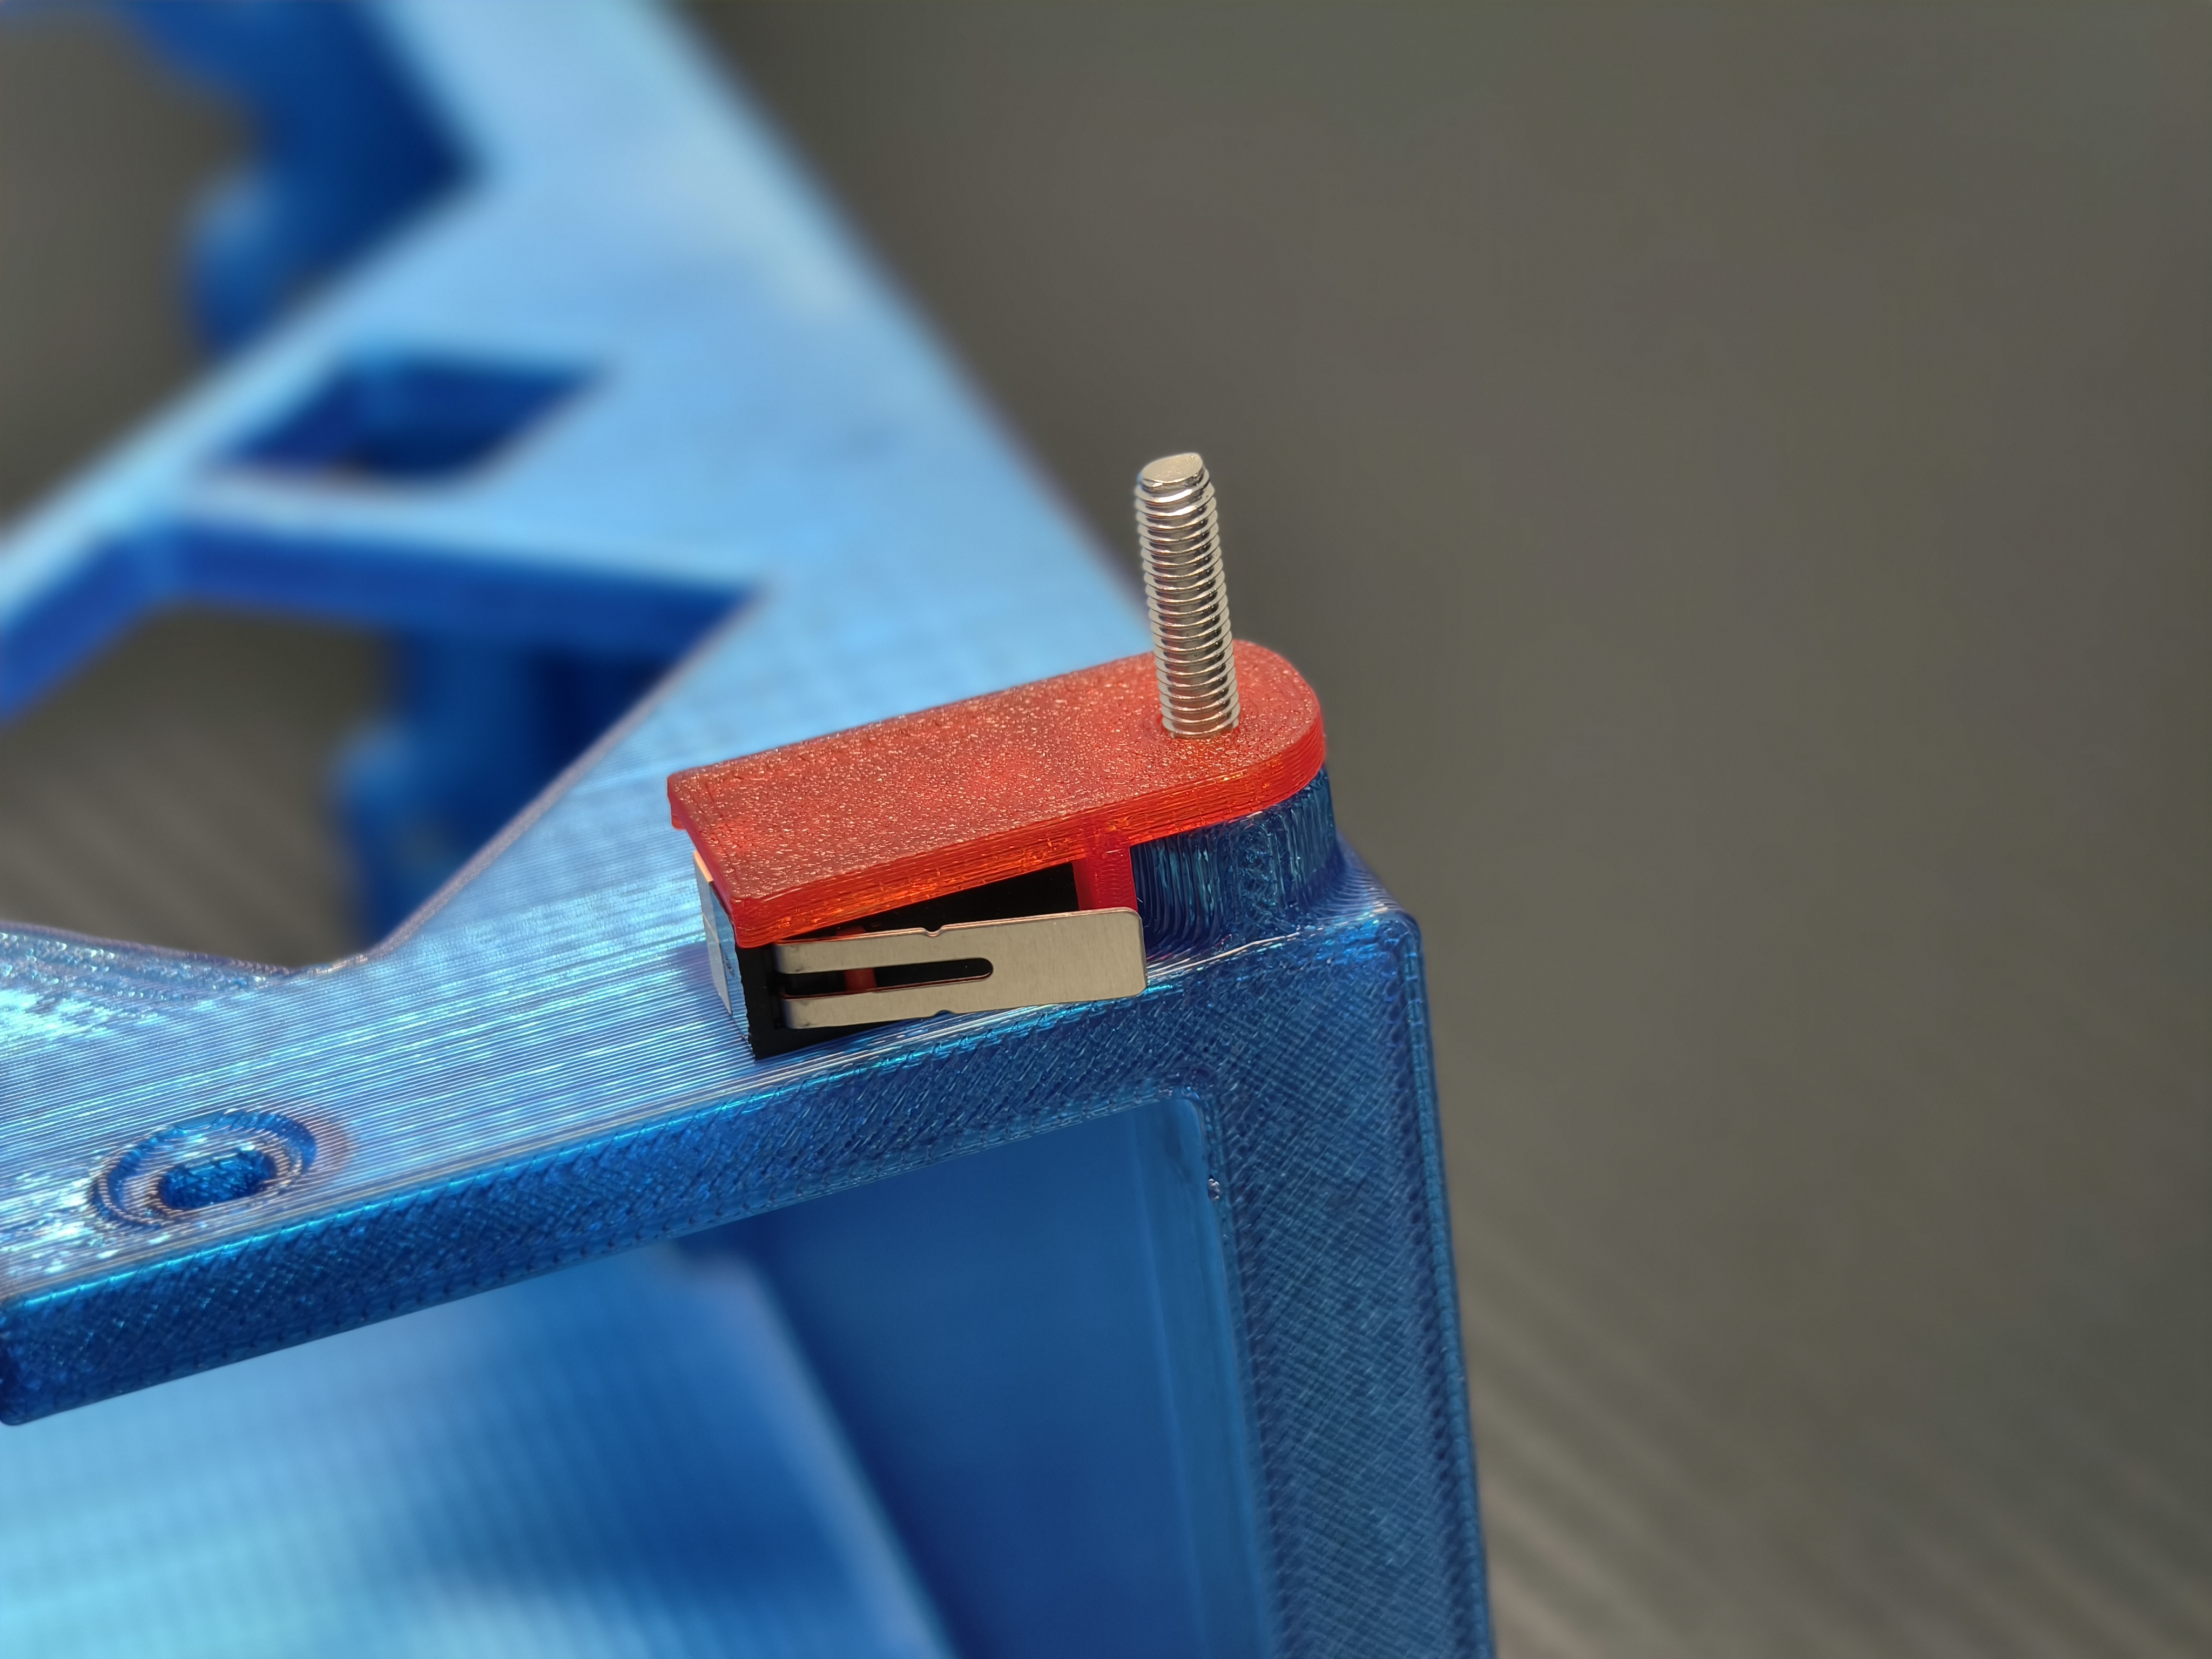
安放开机按钮
Placement of the power button
-
拧紧四个主板固定螺母
Tighten the four motherboard mounting nuts
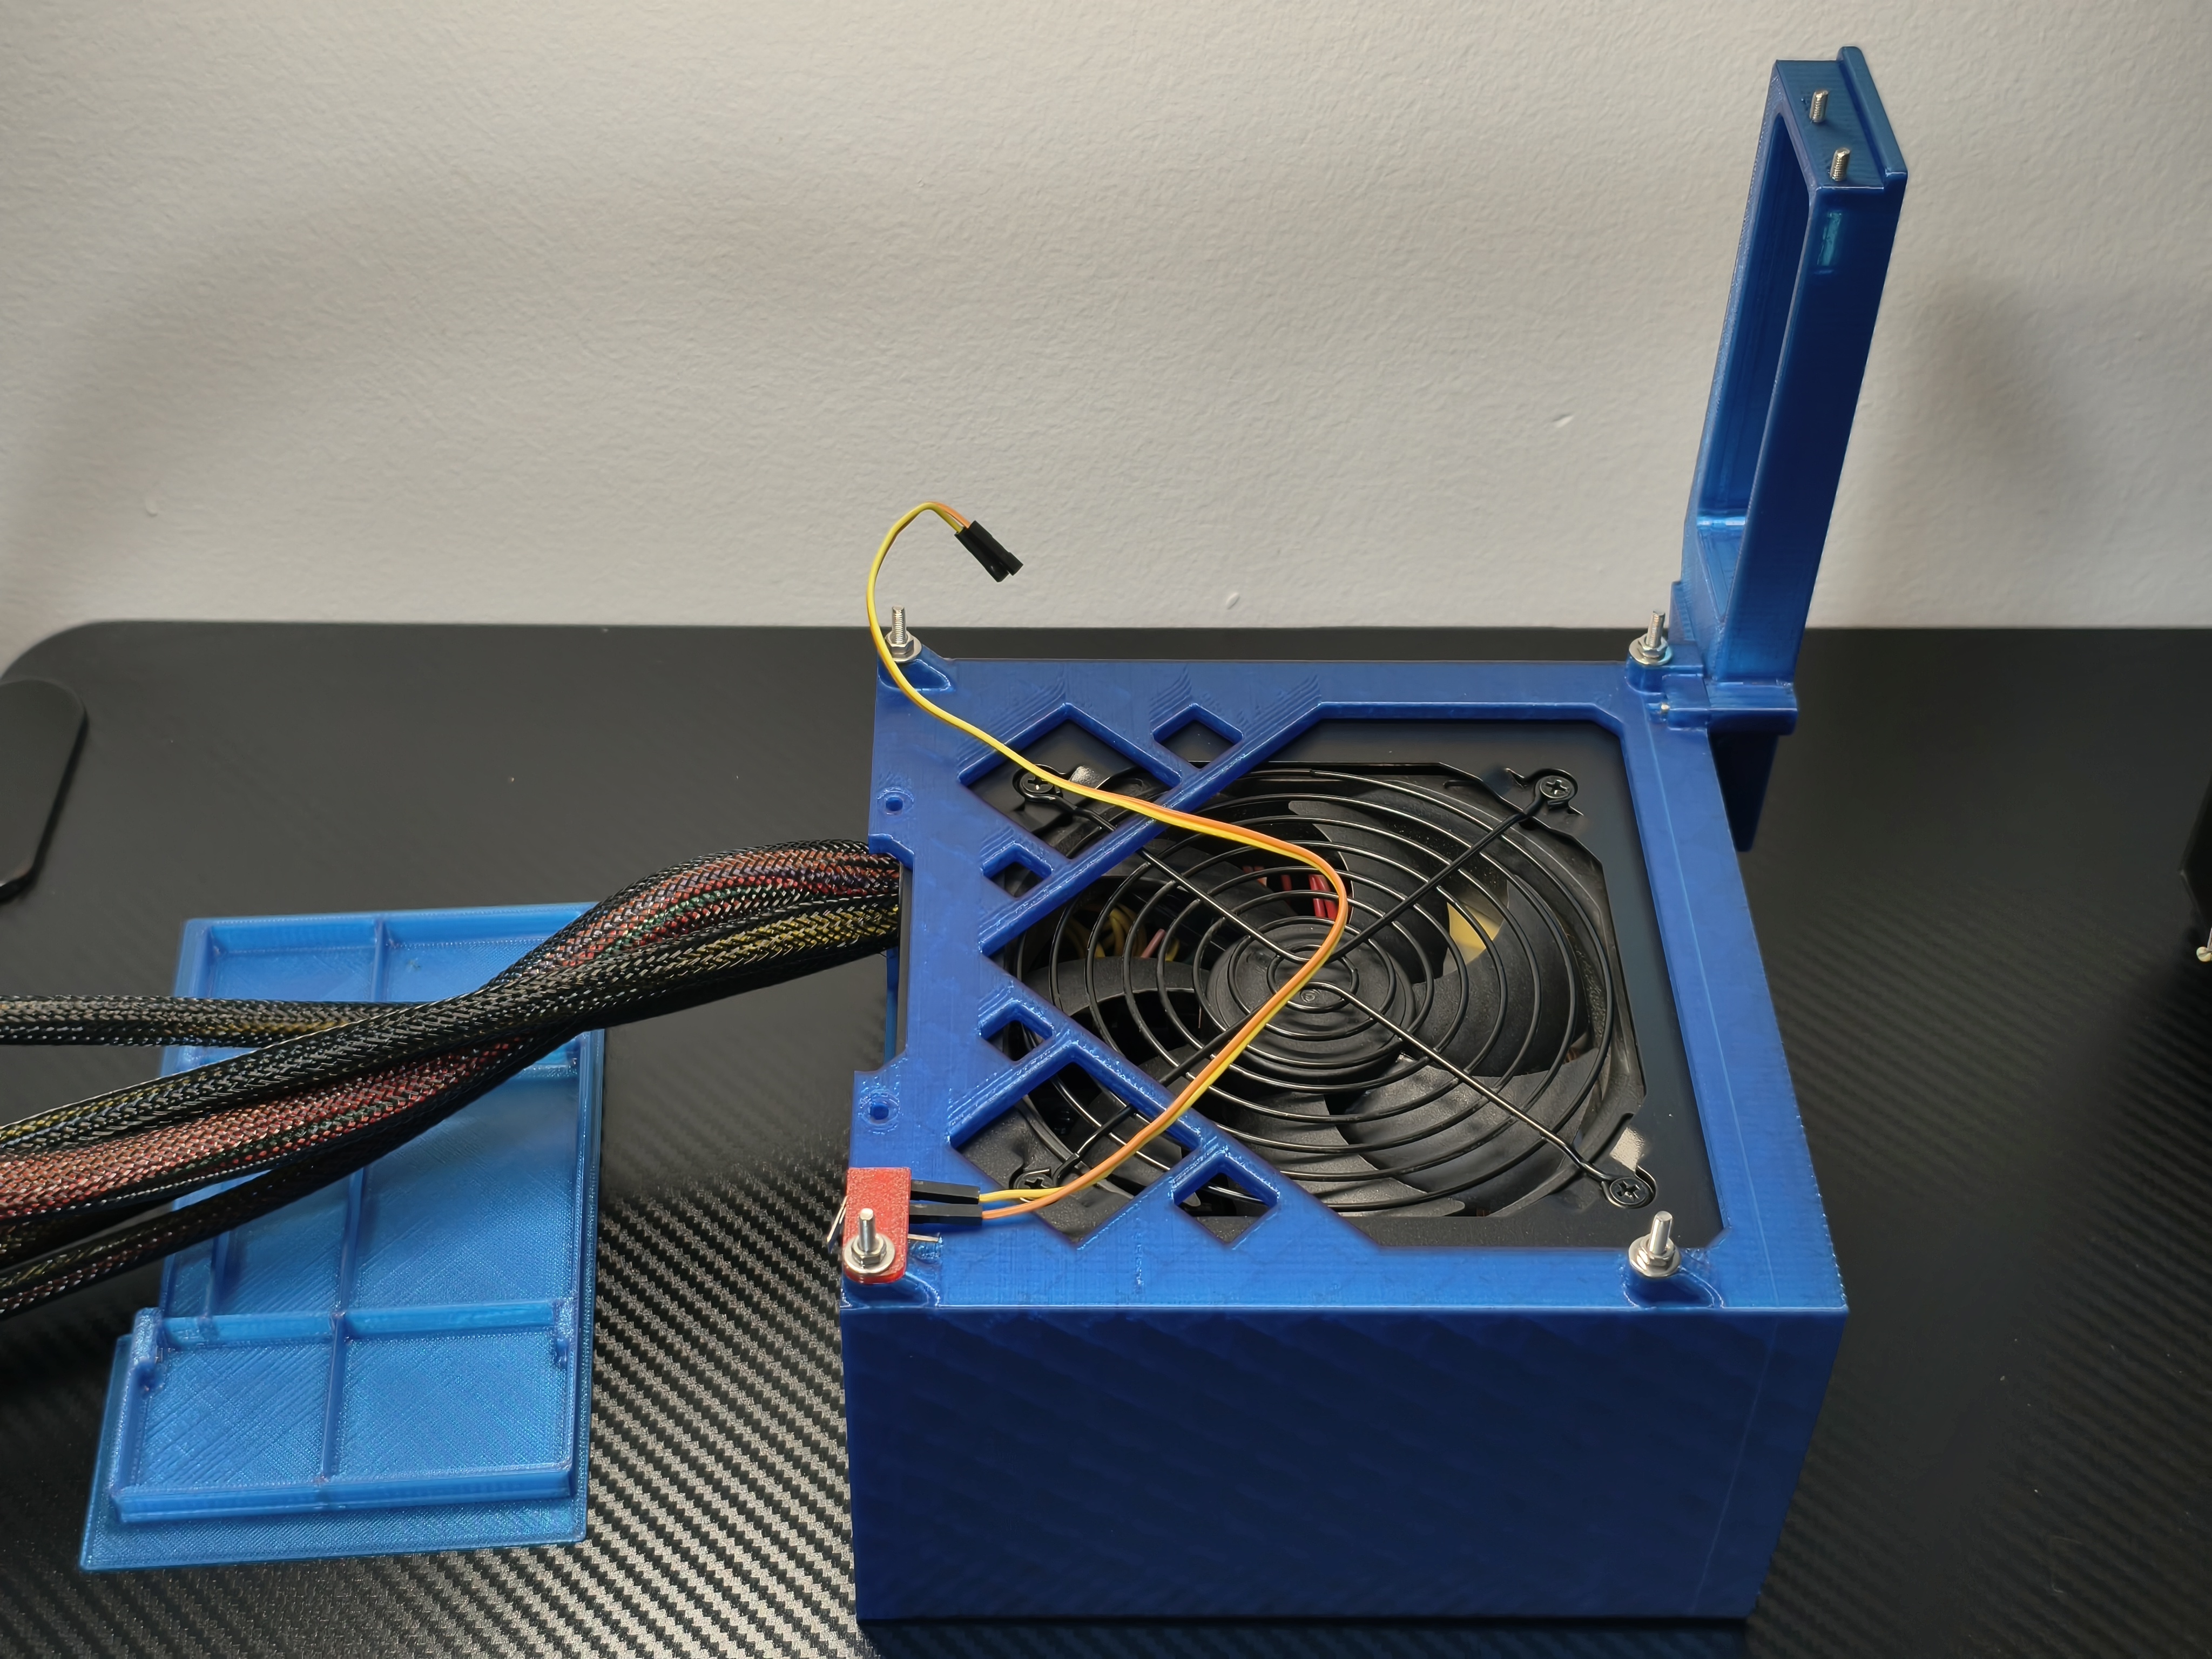
-
安装 ATX 电源
Installing an ATX Power Supply此处图片的纸垫圈和法兰螺母位置仅为展示用,并非在放置主板前就放置纸垫圈和法兰螺母
The locations of the paper washers and flange nuts in this picture are for demonstration purposes only, they are not placed before the motherboard is placed.
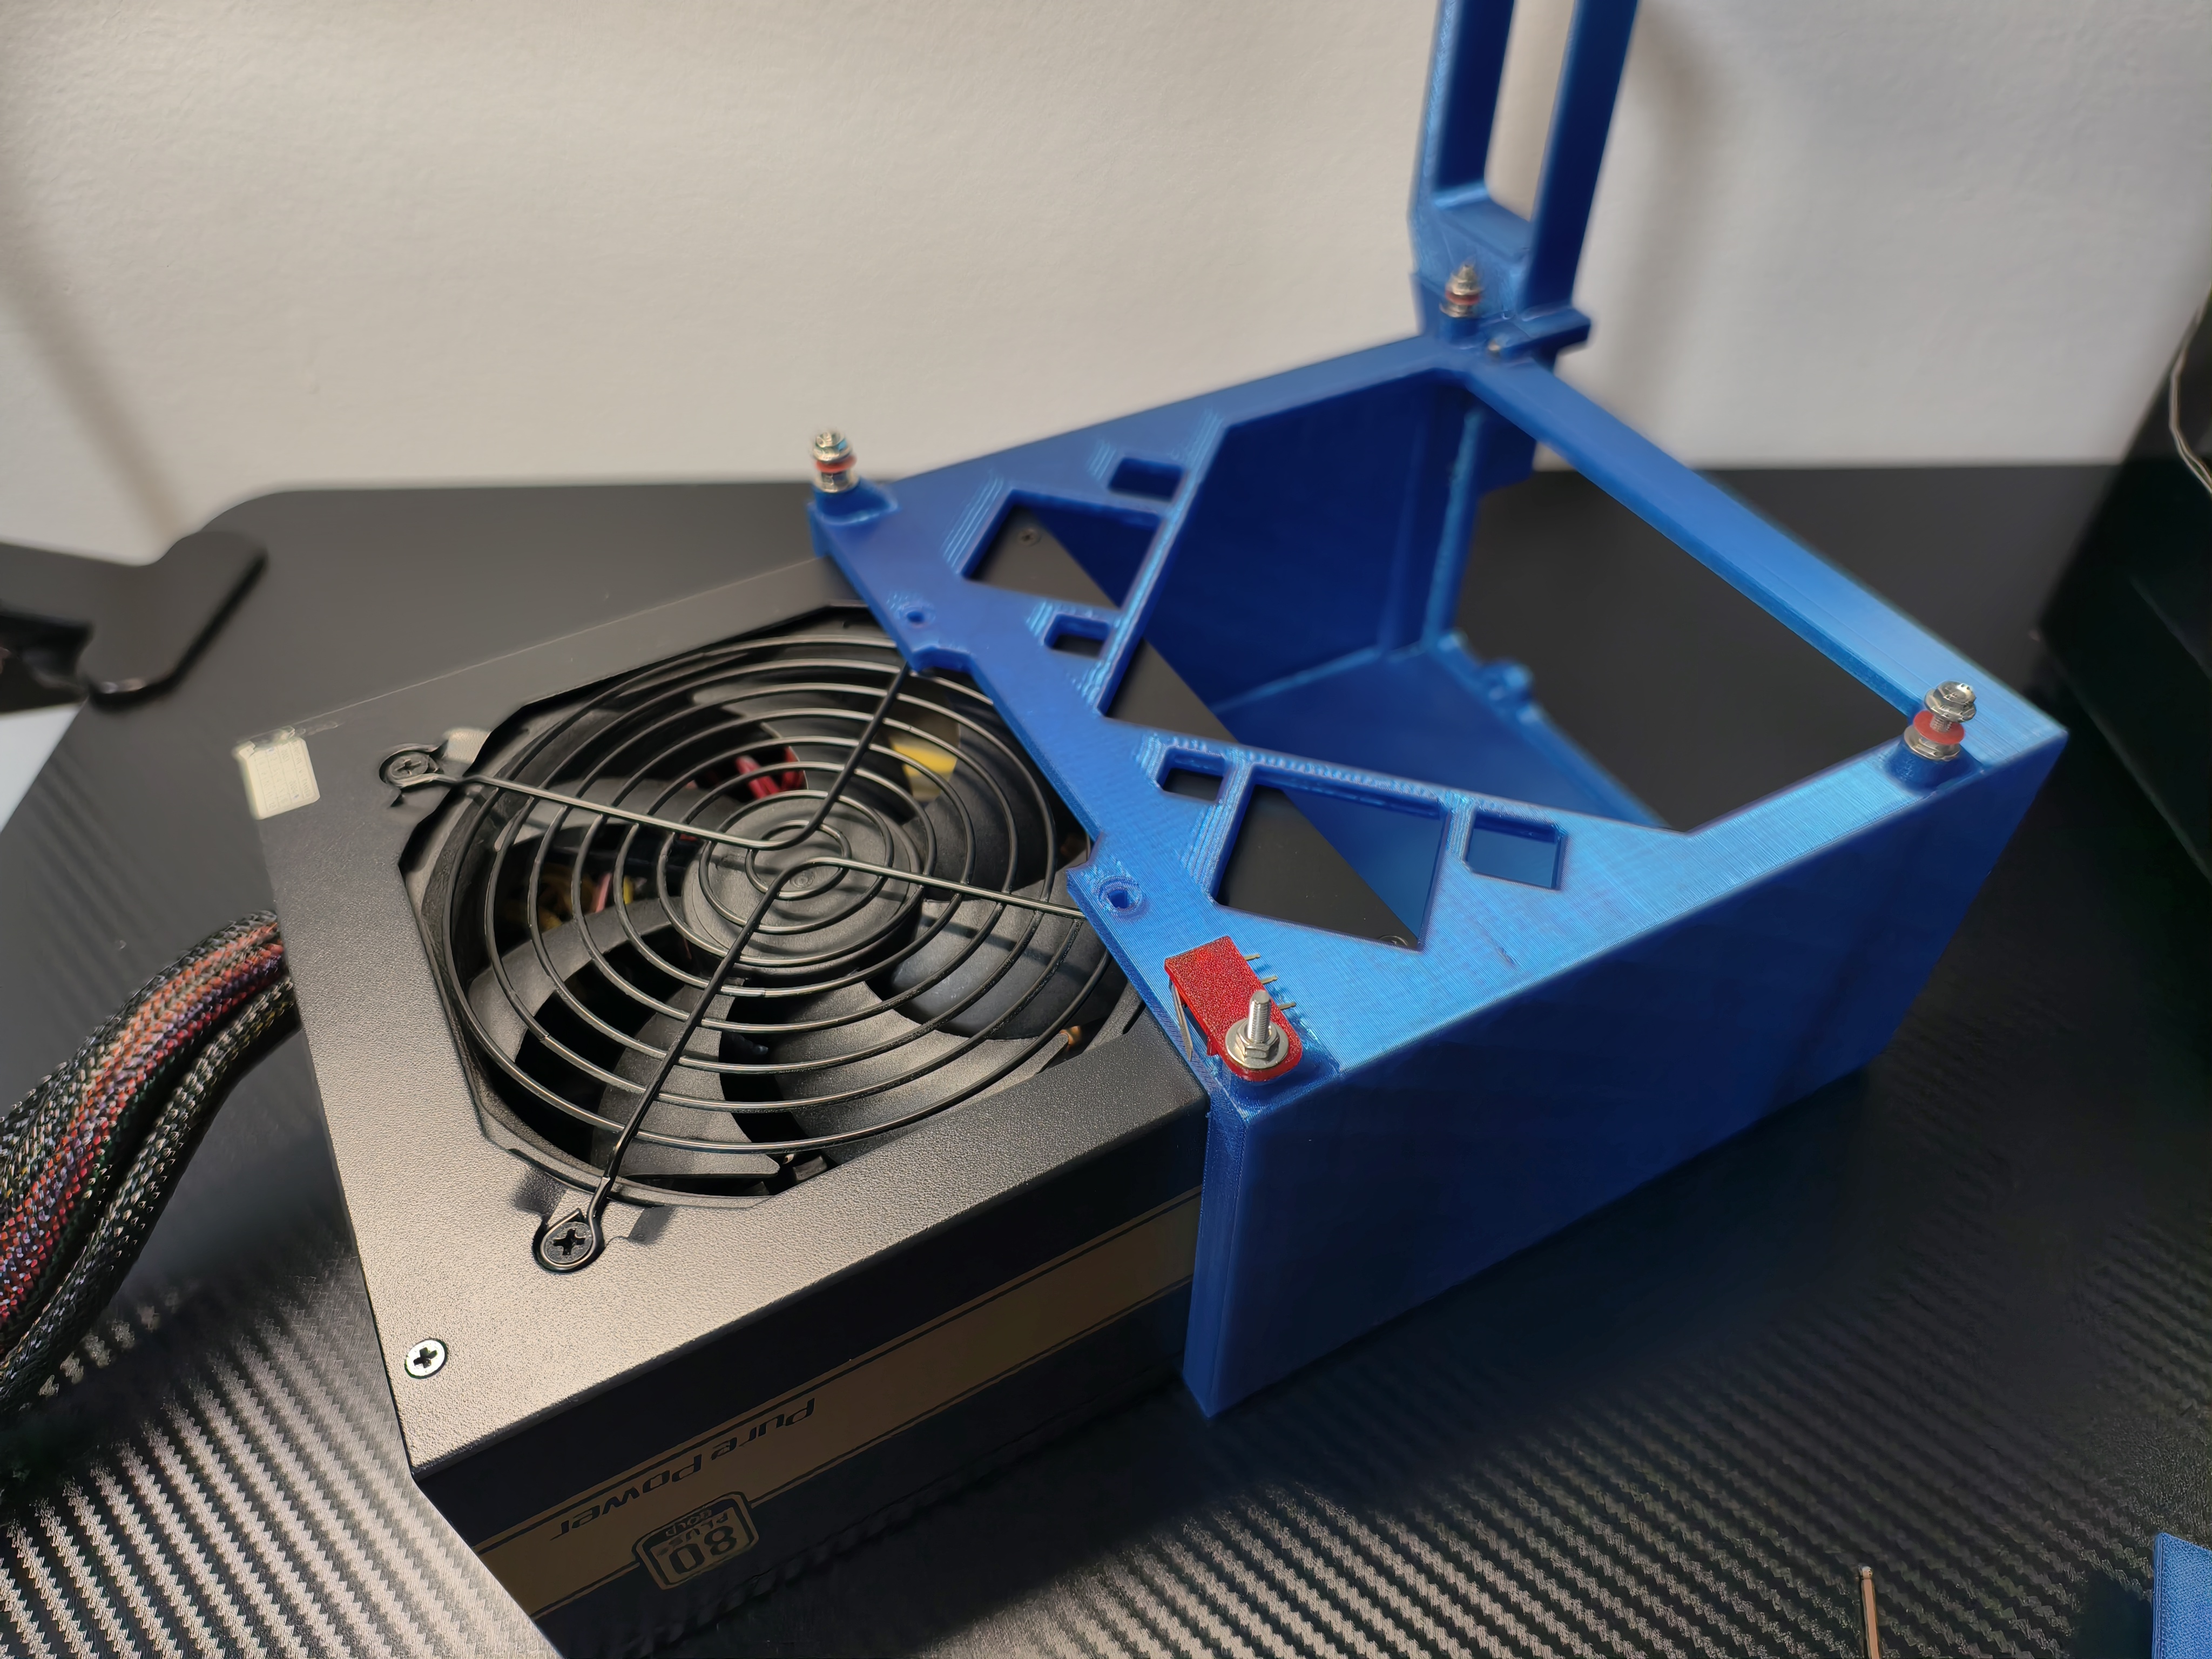
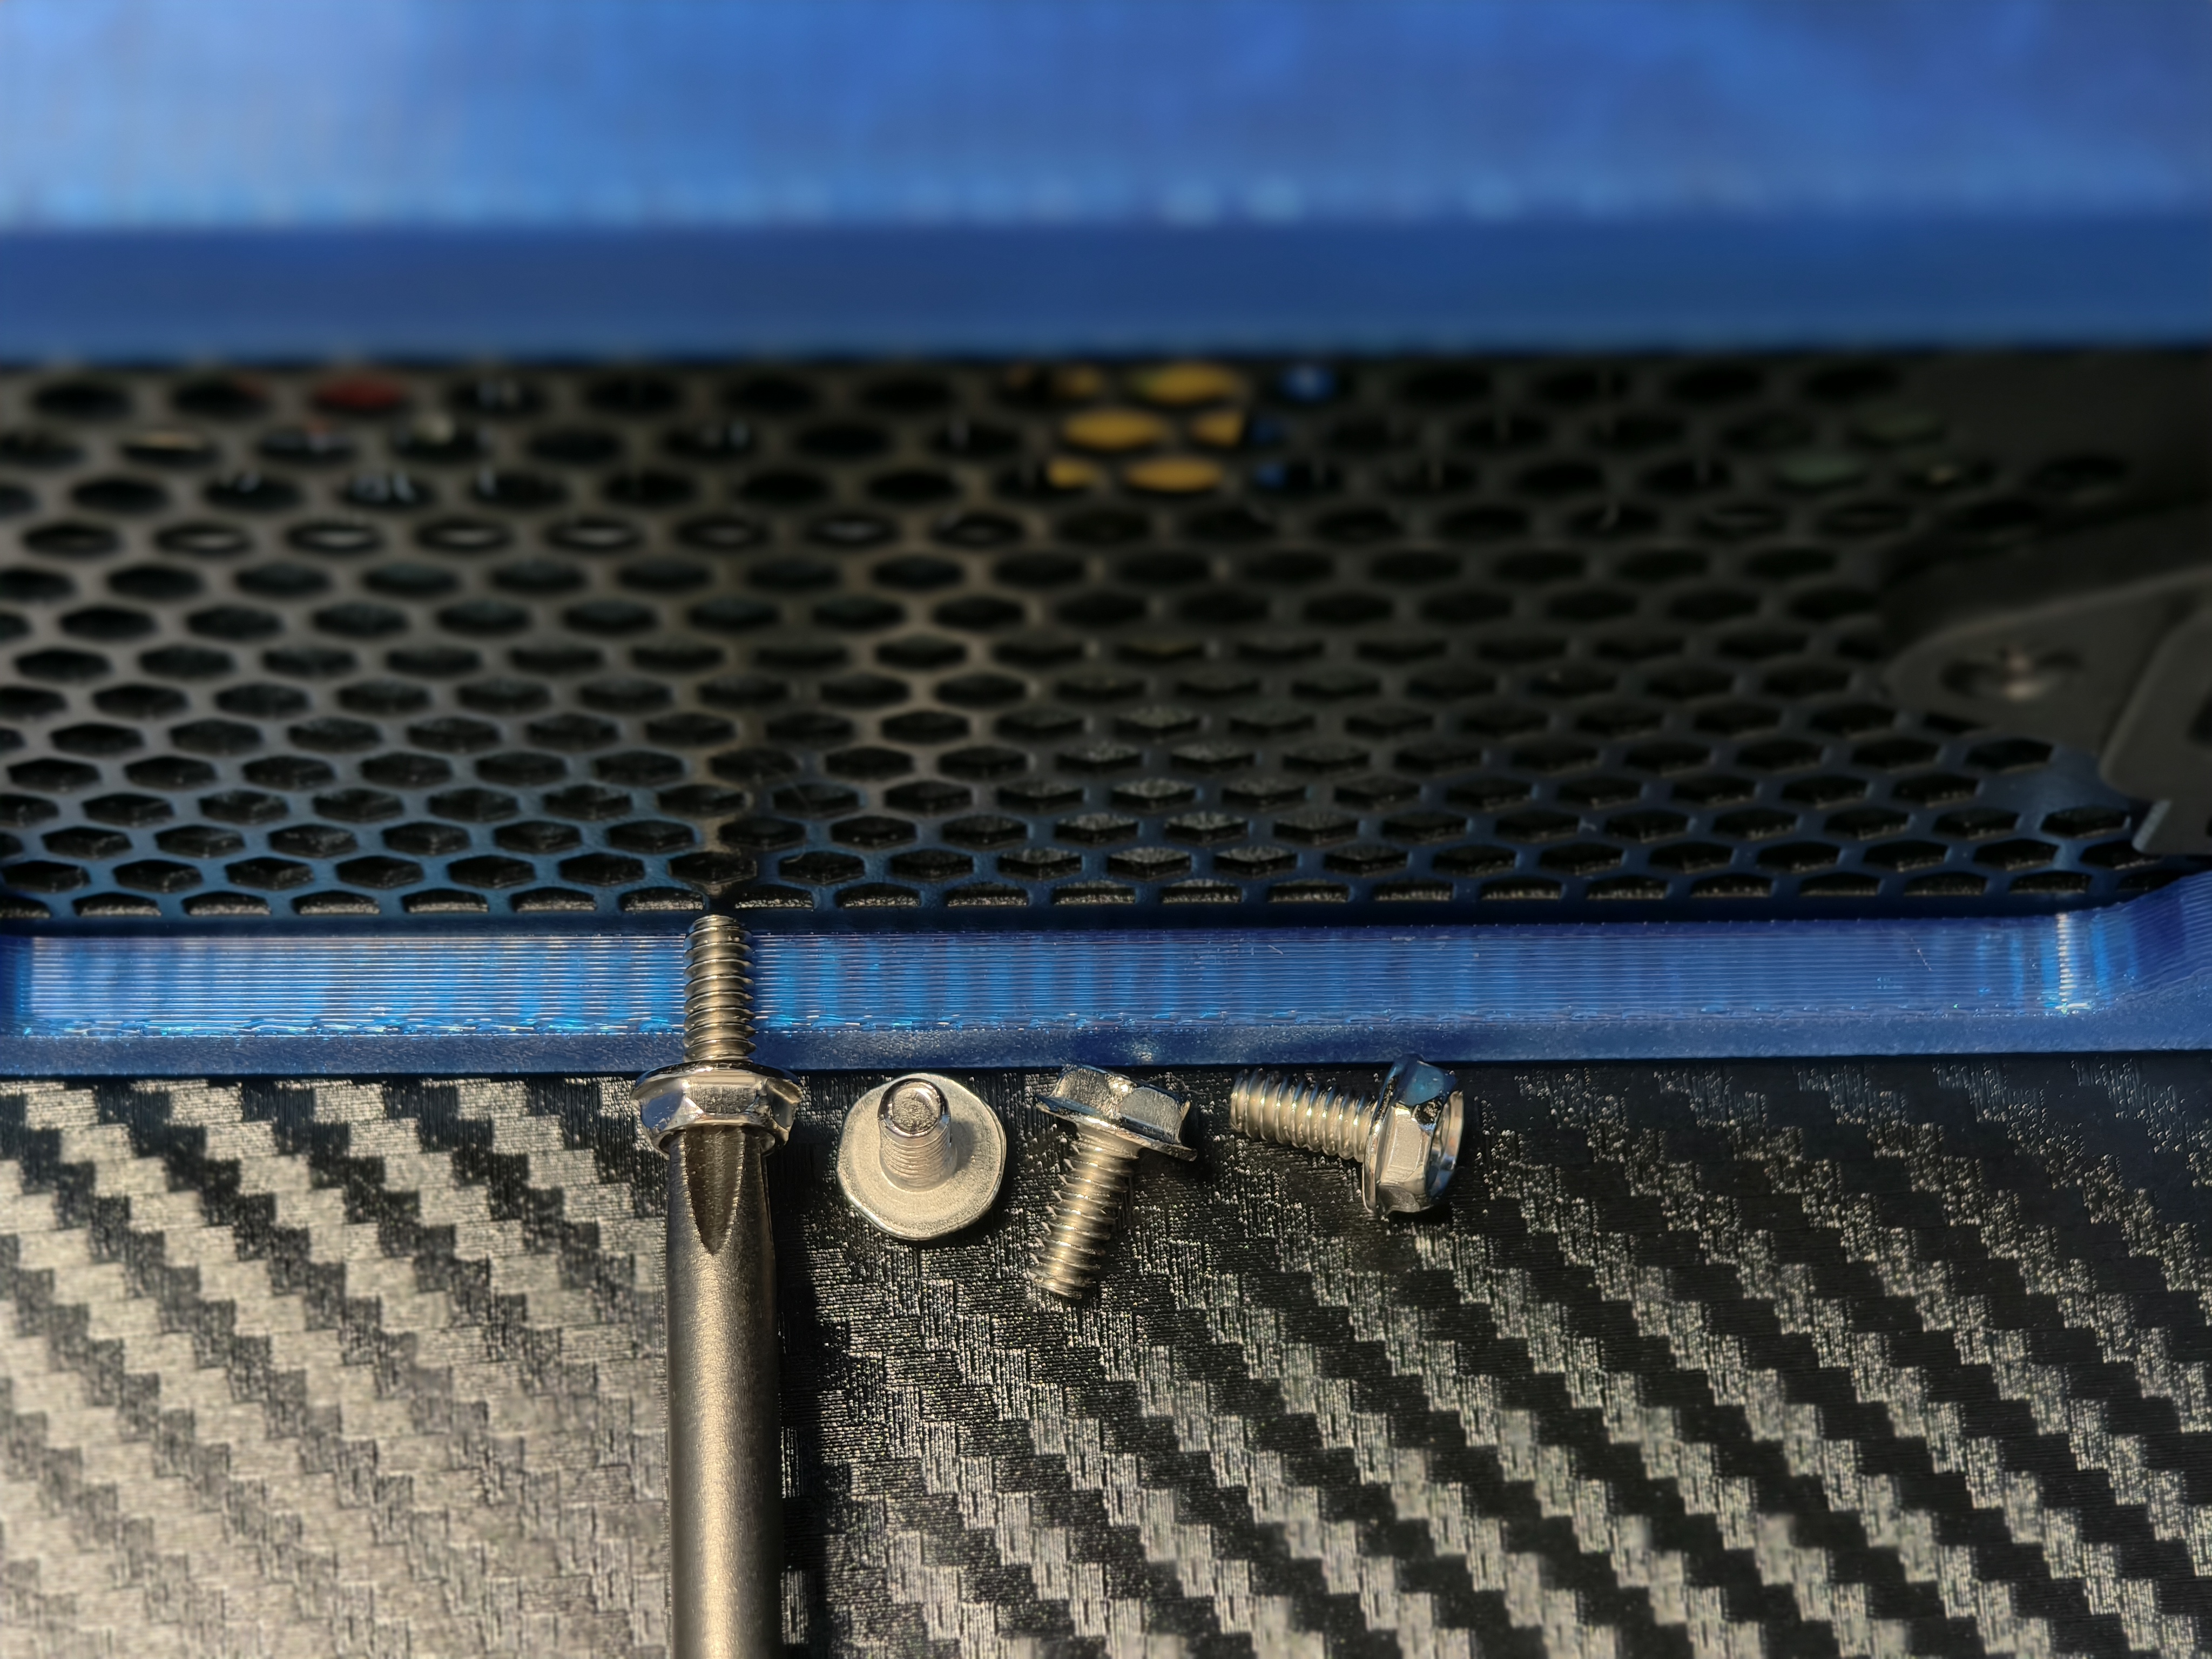
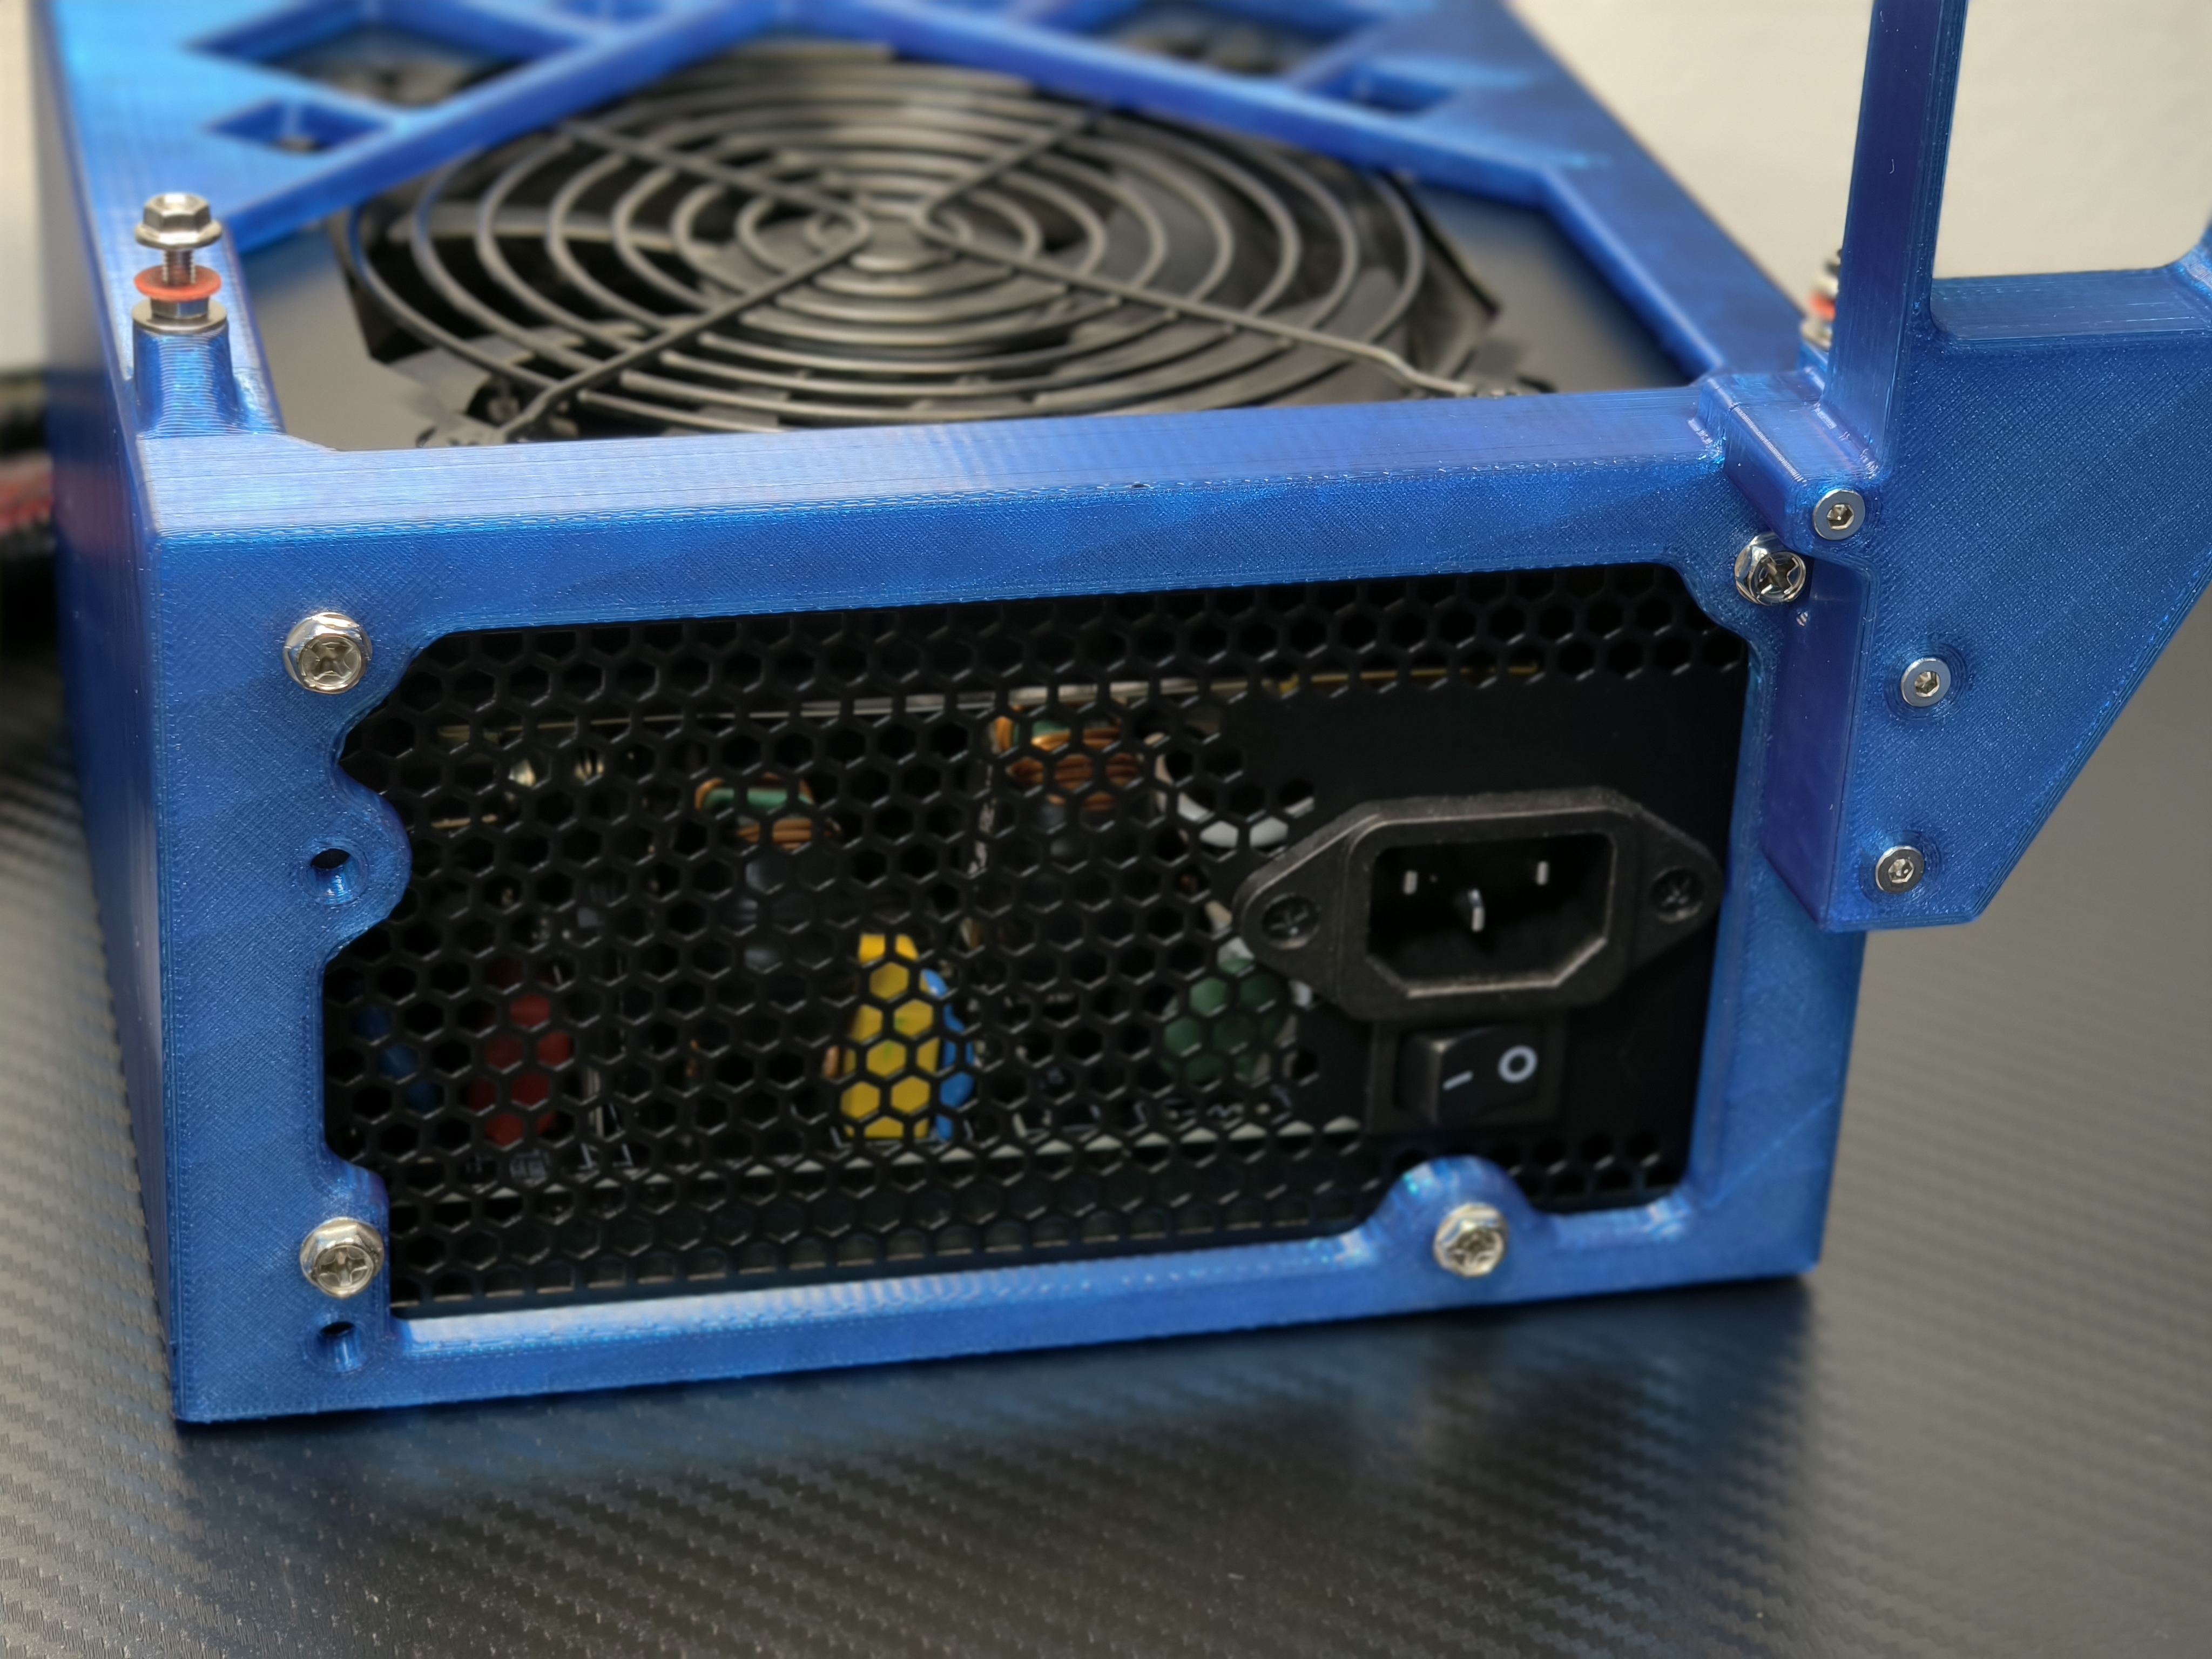
-
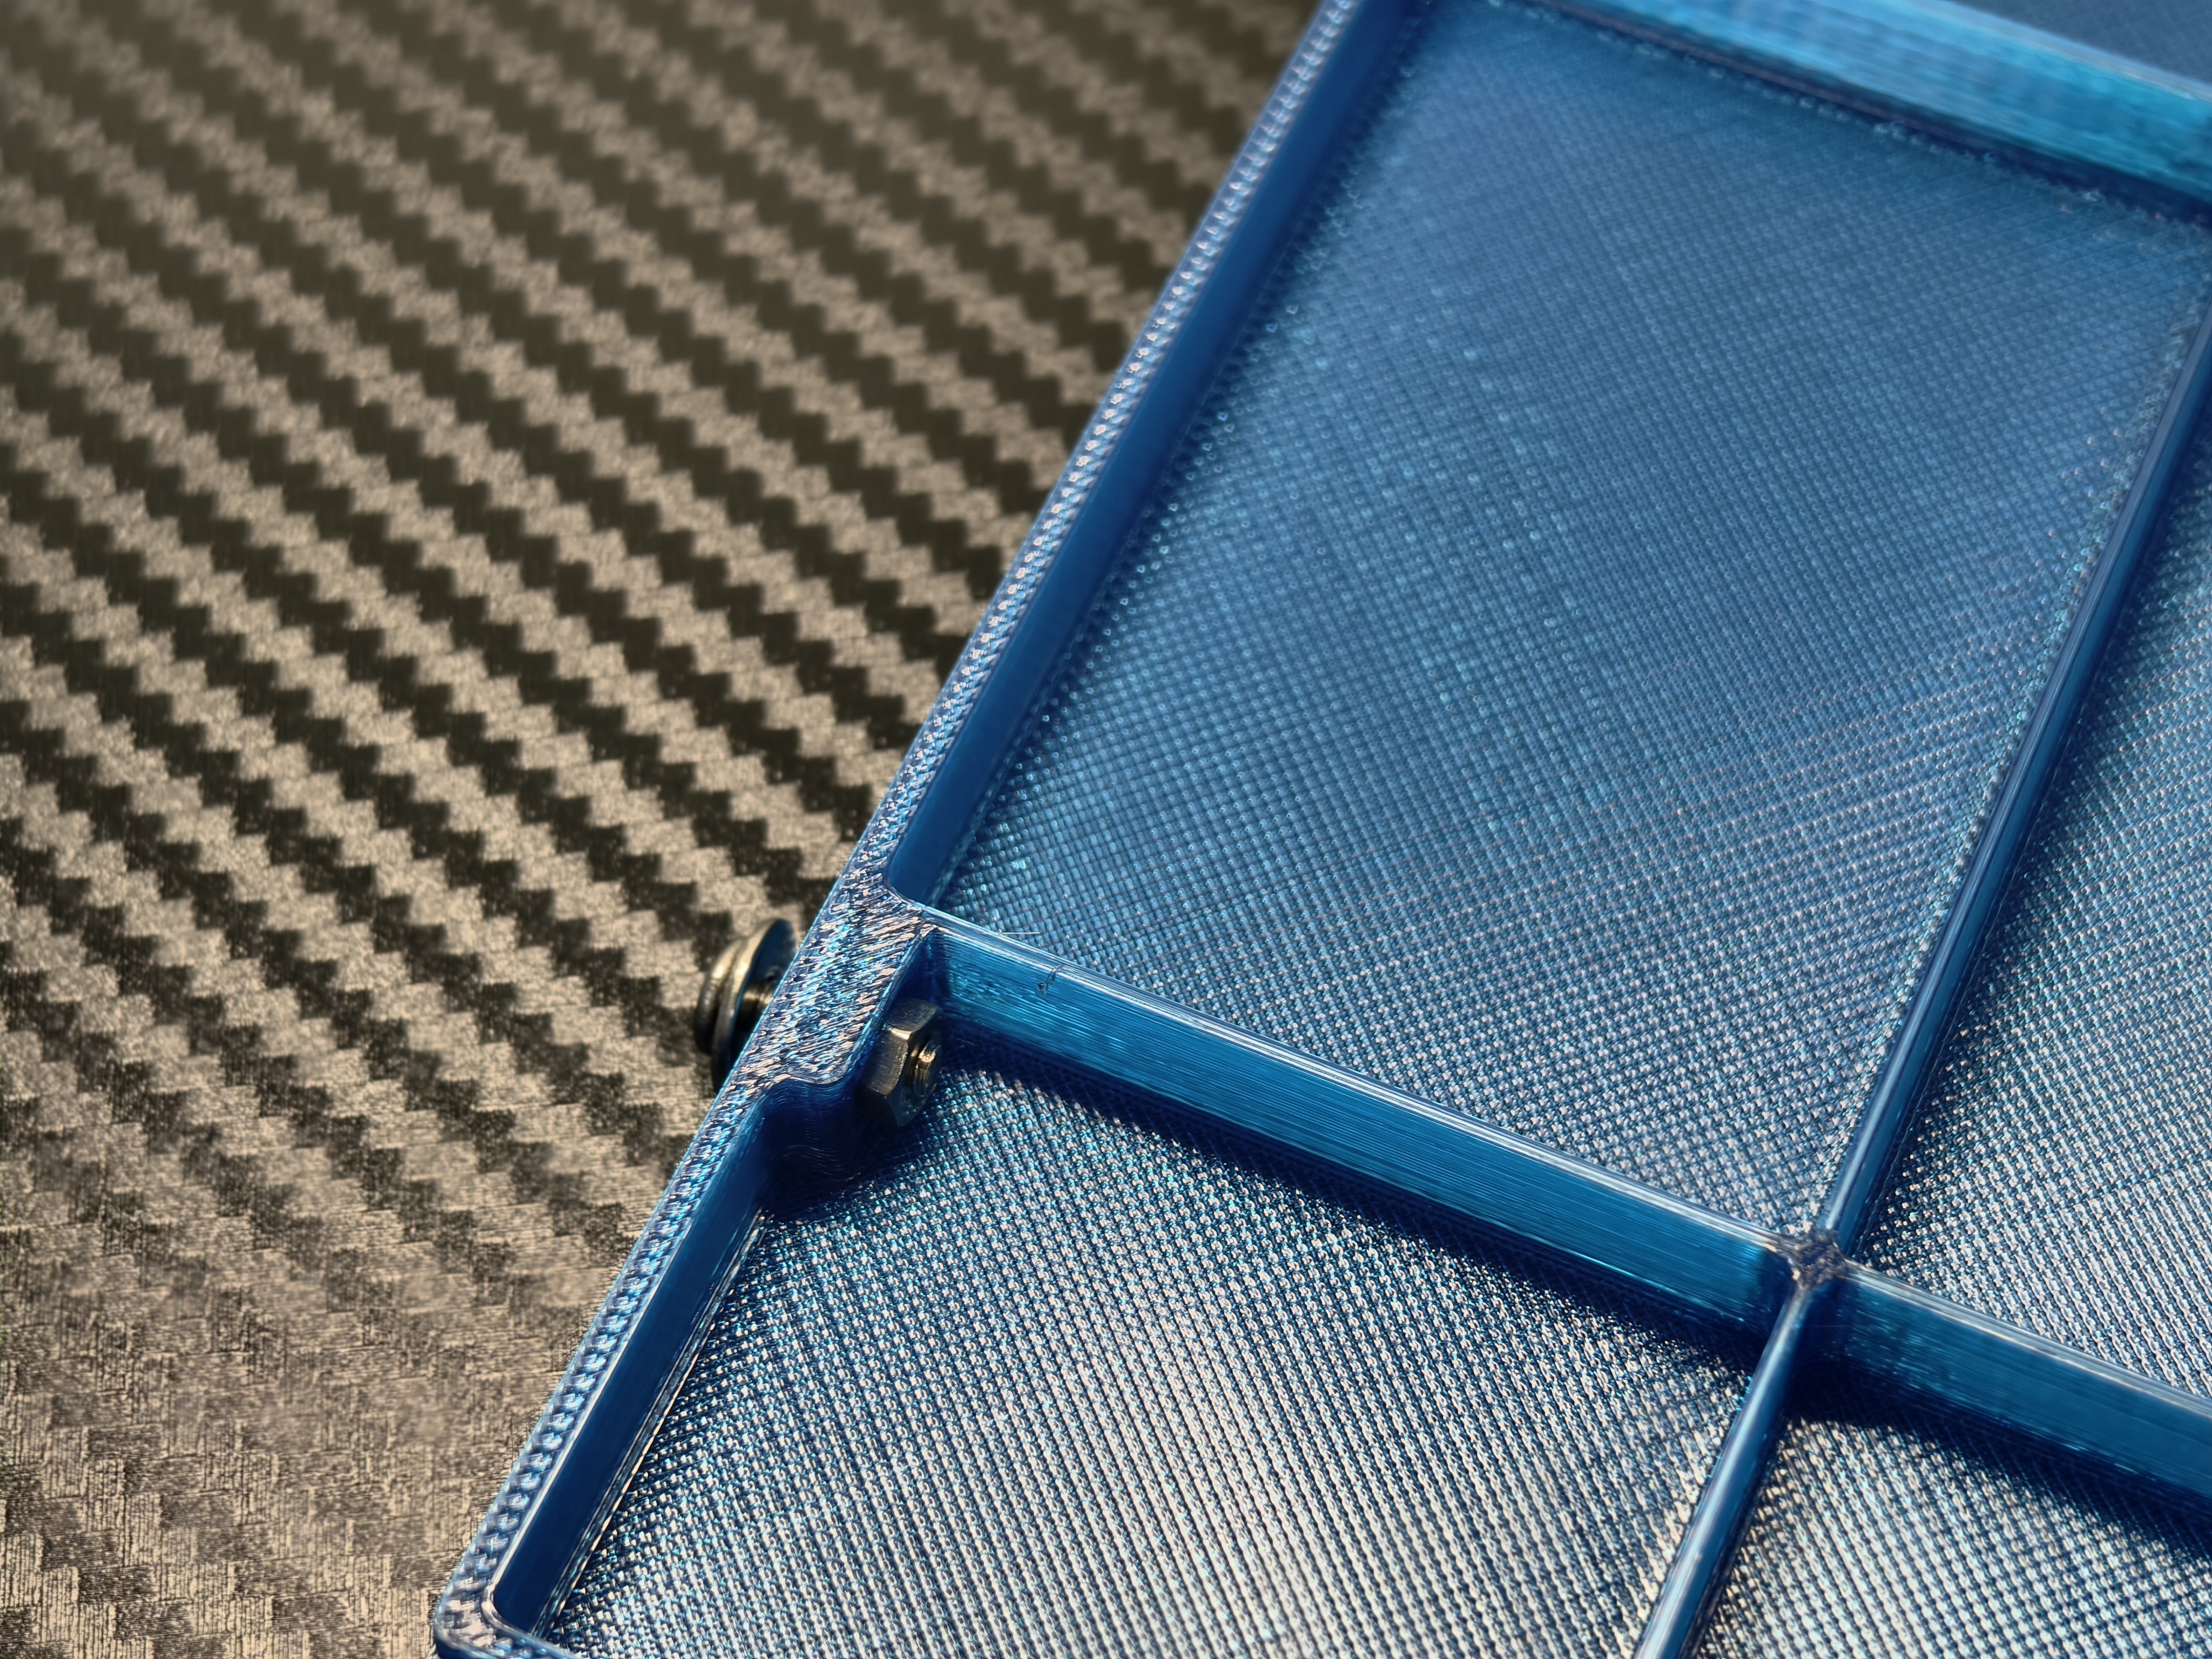
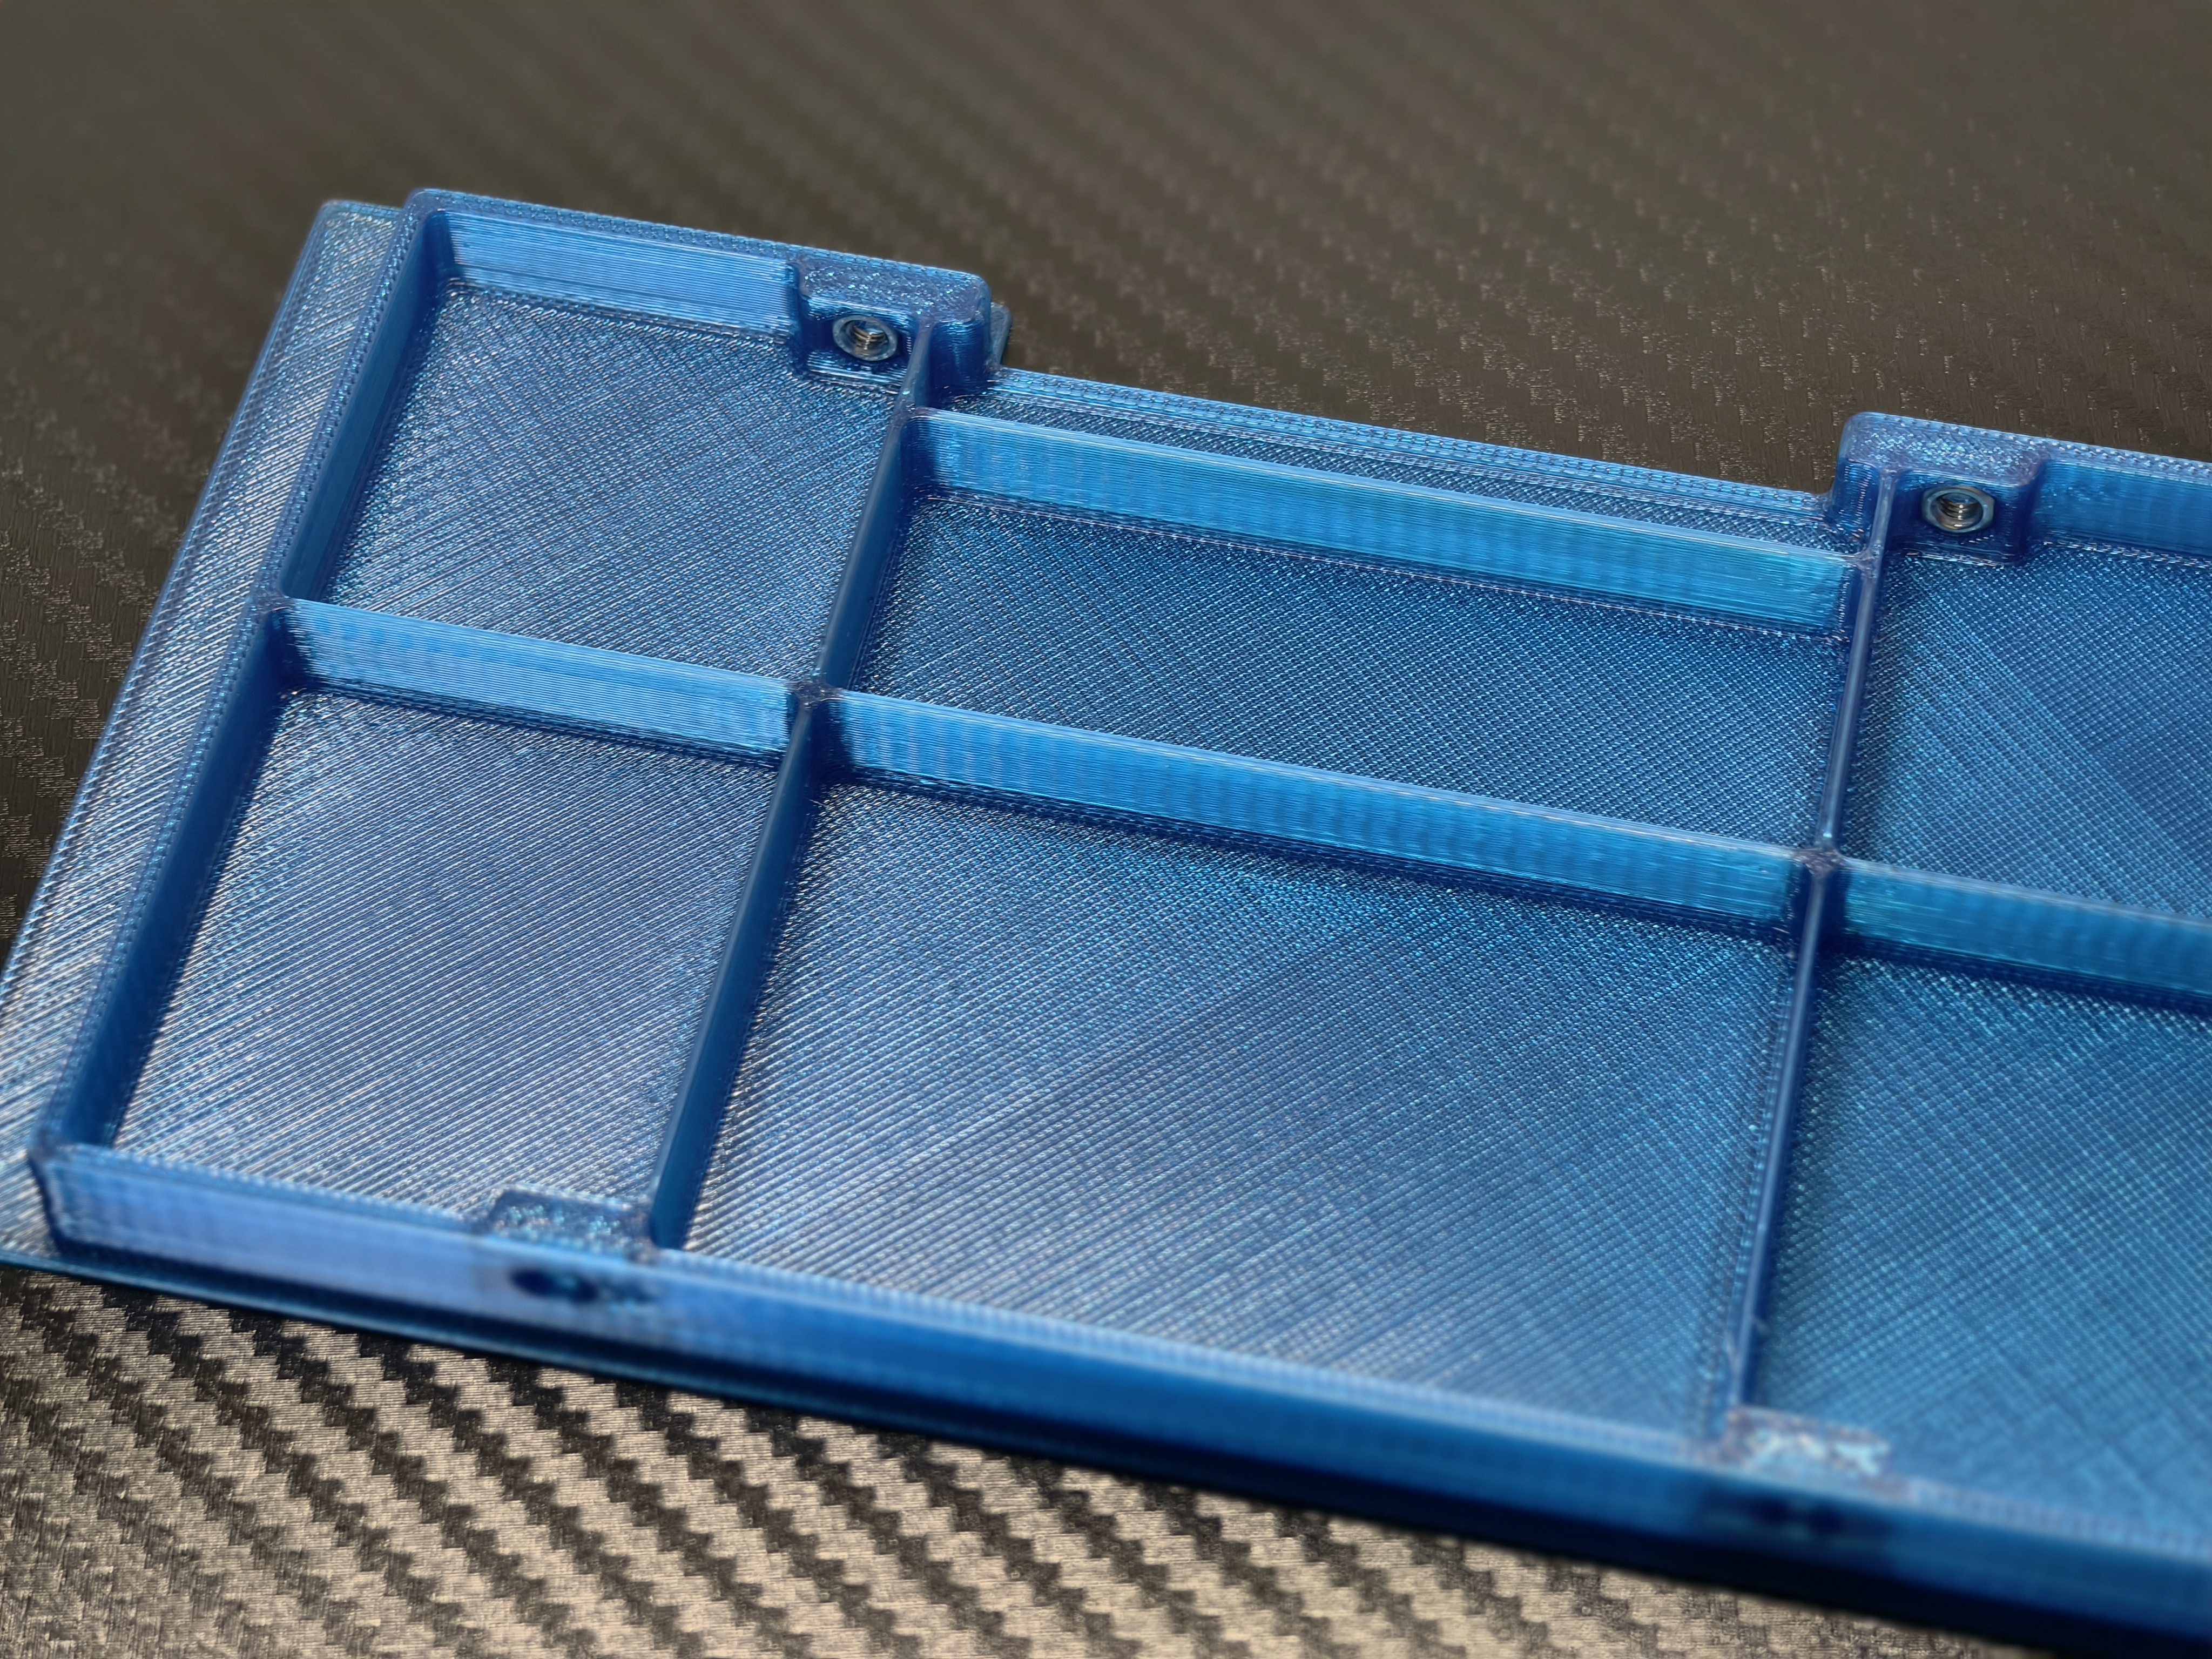
放置四个前盖螺母
Placement of 4 front cover nuts
-
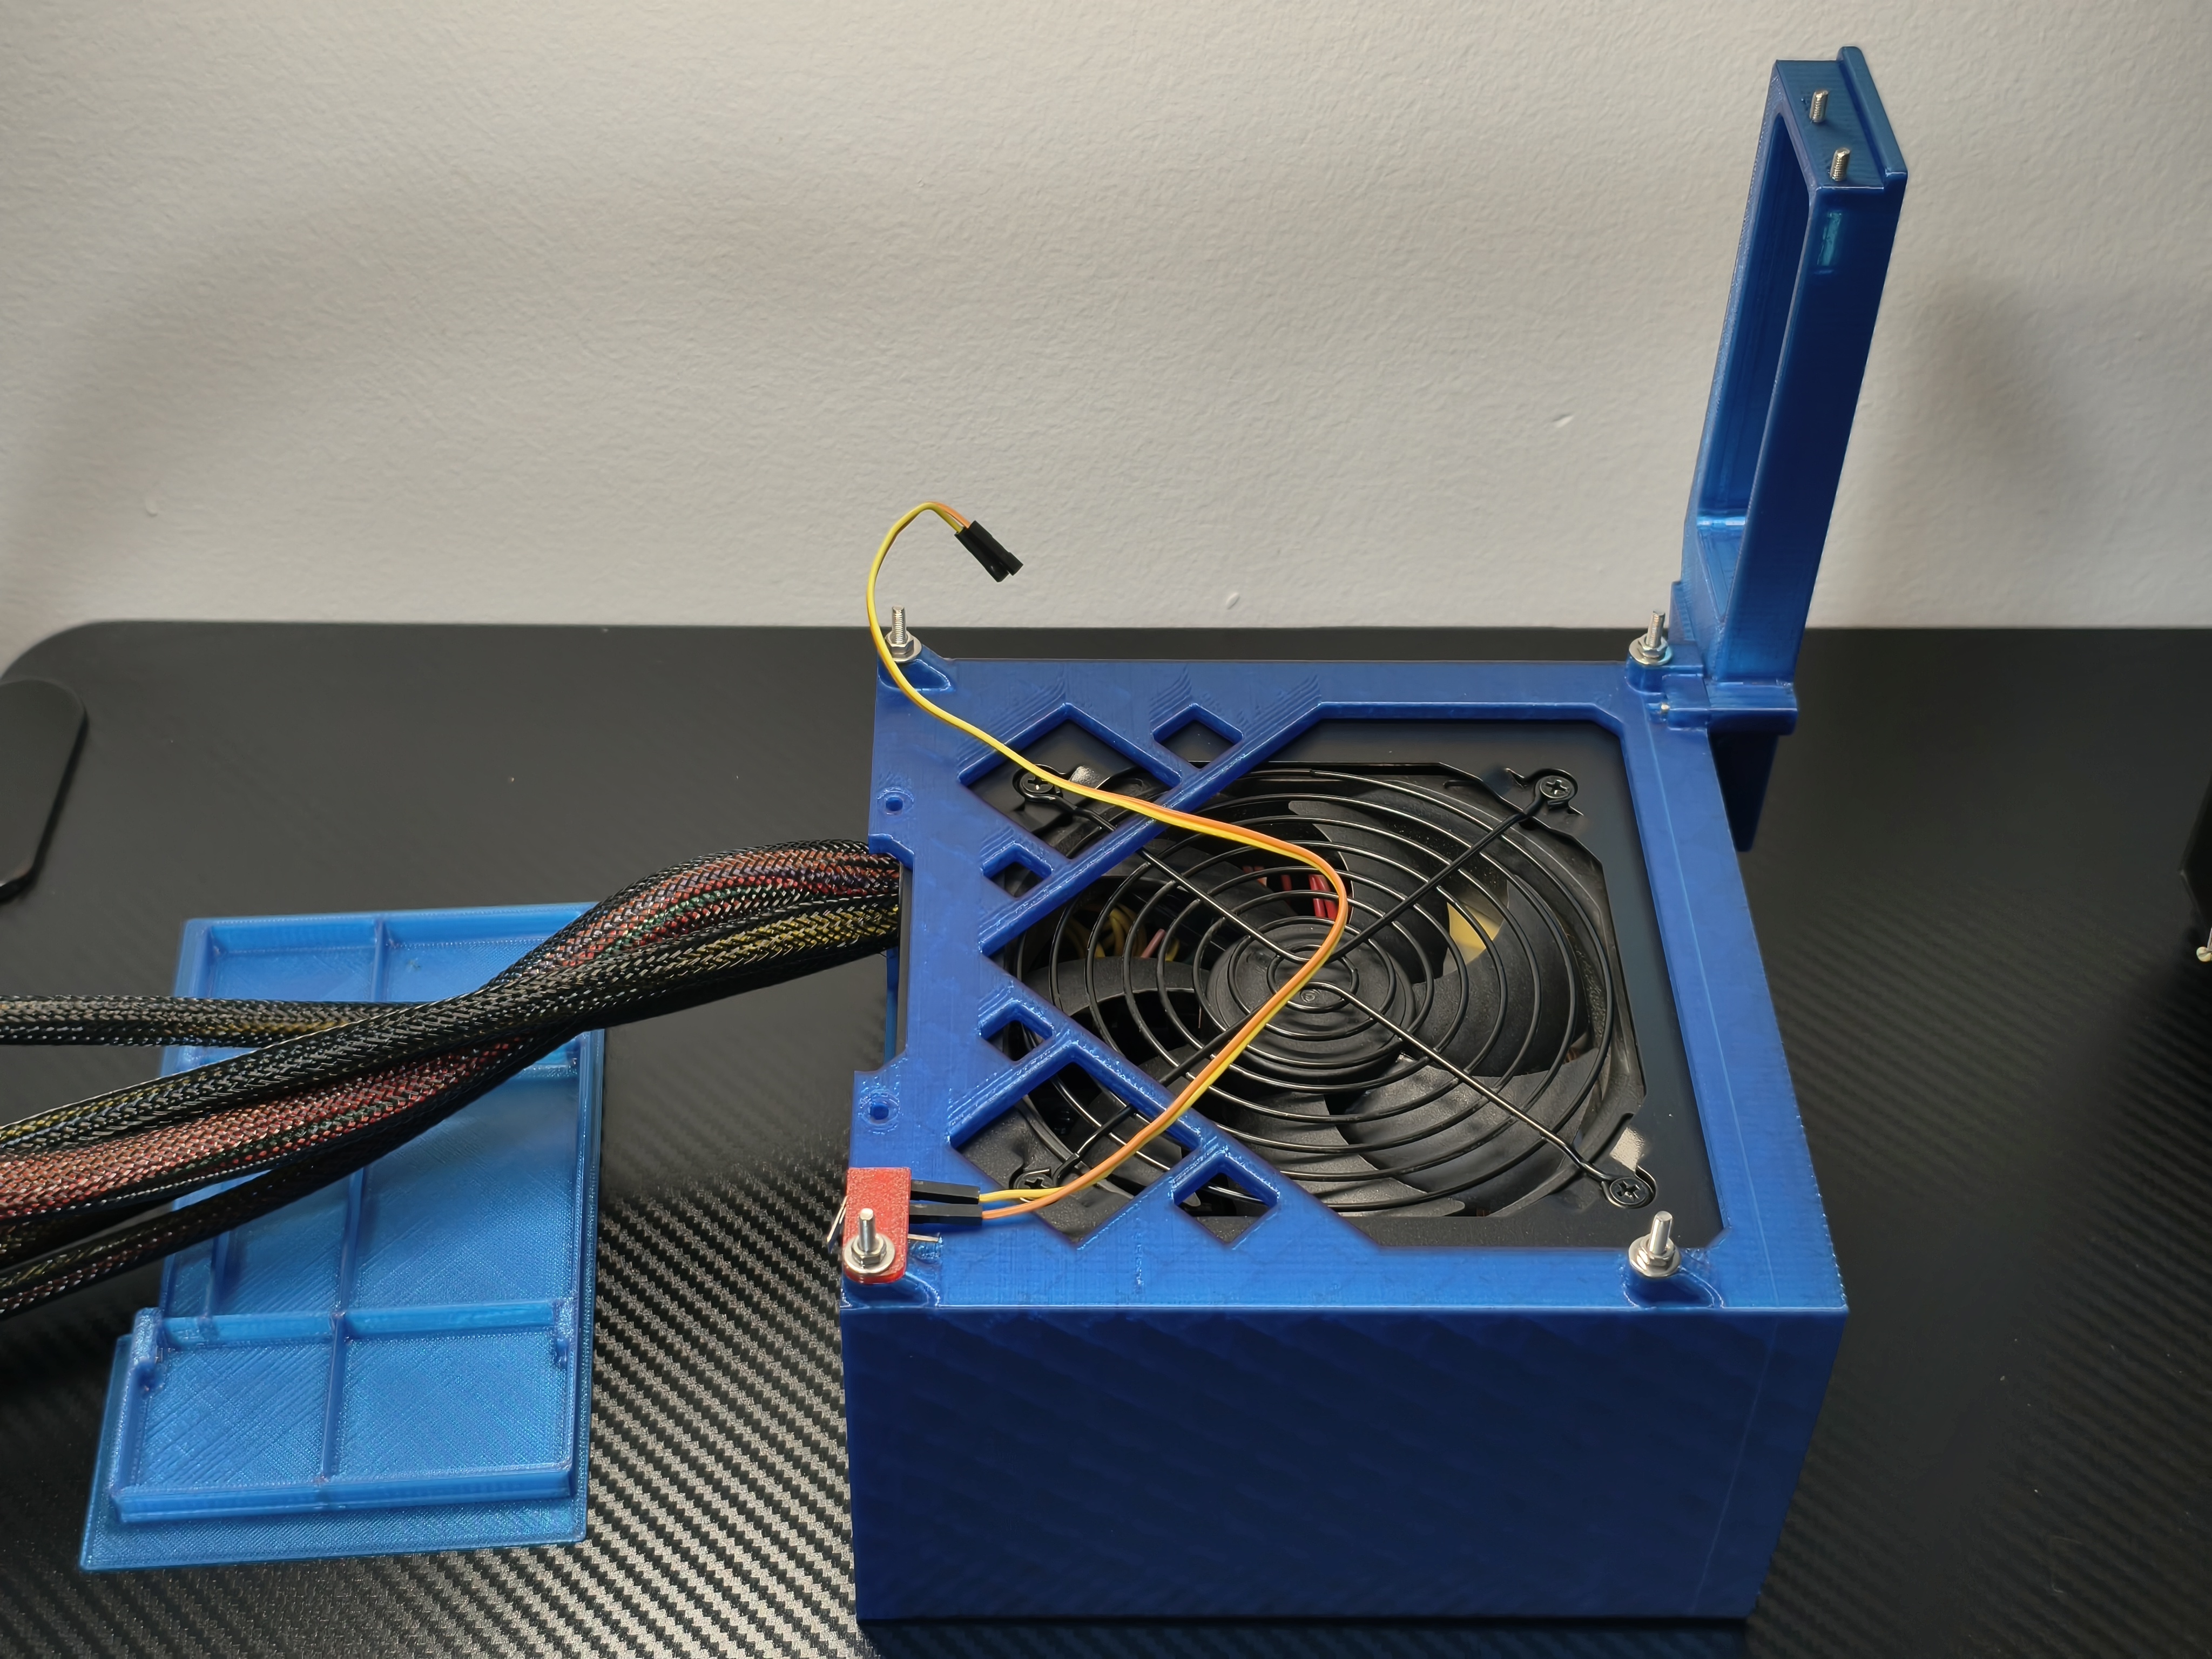
连接开机按钮
Connecting the power button
-
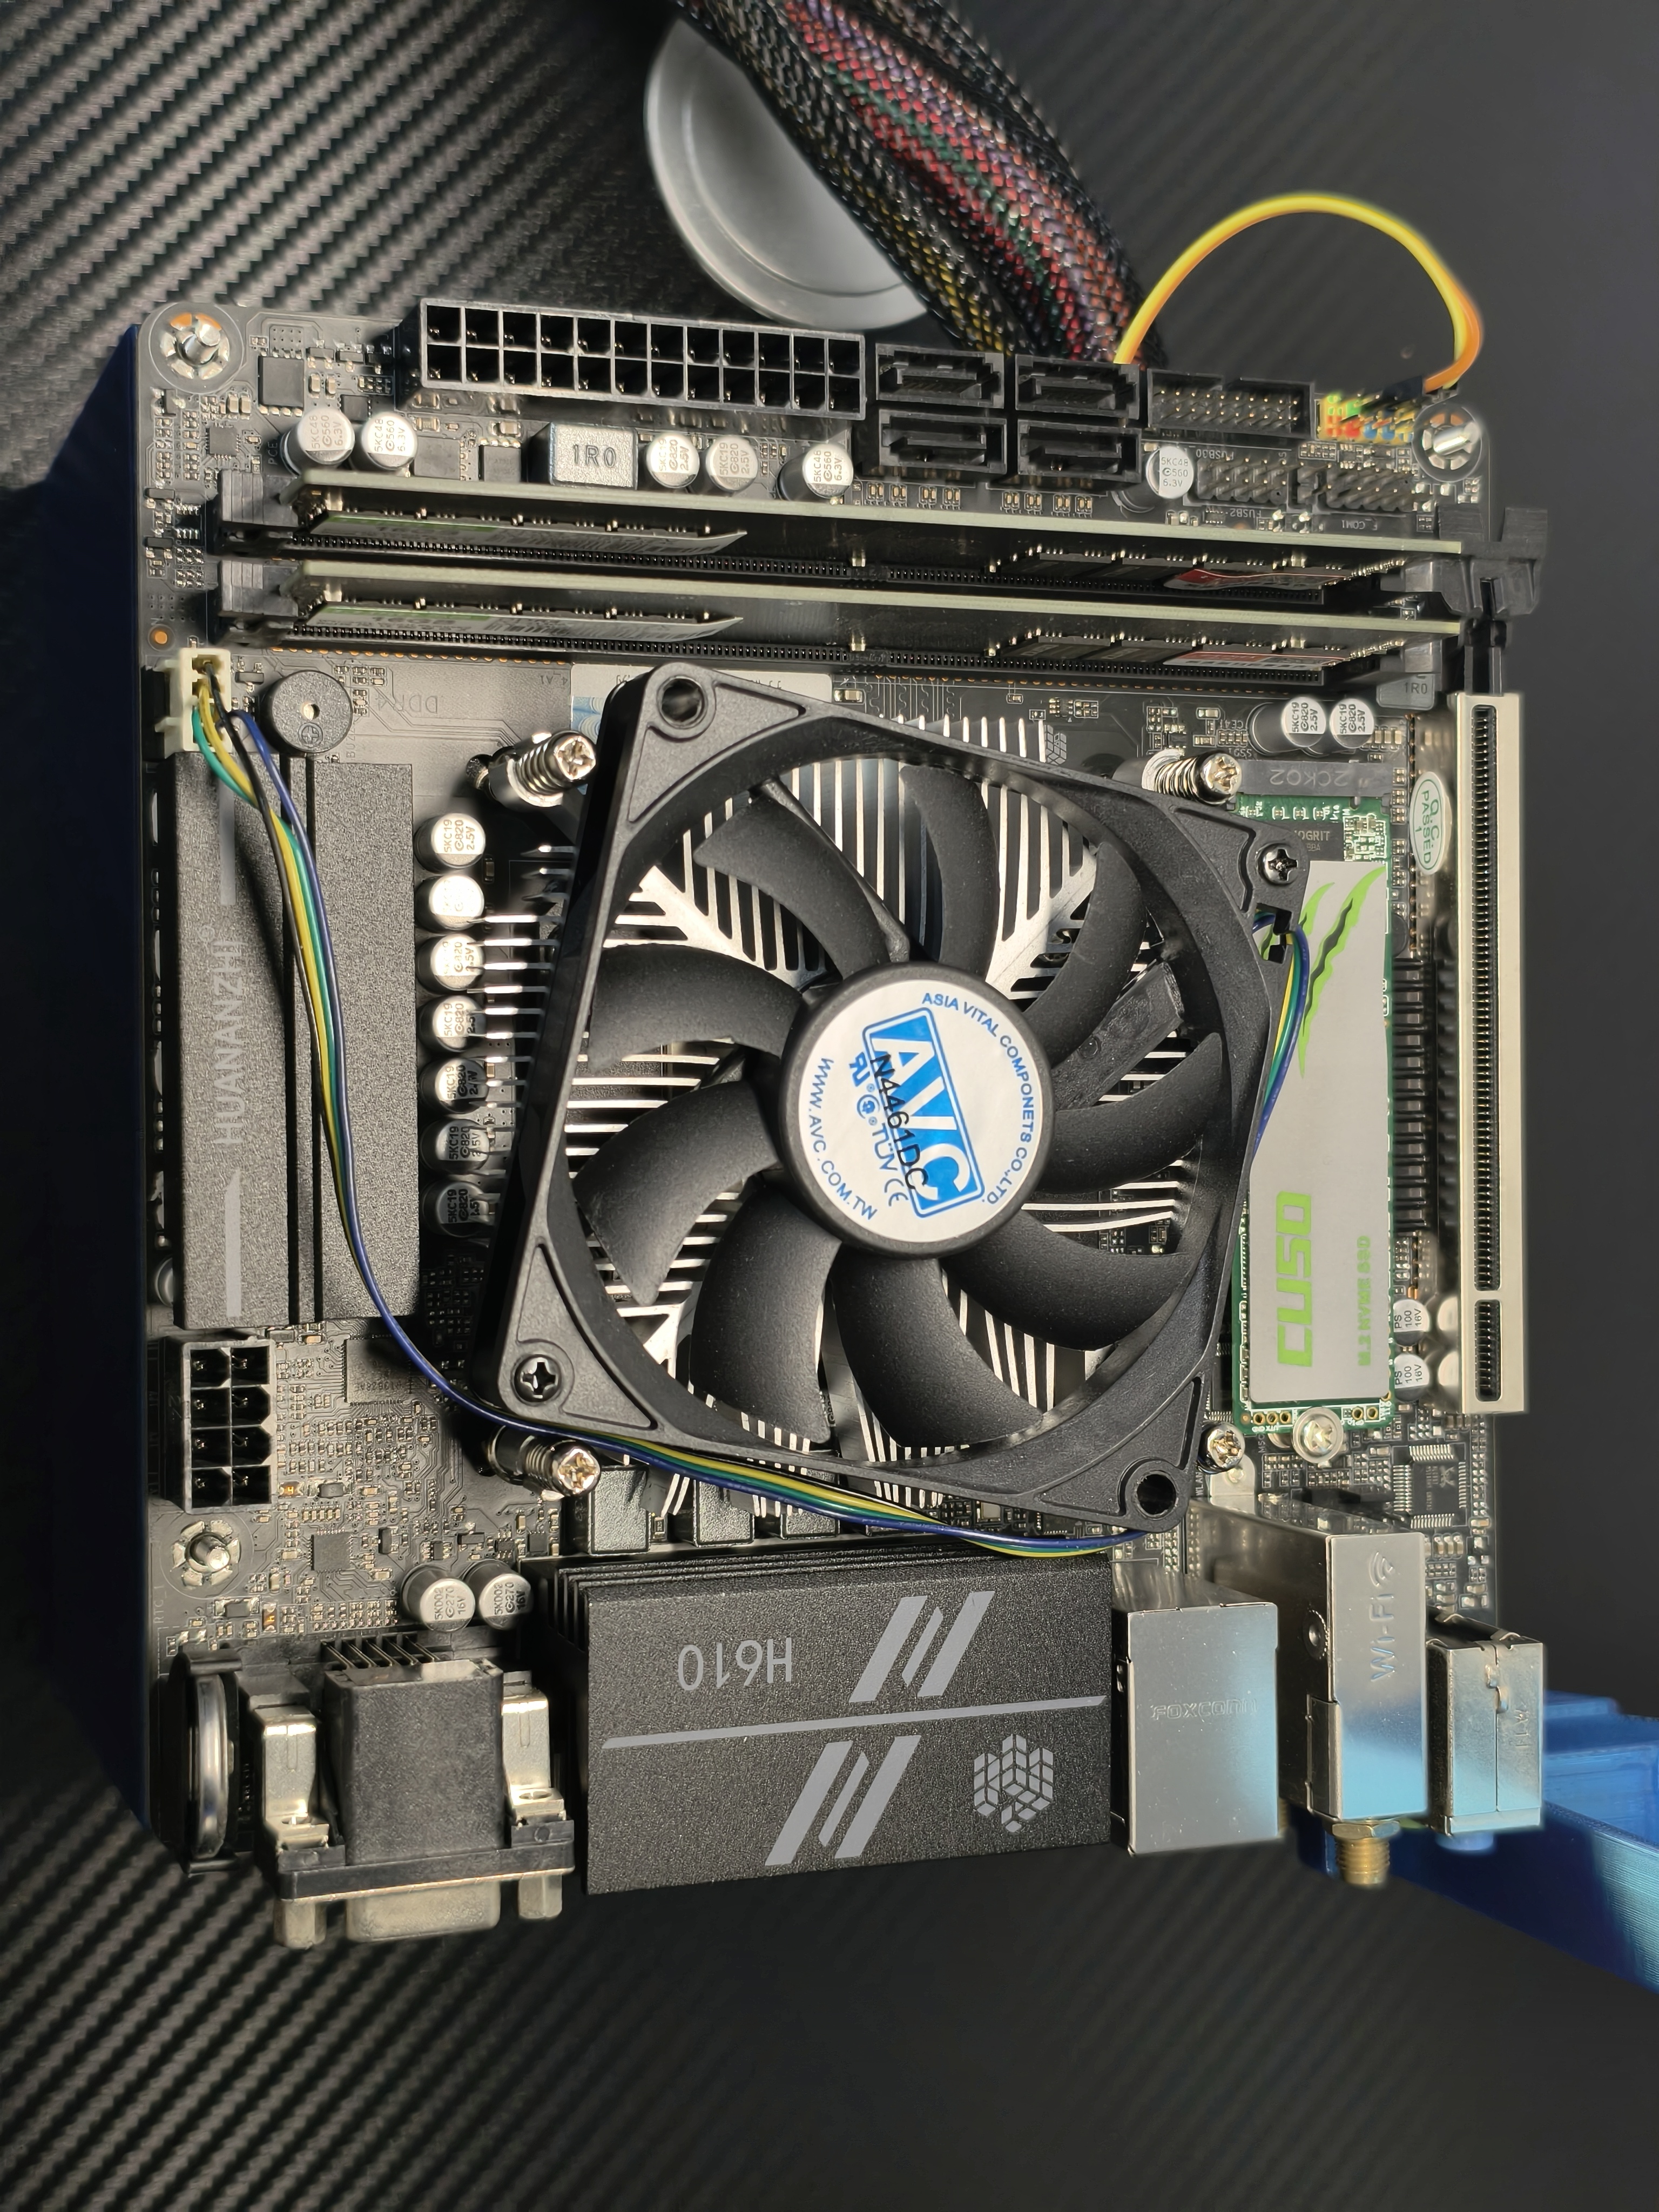
安装主板
Installing the Motherboard
-
安装显卡
Installing a Graphics Card
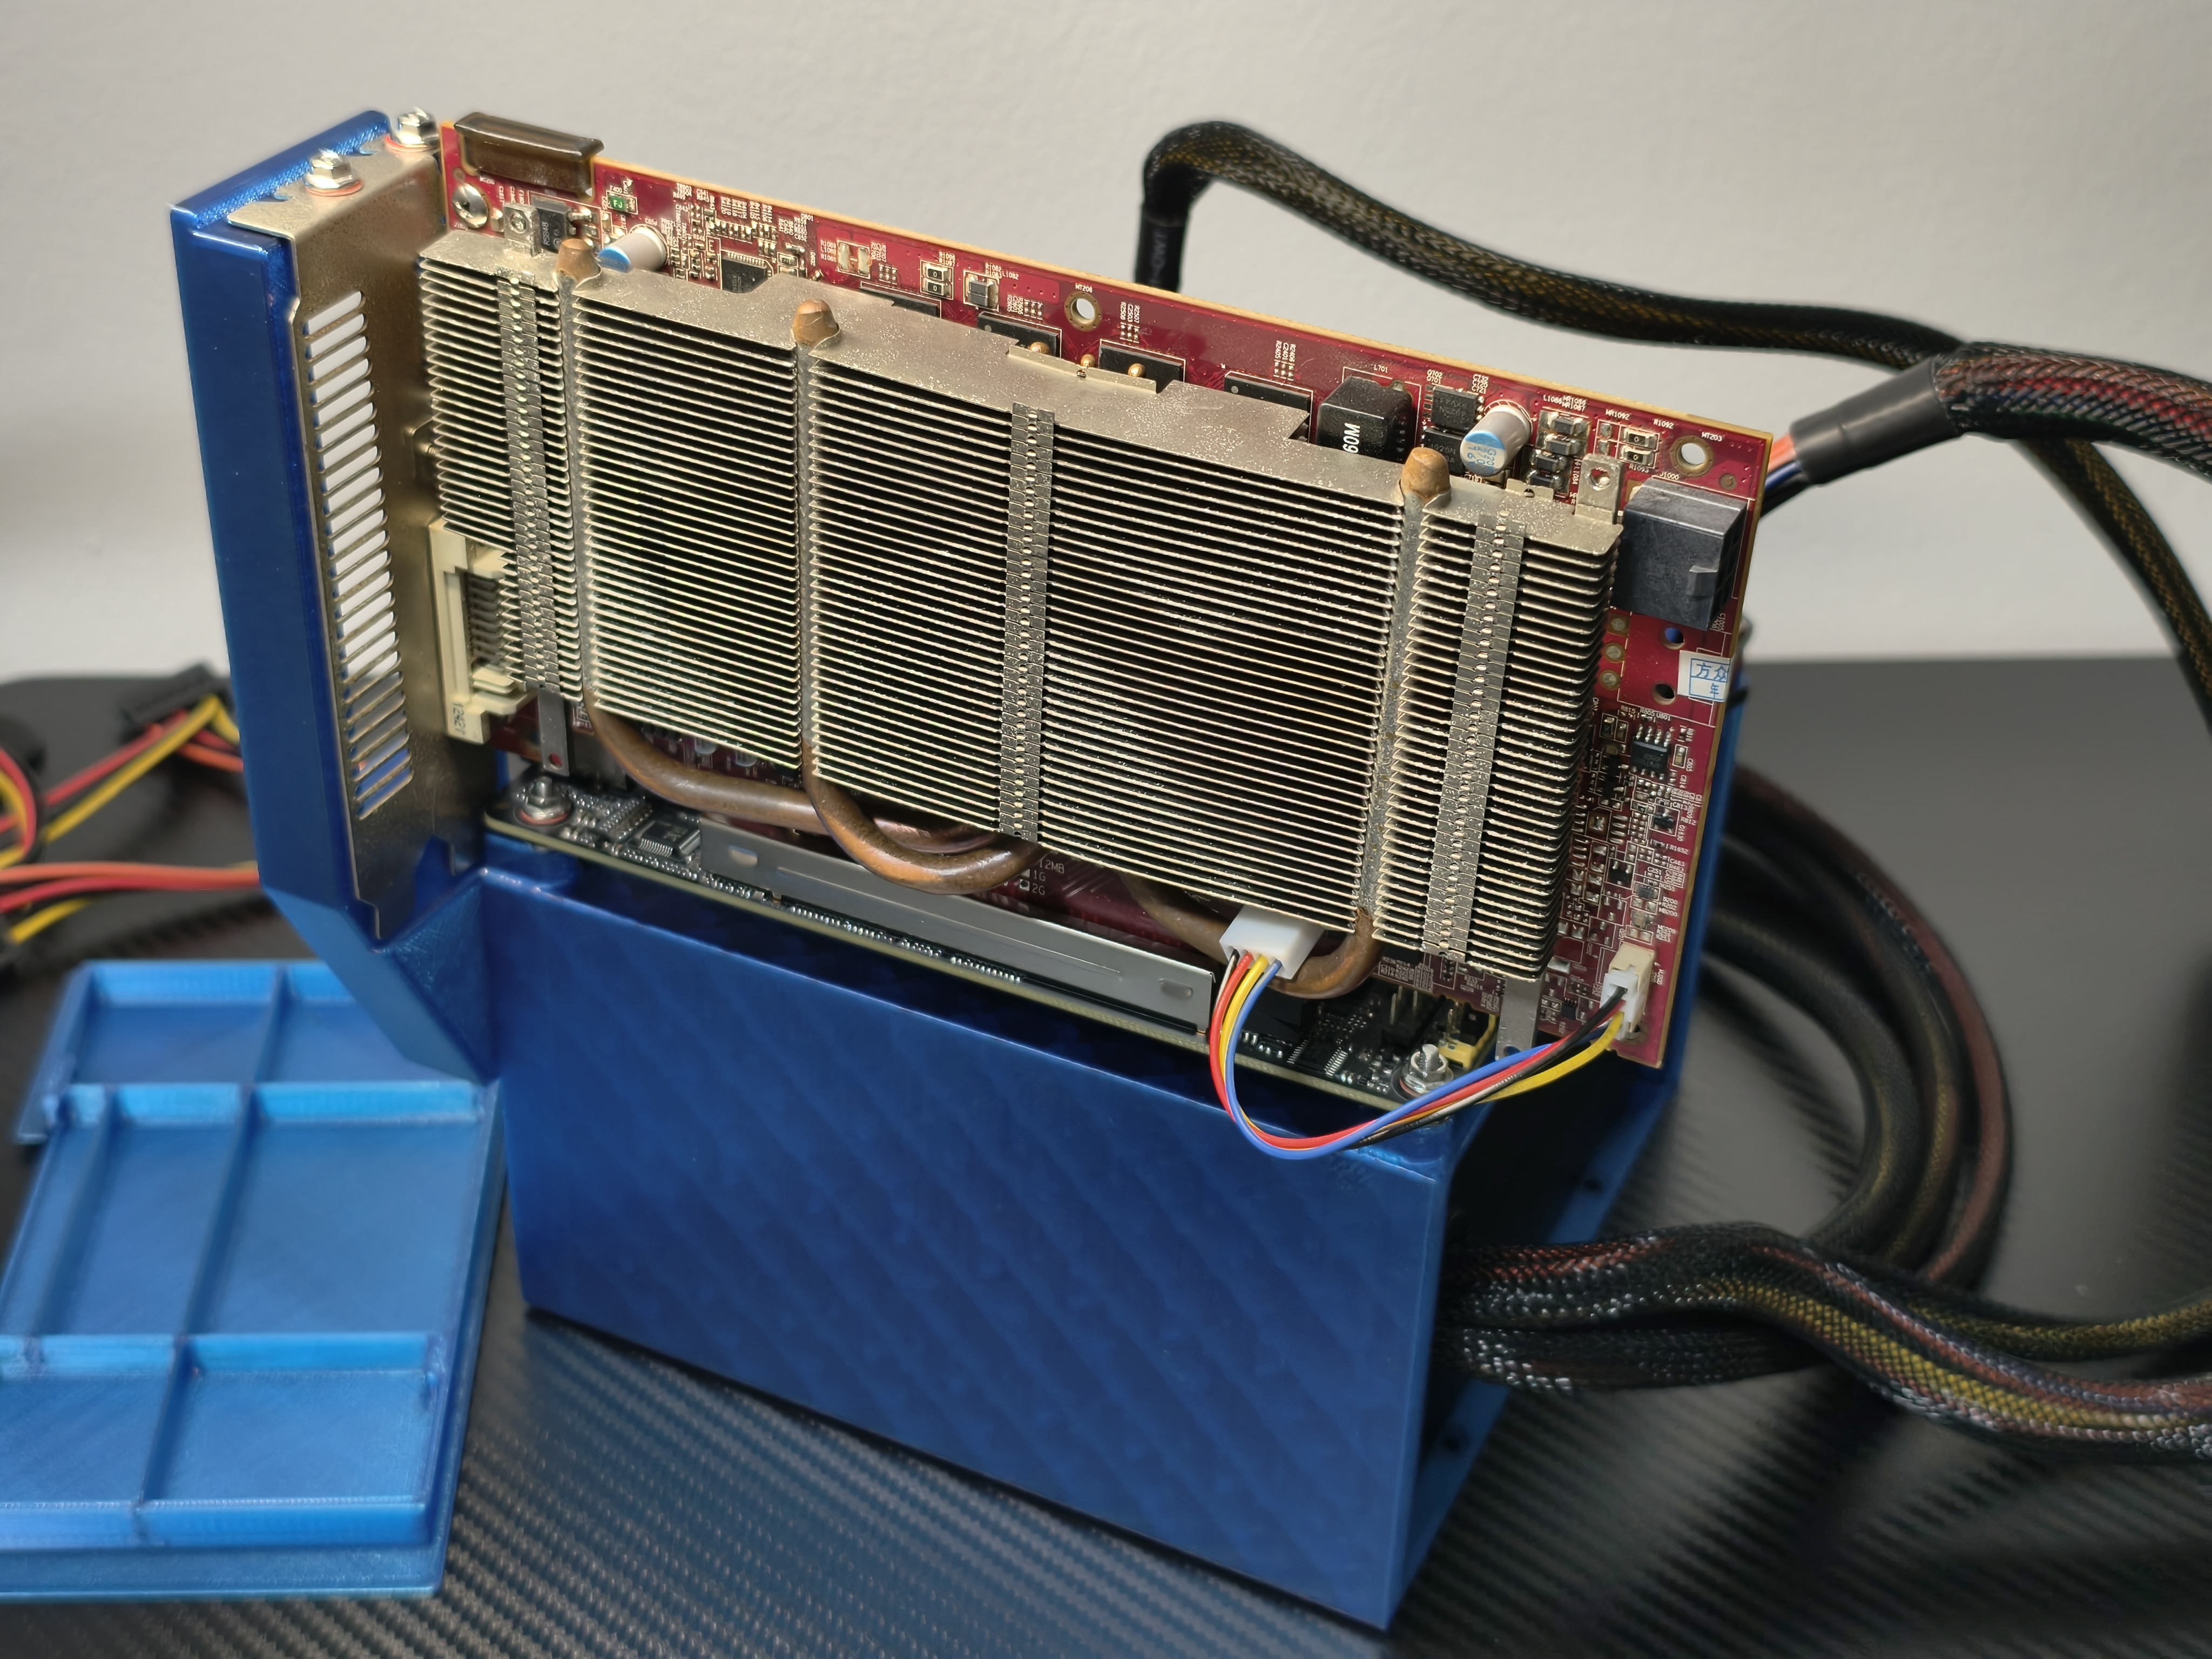
-
连接其他线材
Connecting other cables
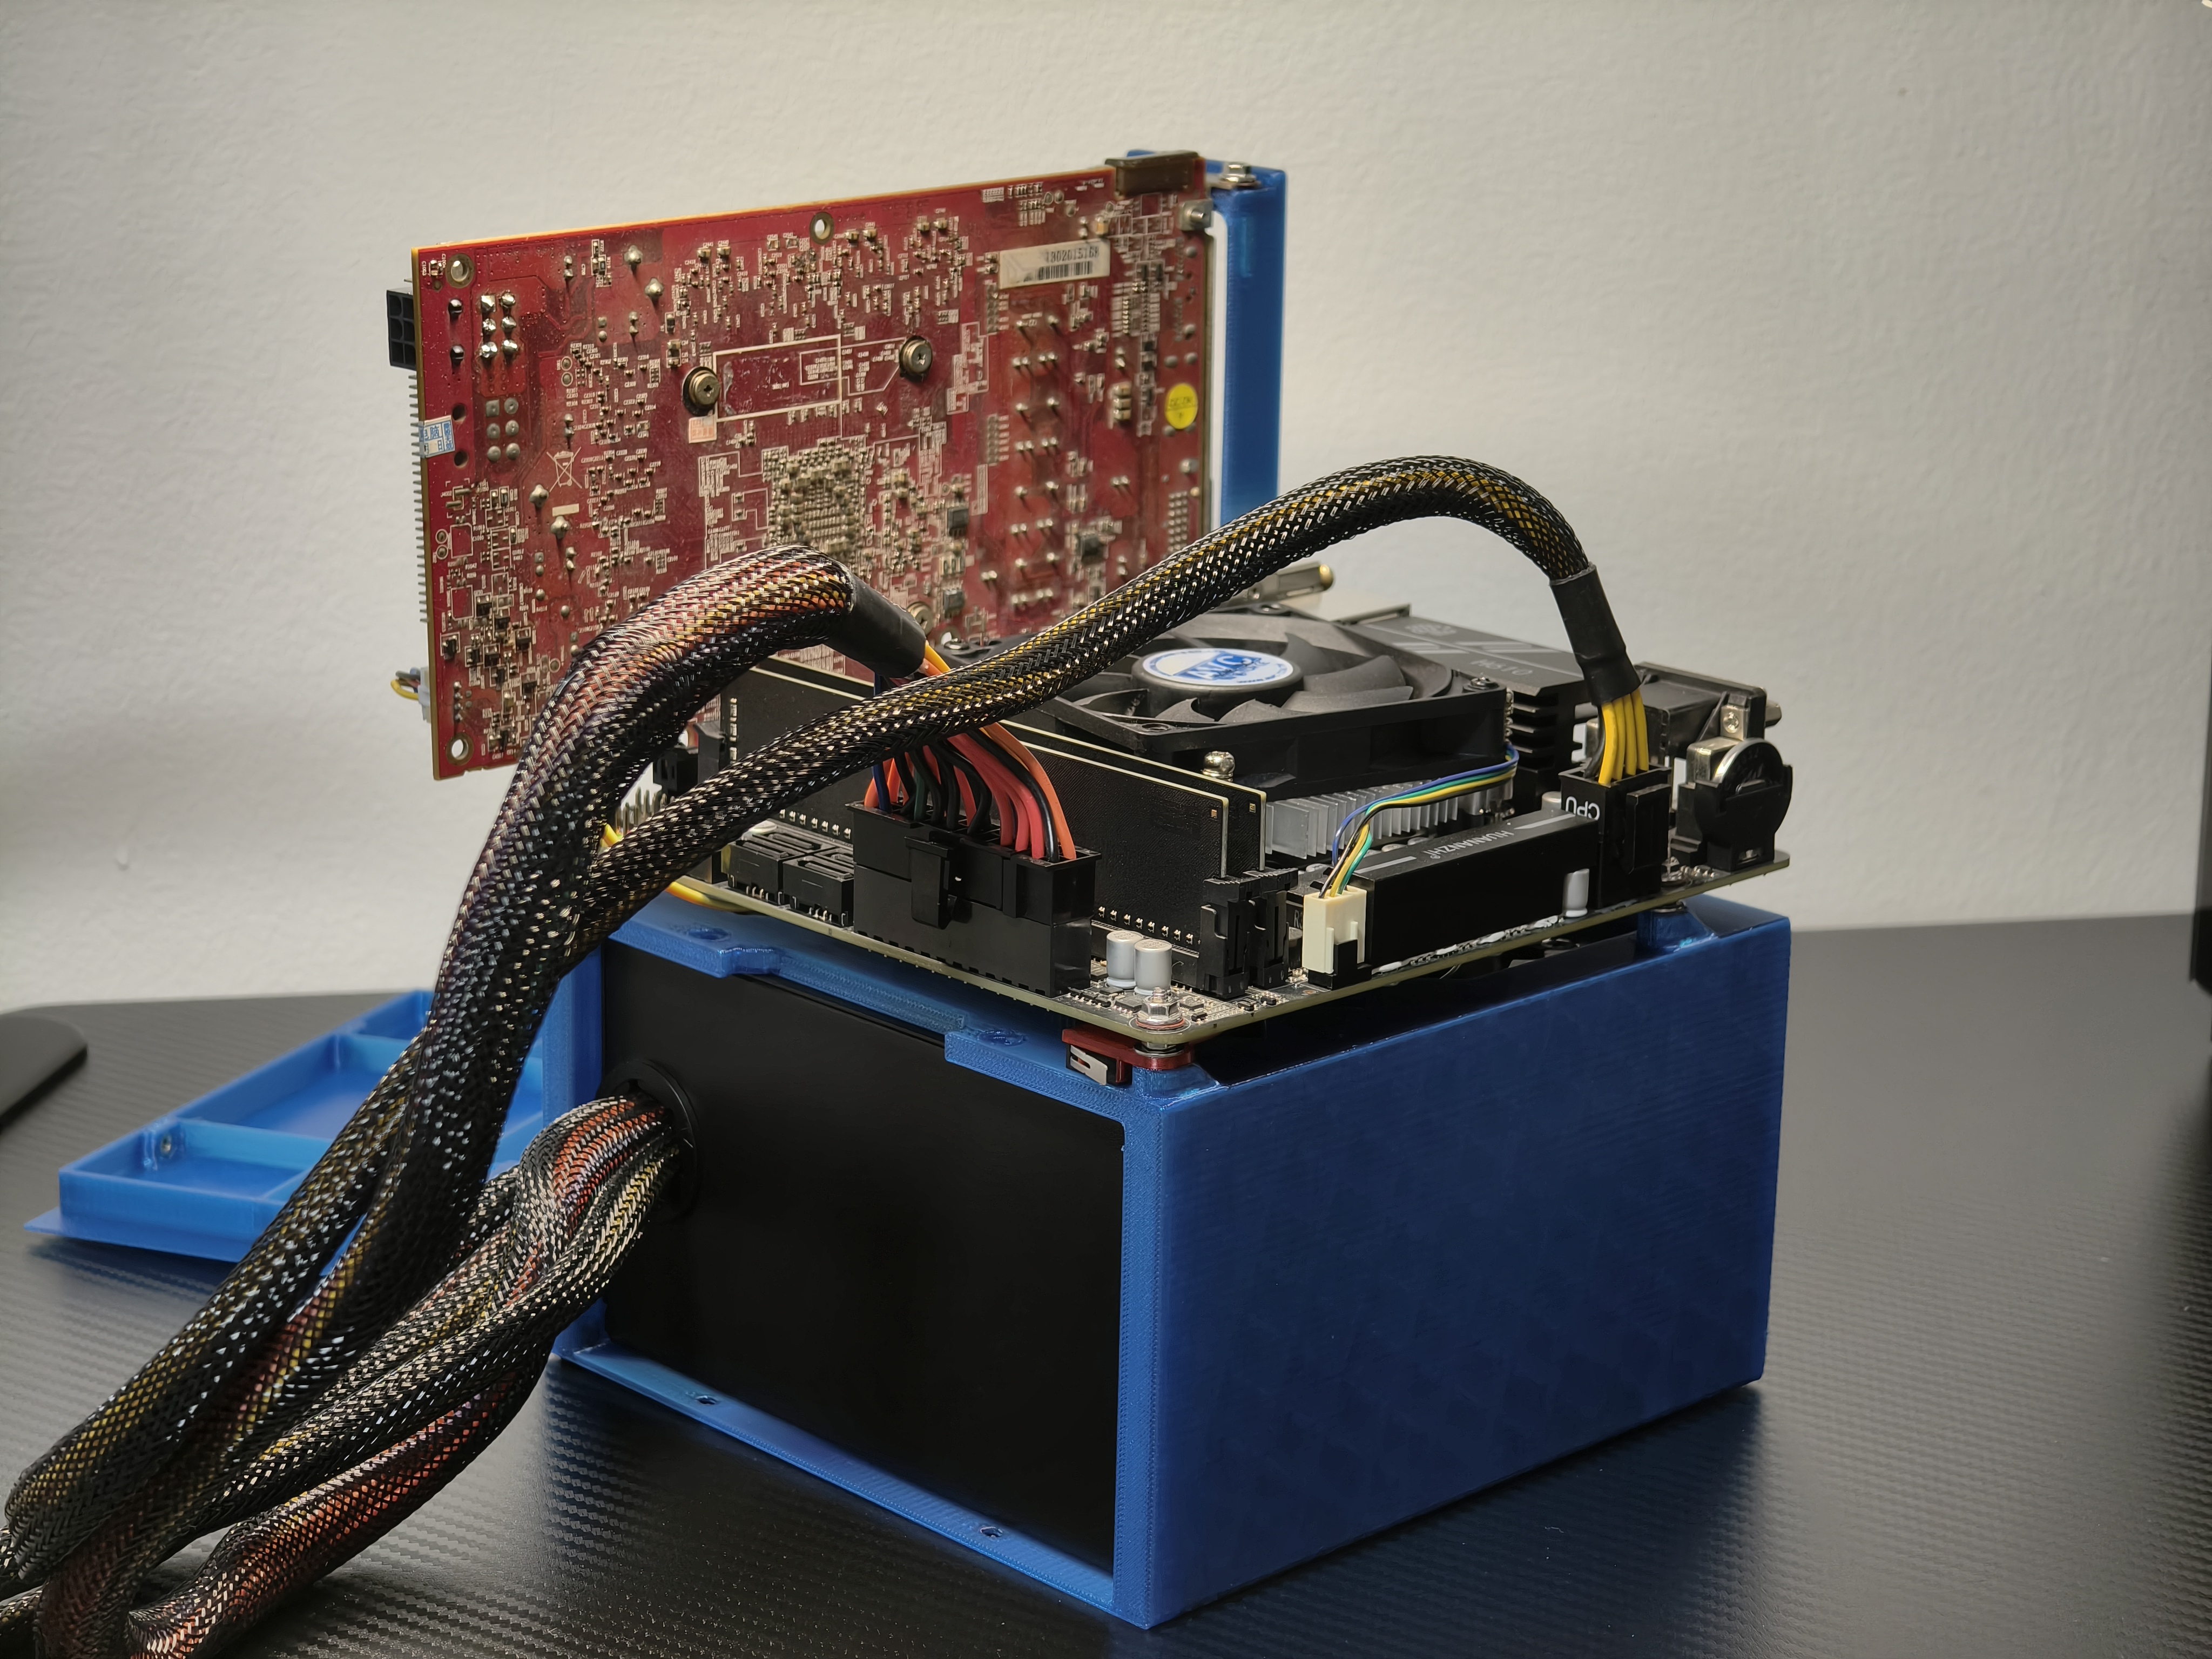
-
使用 ATX 电源的安装完成
Installation completion using ATX power supply
长度长于 14 cm 的 ATX 电源无法盖上前盖
ATX power supplies longer than 14 cm will not fit on the front cover.
-
安装前盖
Installation of front cover
使用 SFX 电源或者短于 14 cm 的 ATX 电源可以安装前盖
Front cover can be installed with SFX power supplies or ATX power supplies shorter than 14 cm.
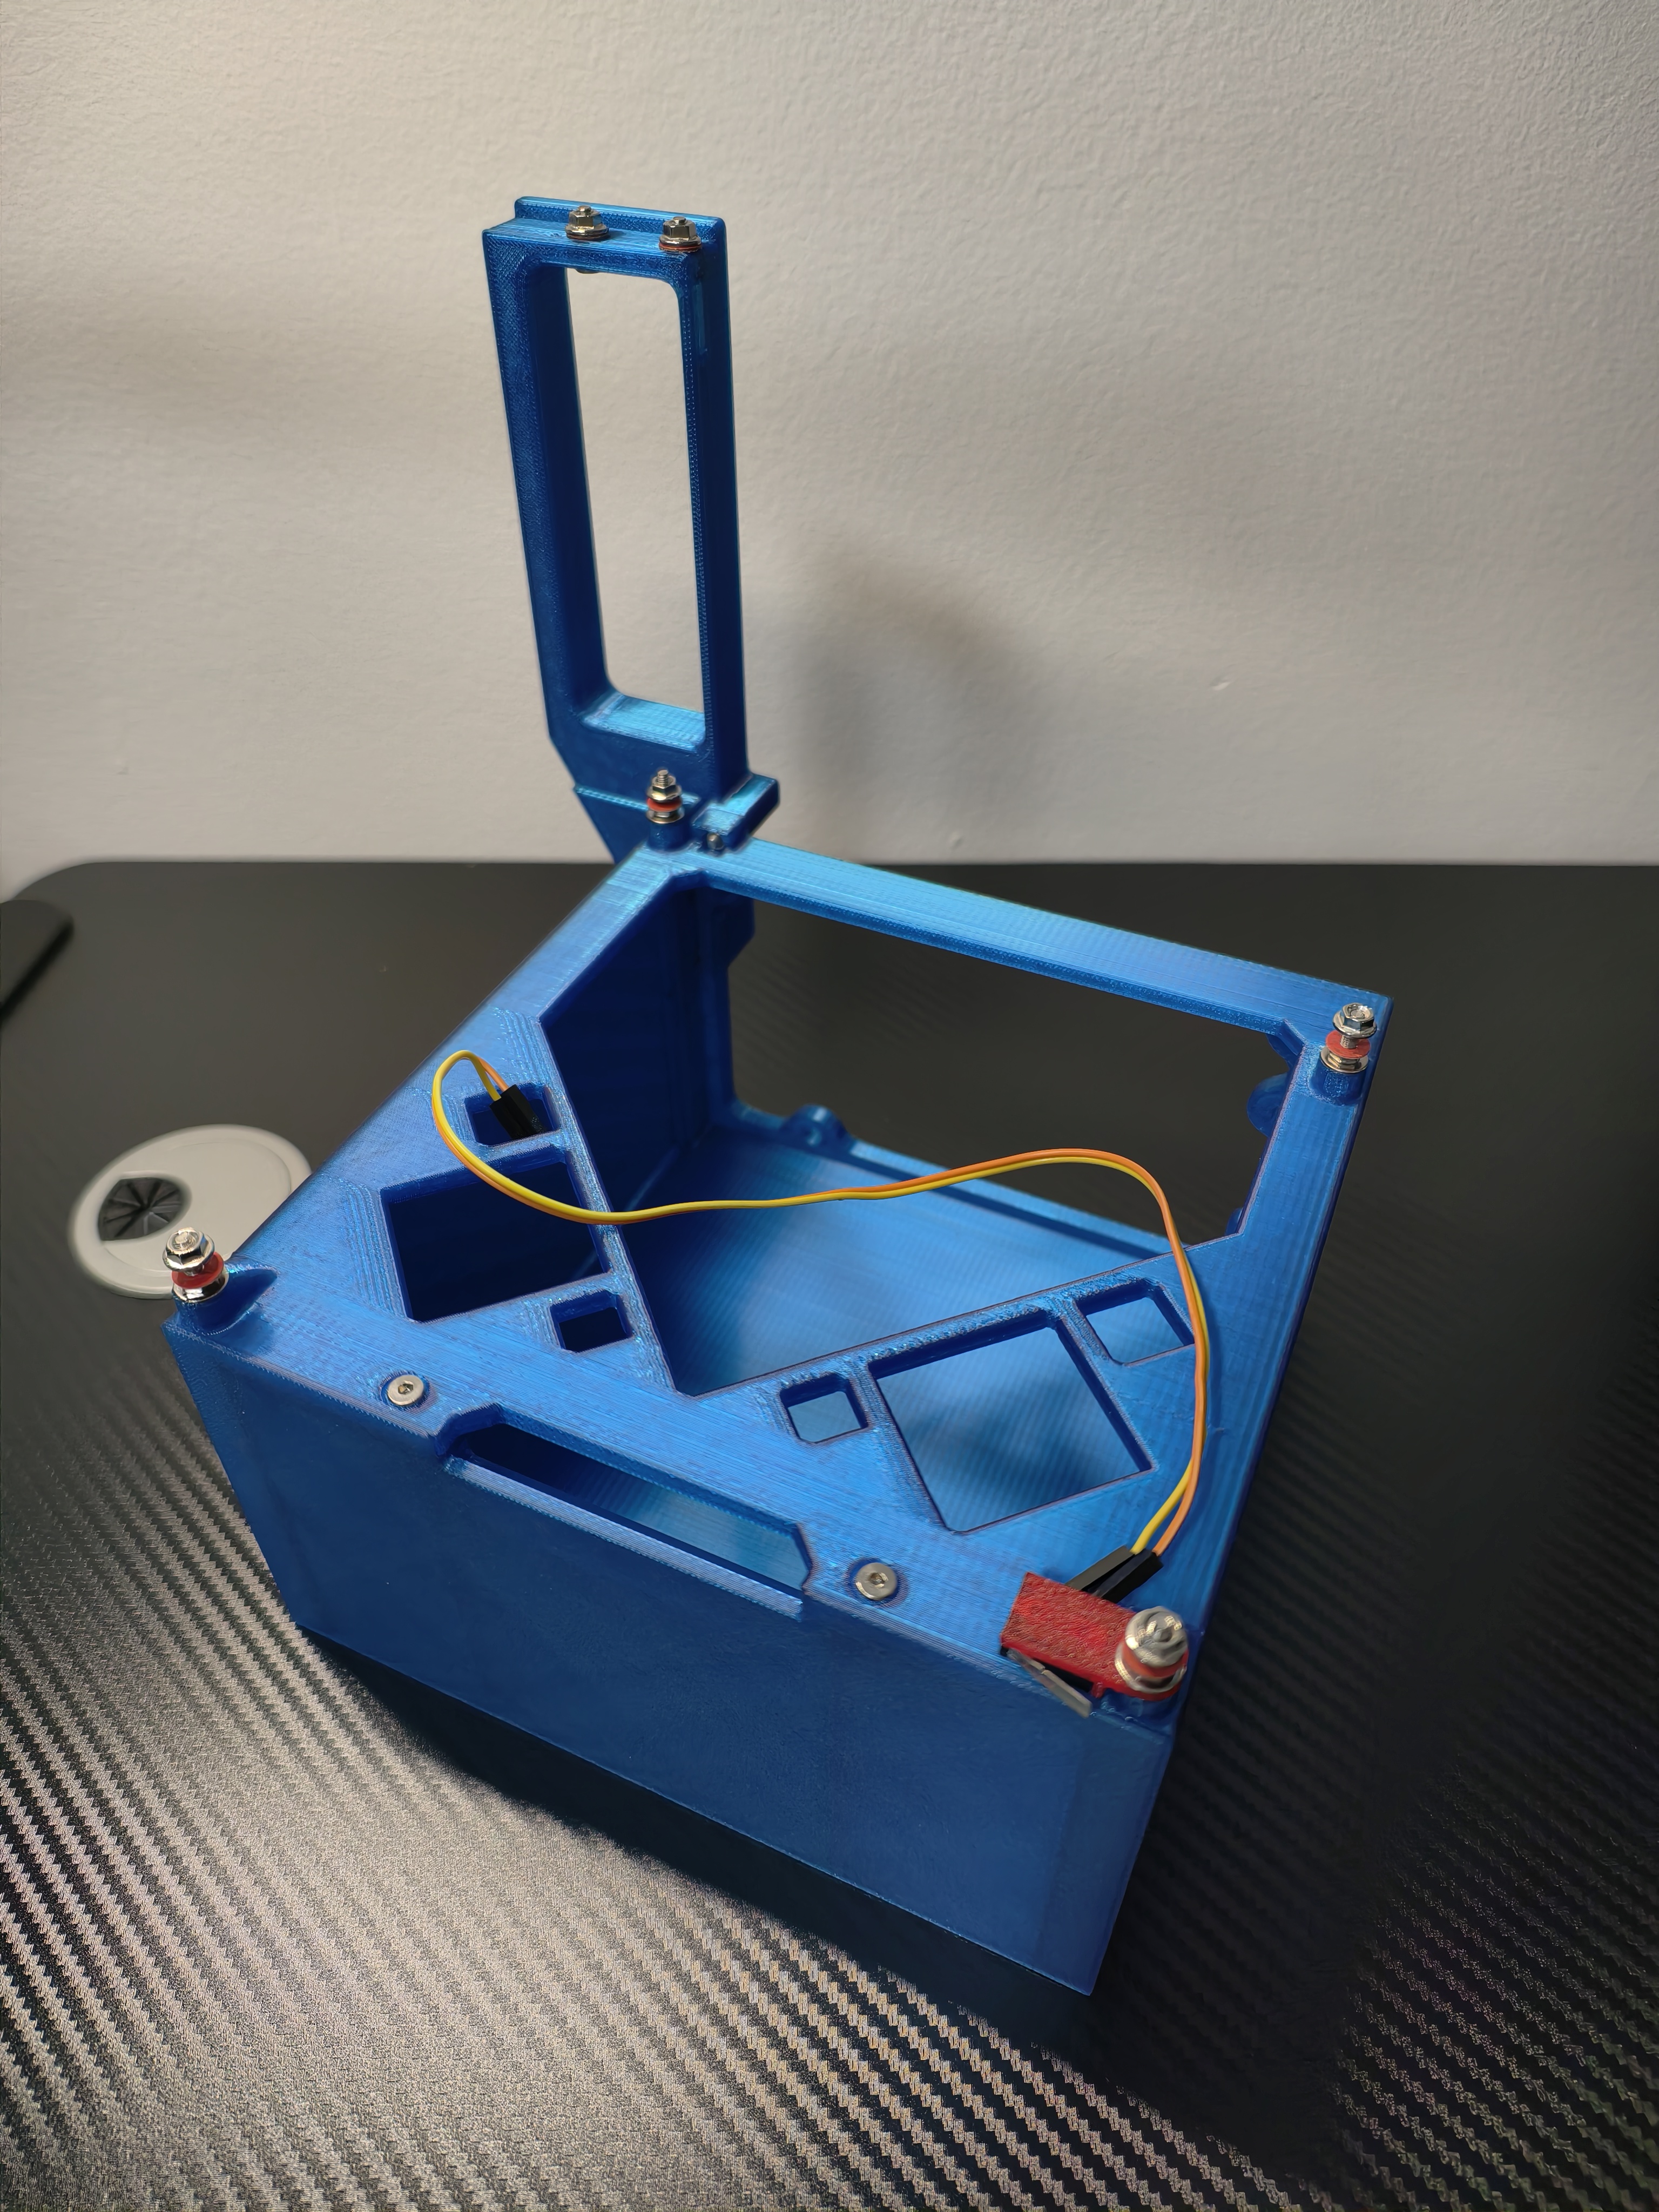
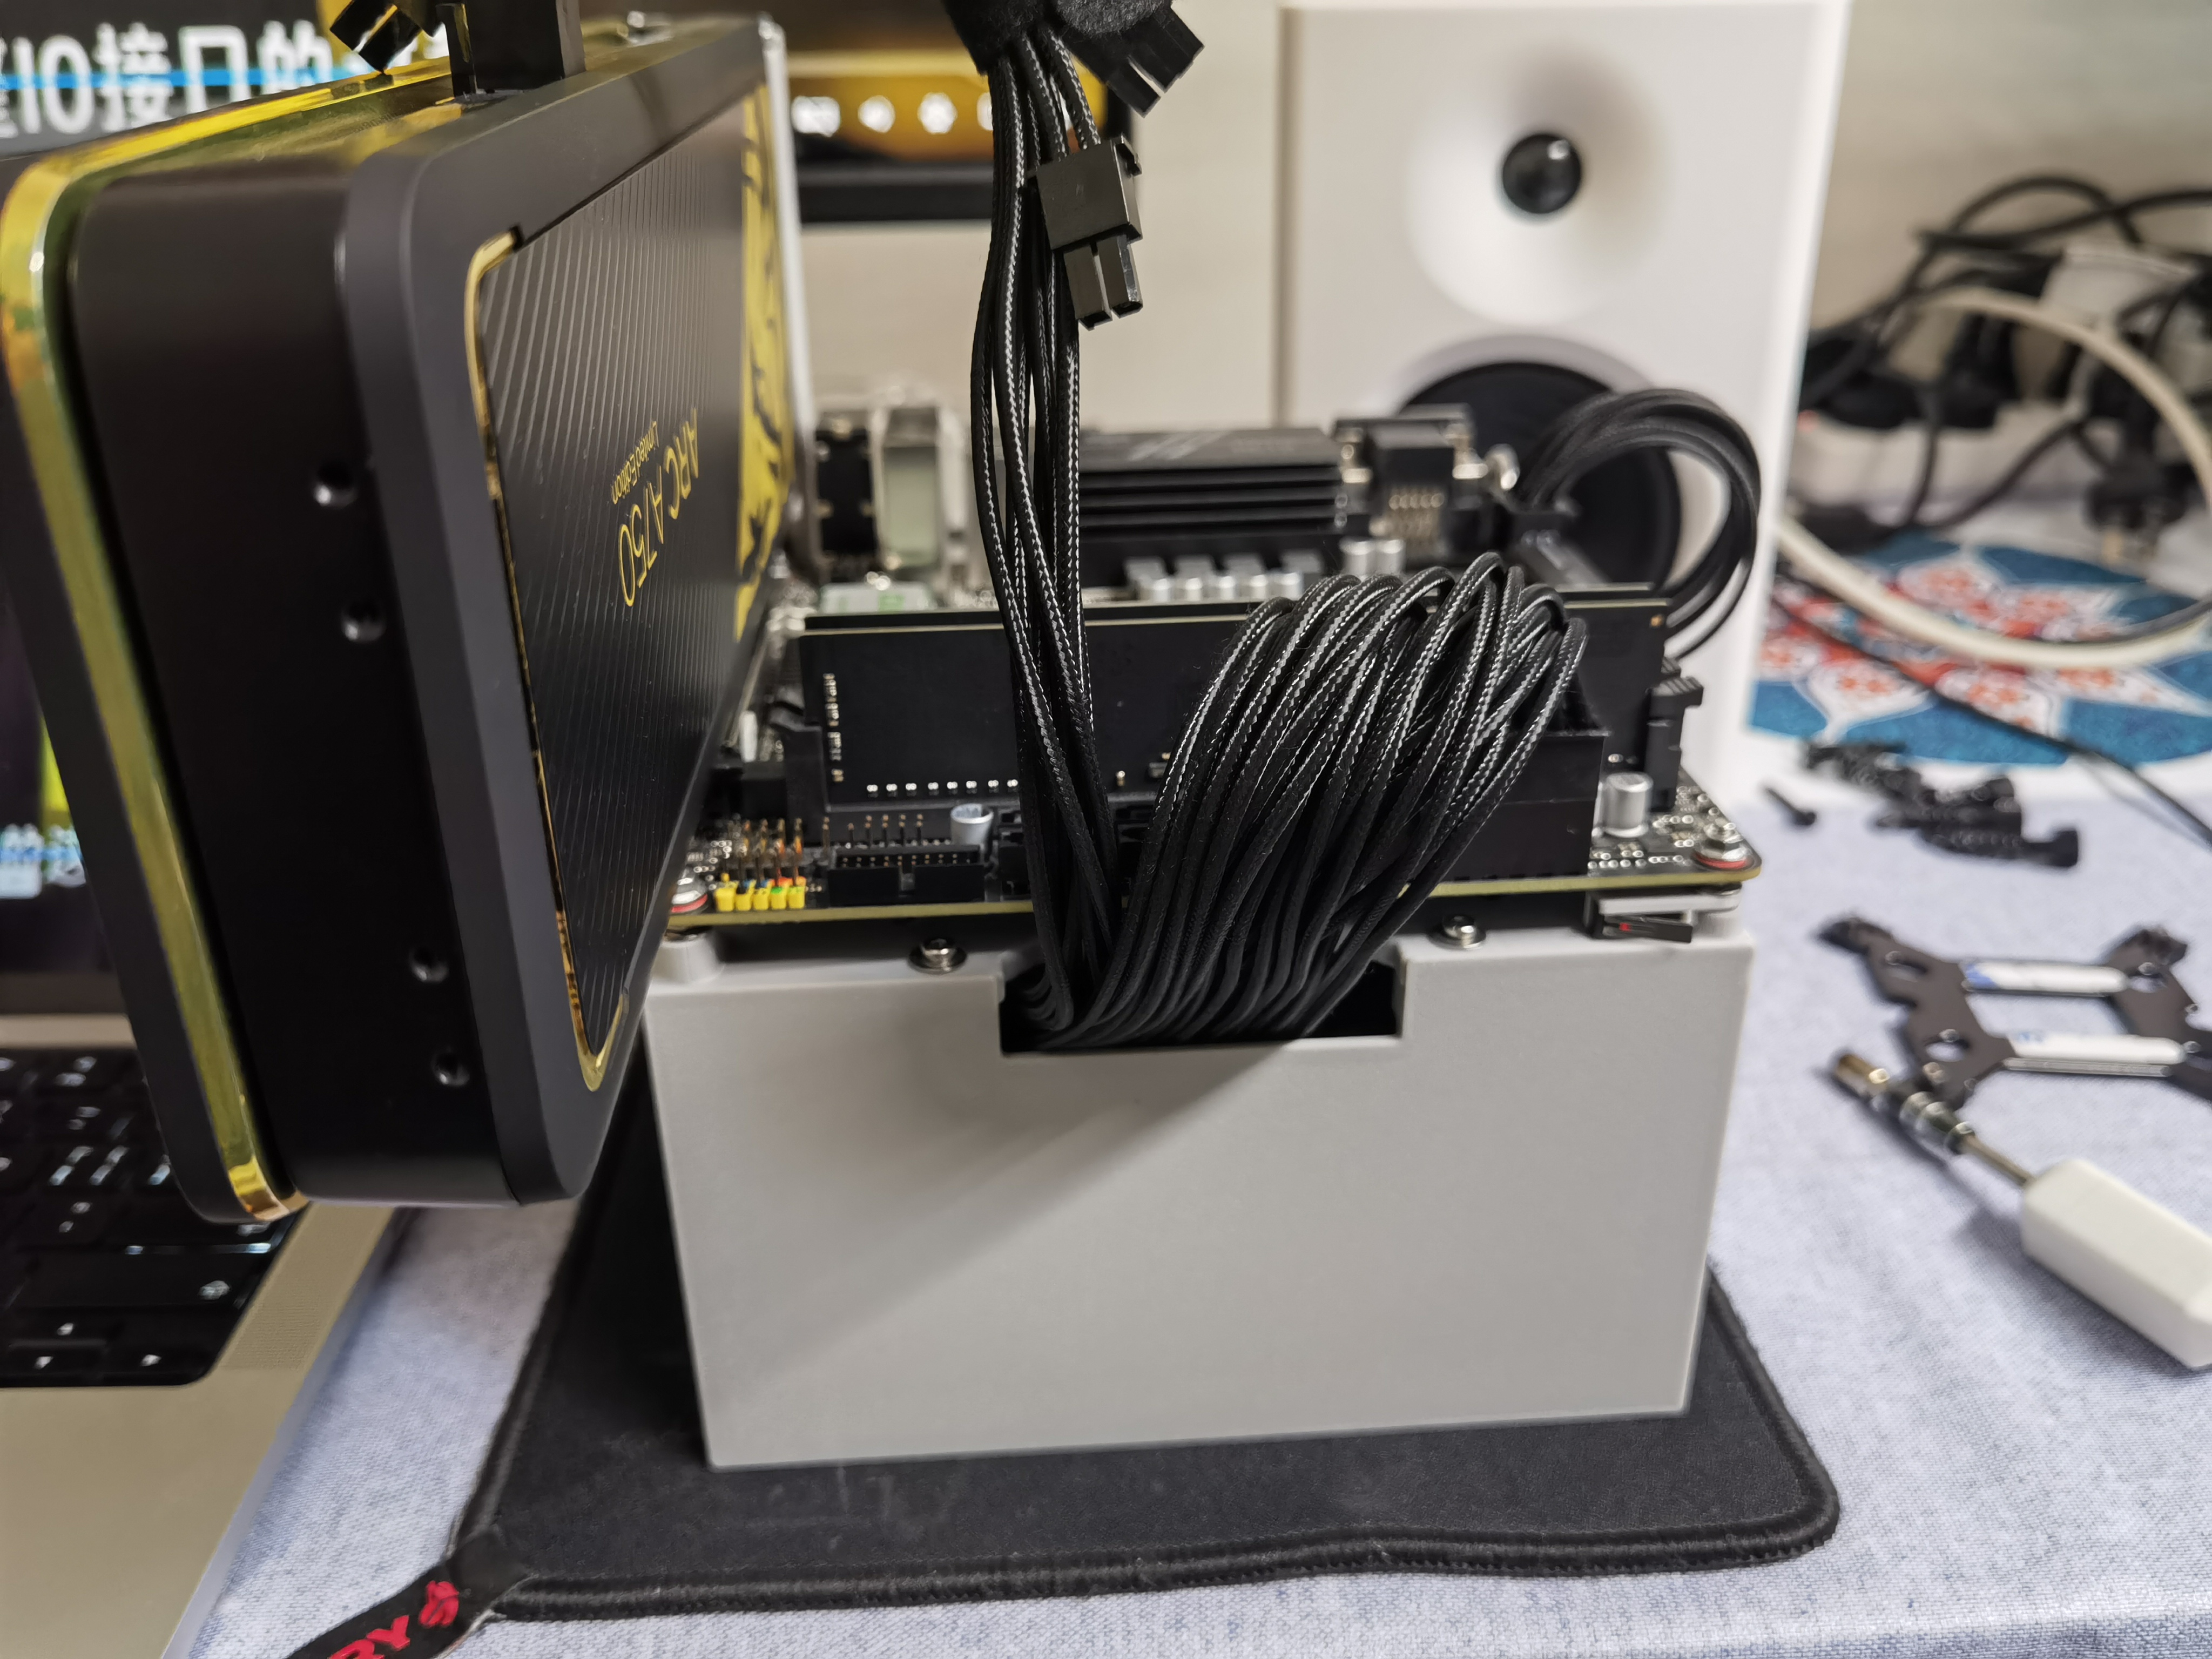
完成
Done
非常欢迎给这个设计和安装文档提意见
Comments on the design and installation documentation are very welcome!
Design by 脉冲喷气发动机 on MakerWorld (license: BY).