

Mr. Pote-Egg-O Head & Friends Modular Easter Eggs


Mr. Pote-Egg-O Head & Friends Modular Easter Eggs
- Made to order — 3D printed after you buy
- Free shipping on orders over $25
- Quality checked before it ships
- Questions? Contact us · Returns
Mr. Pote-Egg-O Head & Friends Modular Easter Eggs
At first glance, these may look like standard Easter eggs:
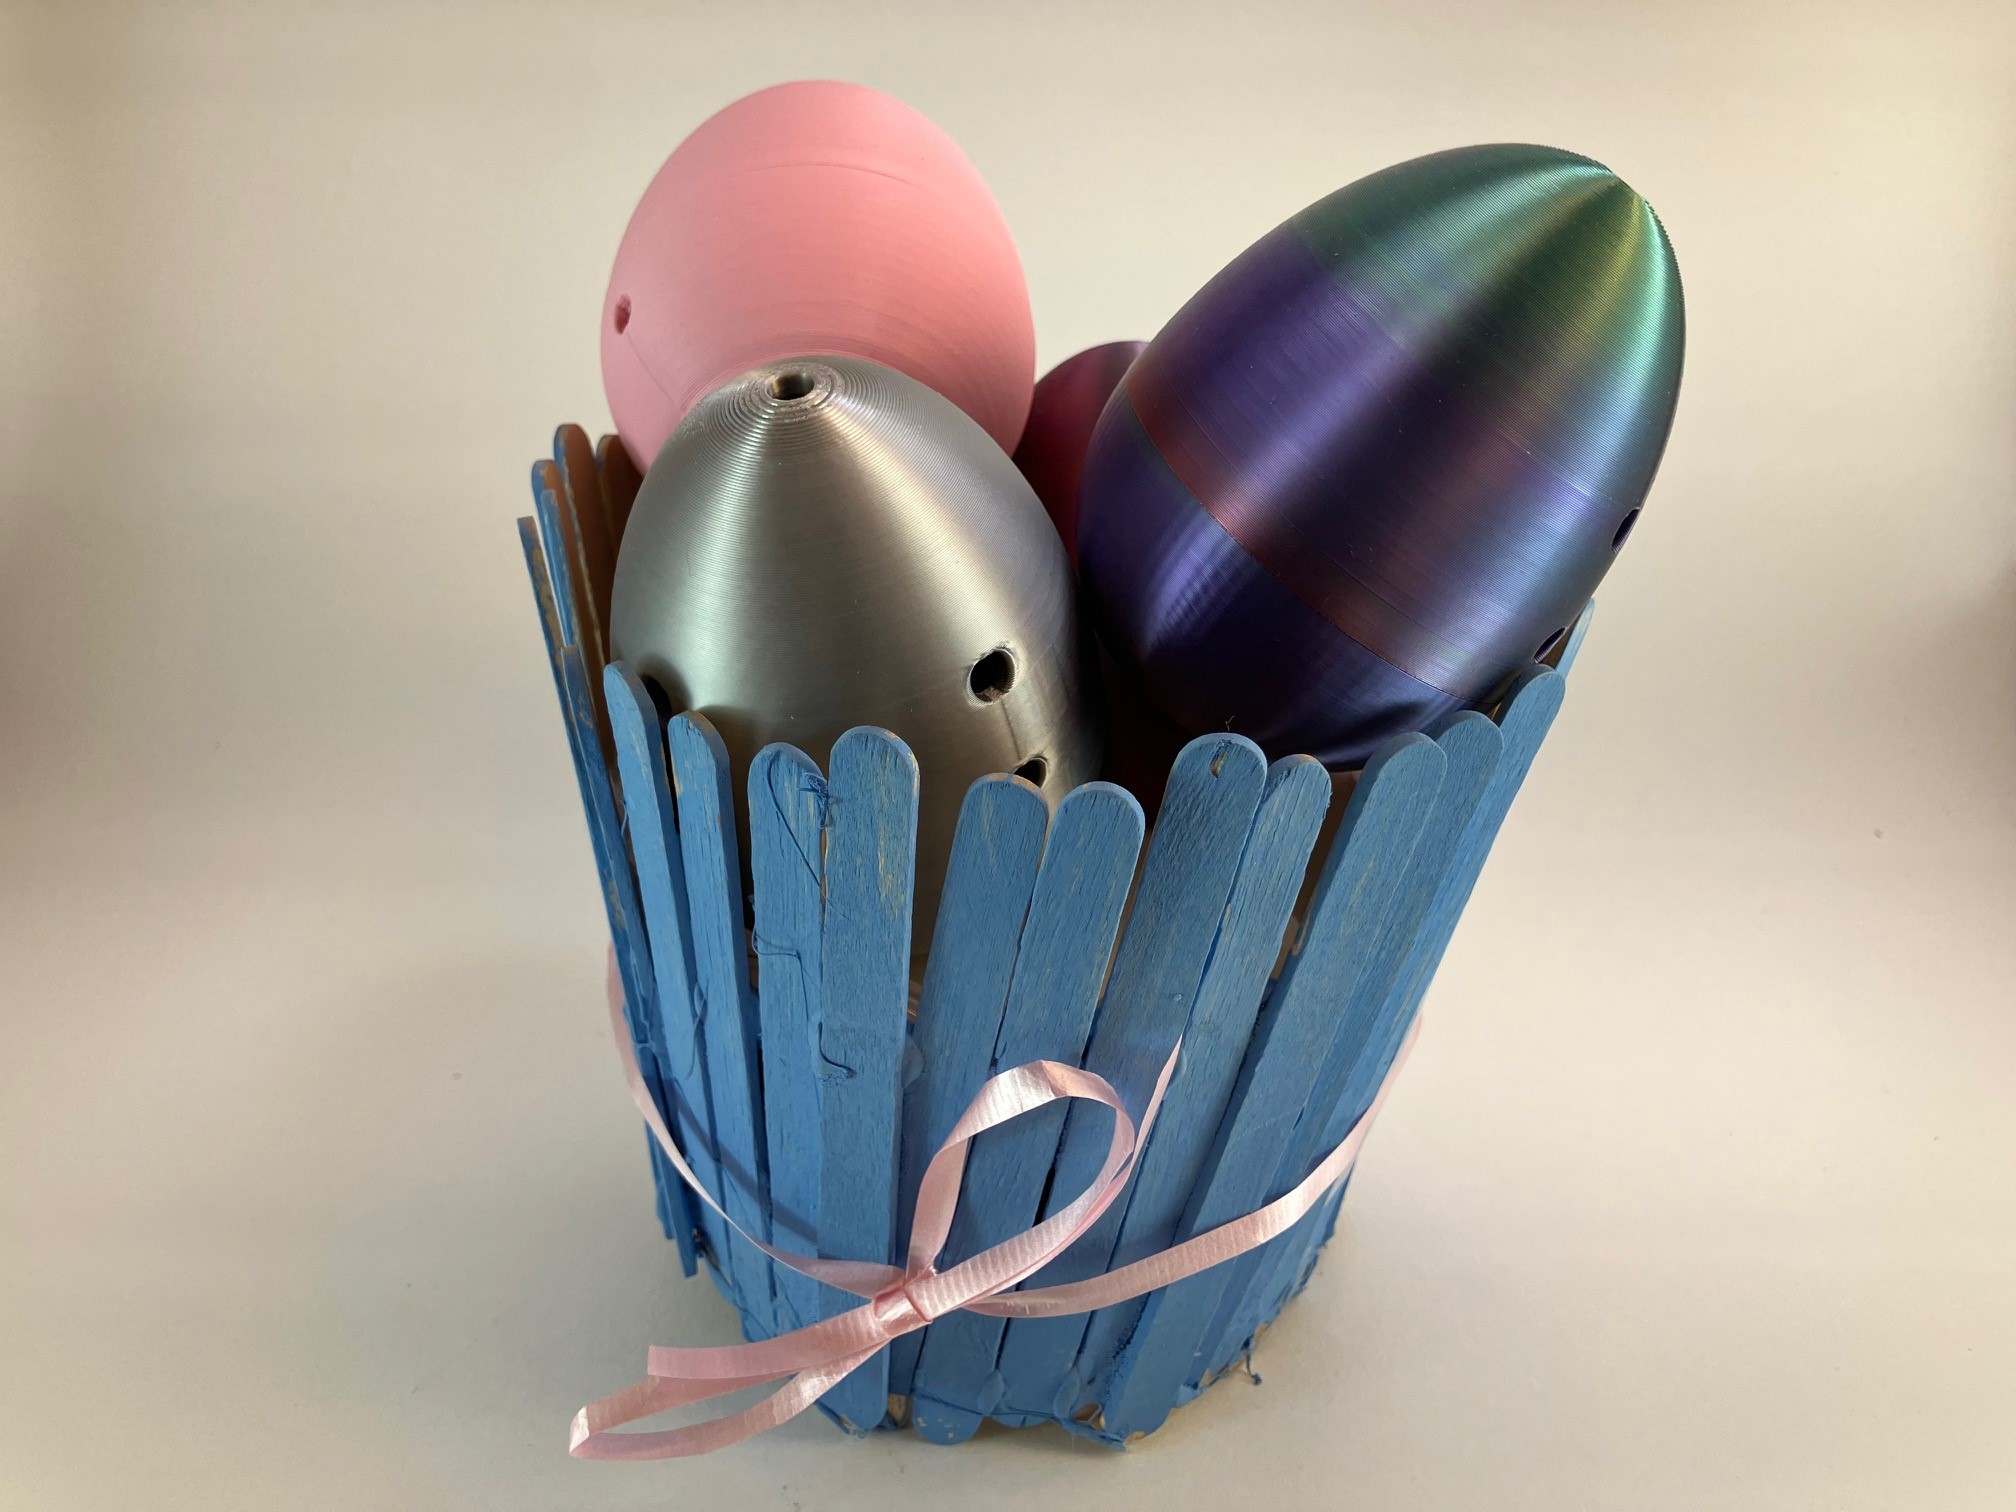
But once you crack them open and see all the parts inside, you'll realize these Easter eggs can be customized to become almost anything you can imagine.
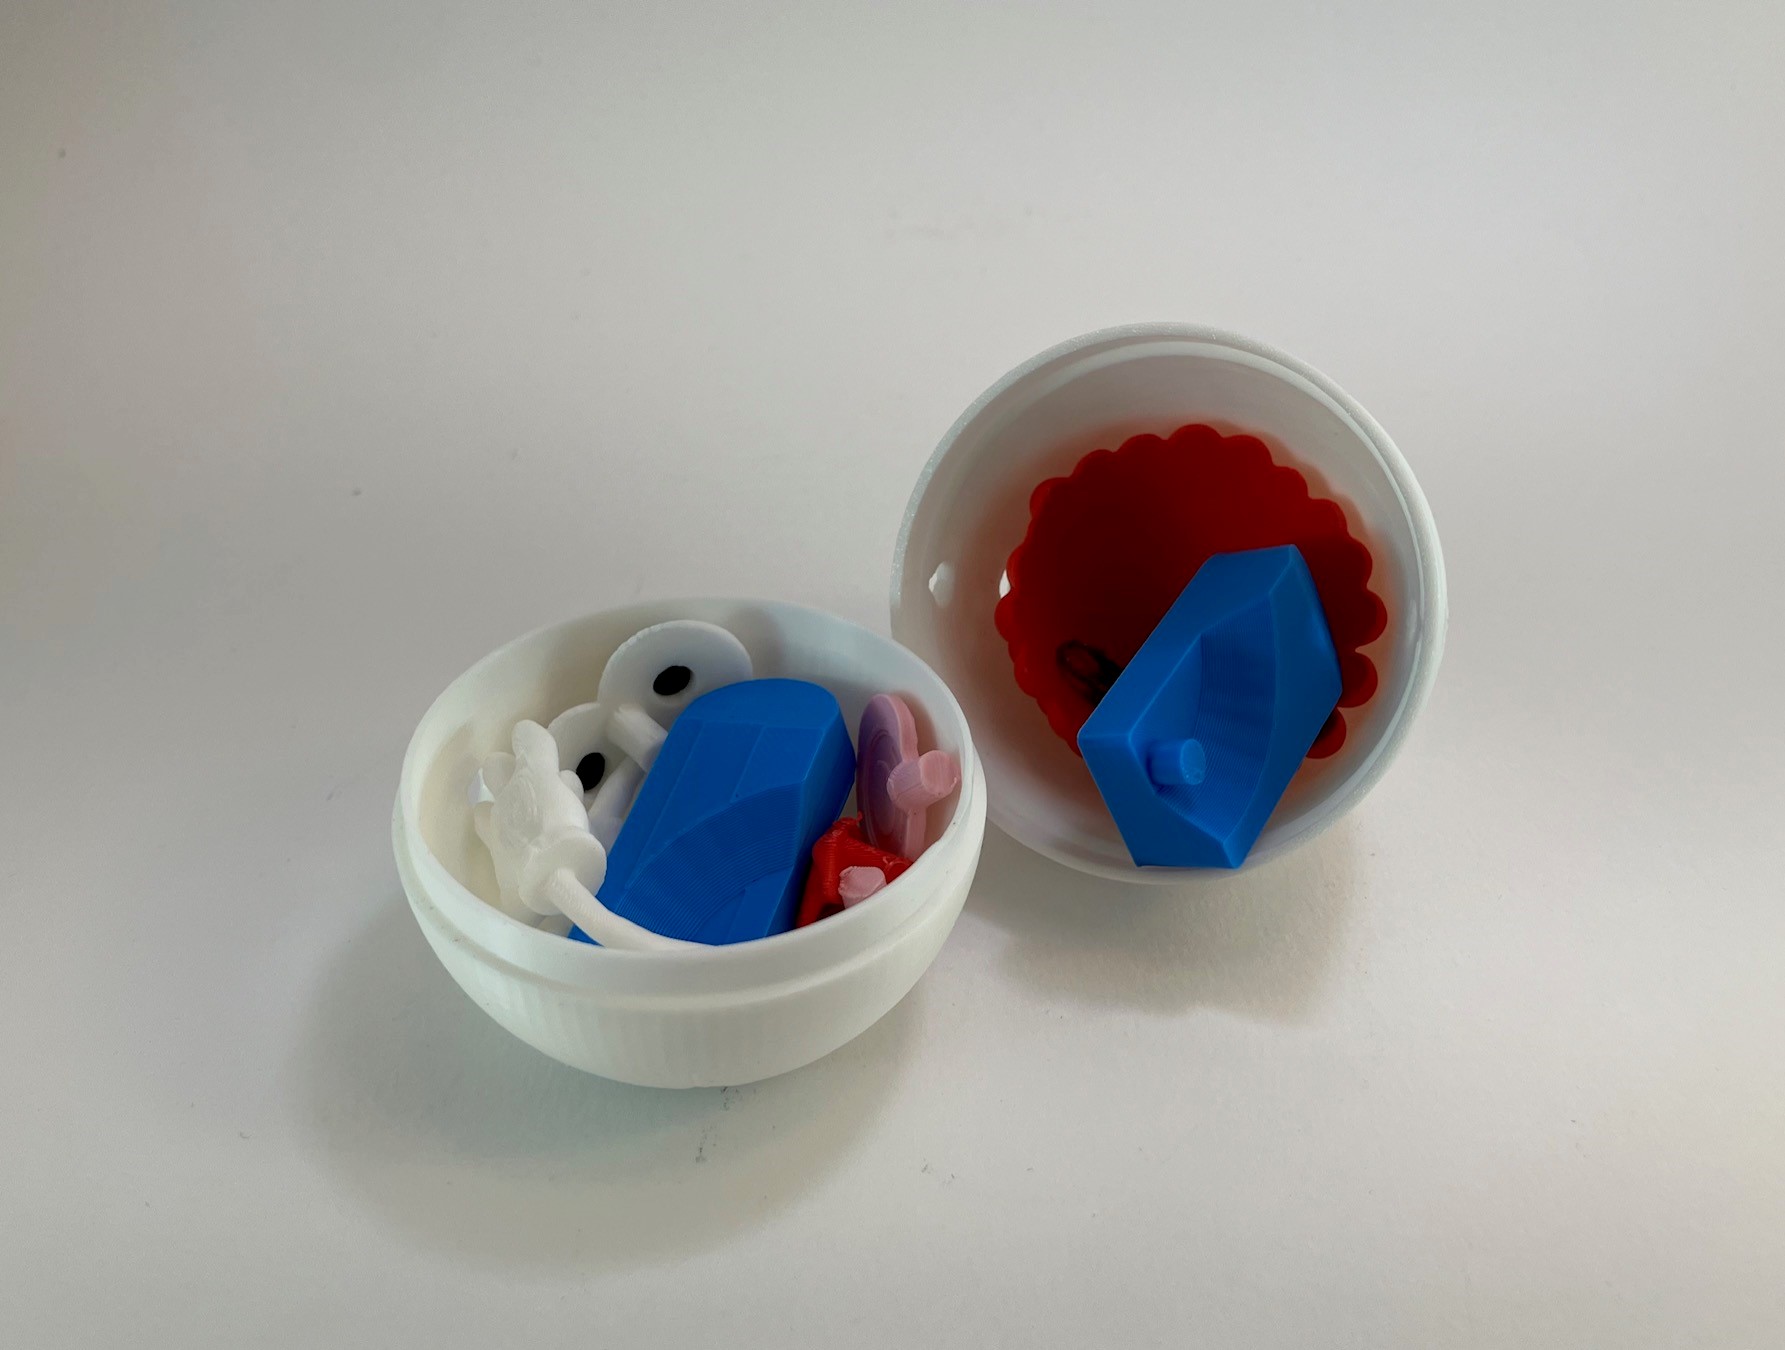
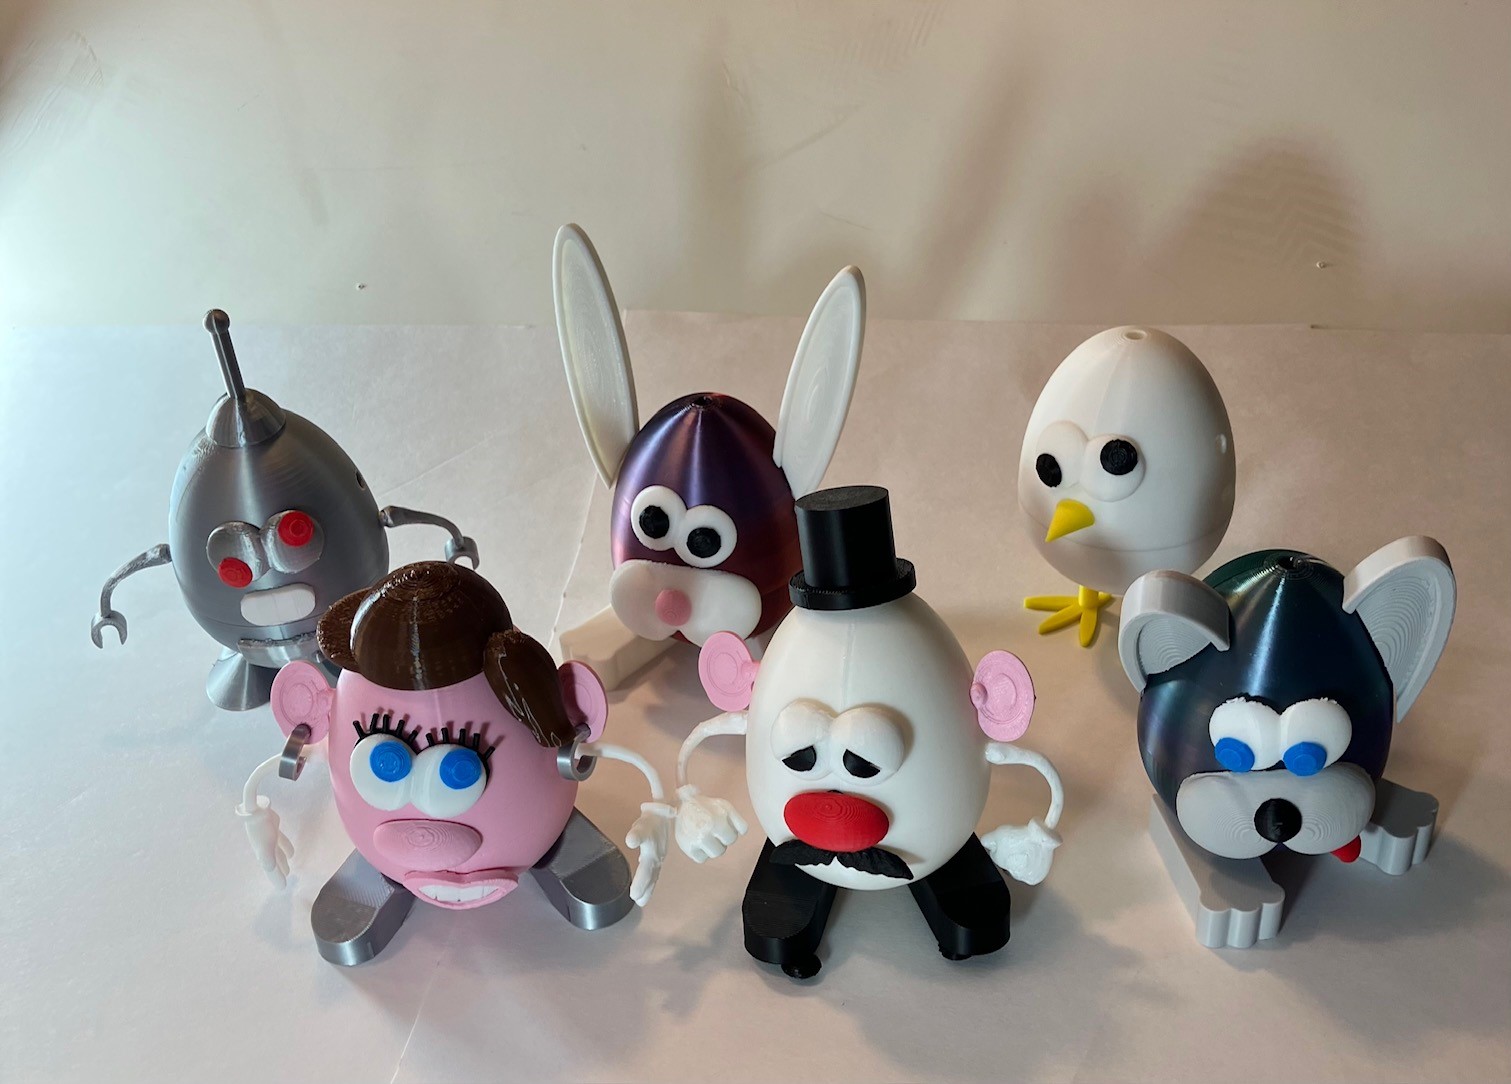
Each egg has ten 5mm holes where you can attach eyes, noses, mouths, ears, arms, legs, hats, hair and various other appendages. You could build a pretty standard Mr. Pote-Egg-O Head in a top hat or an angry one wearing a party hat:
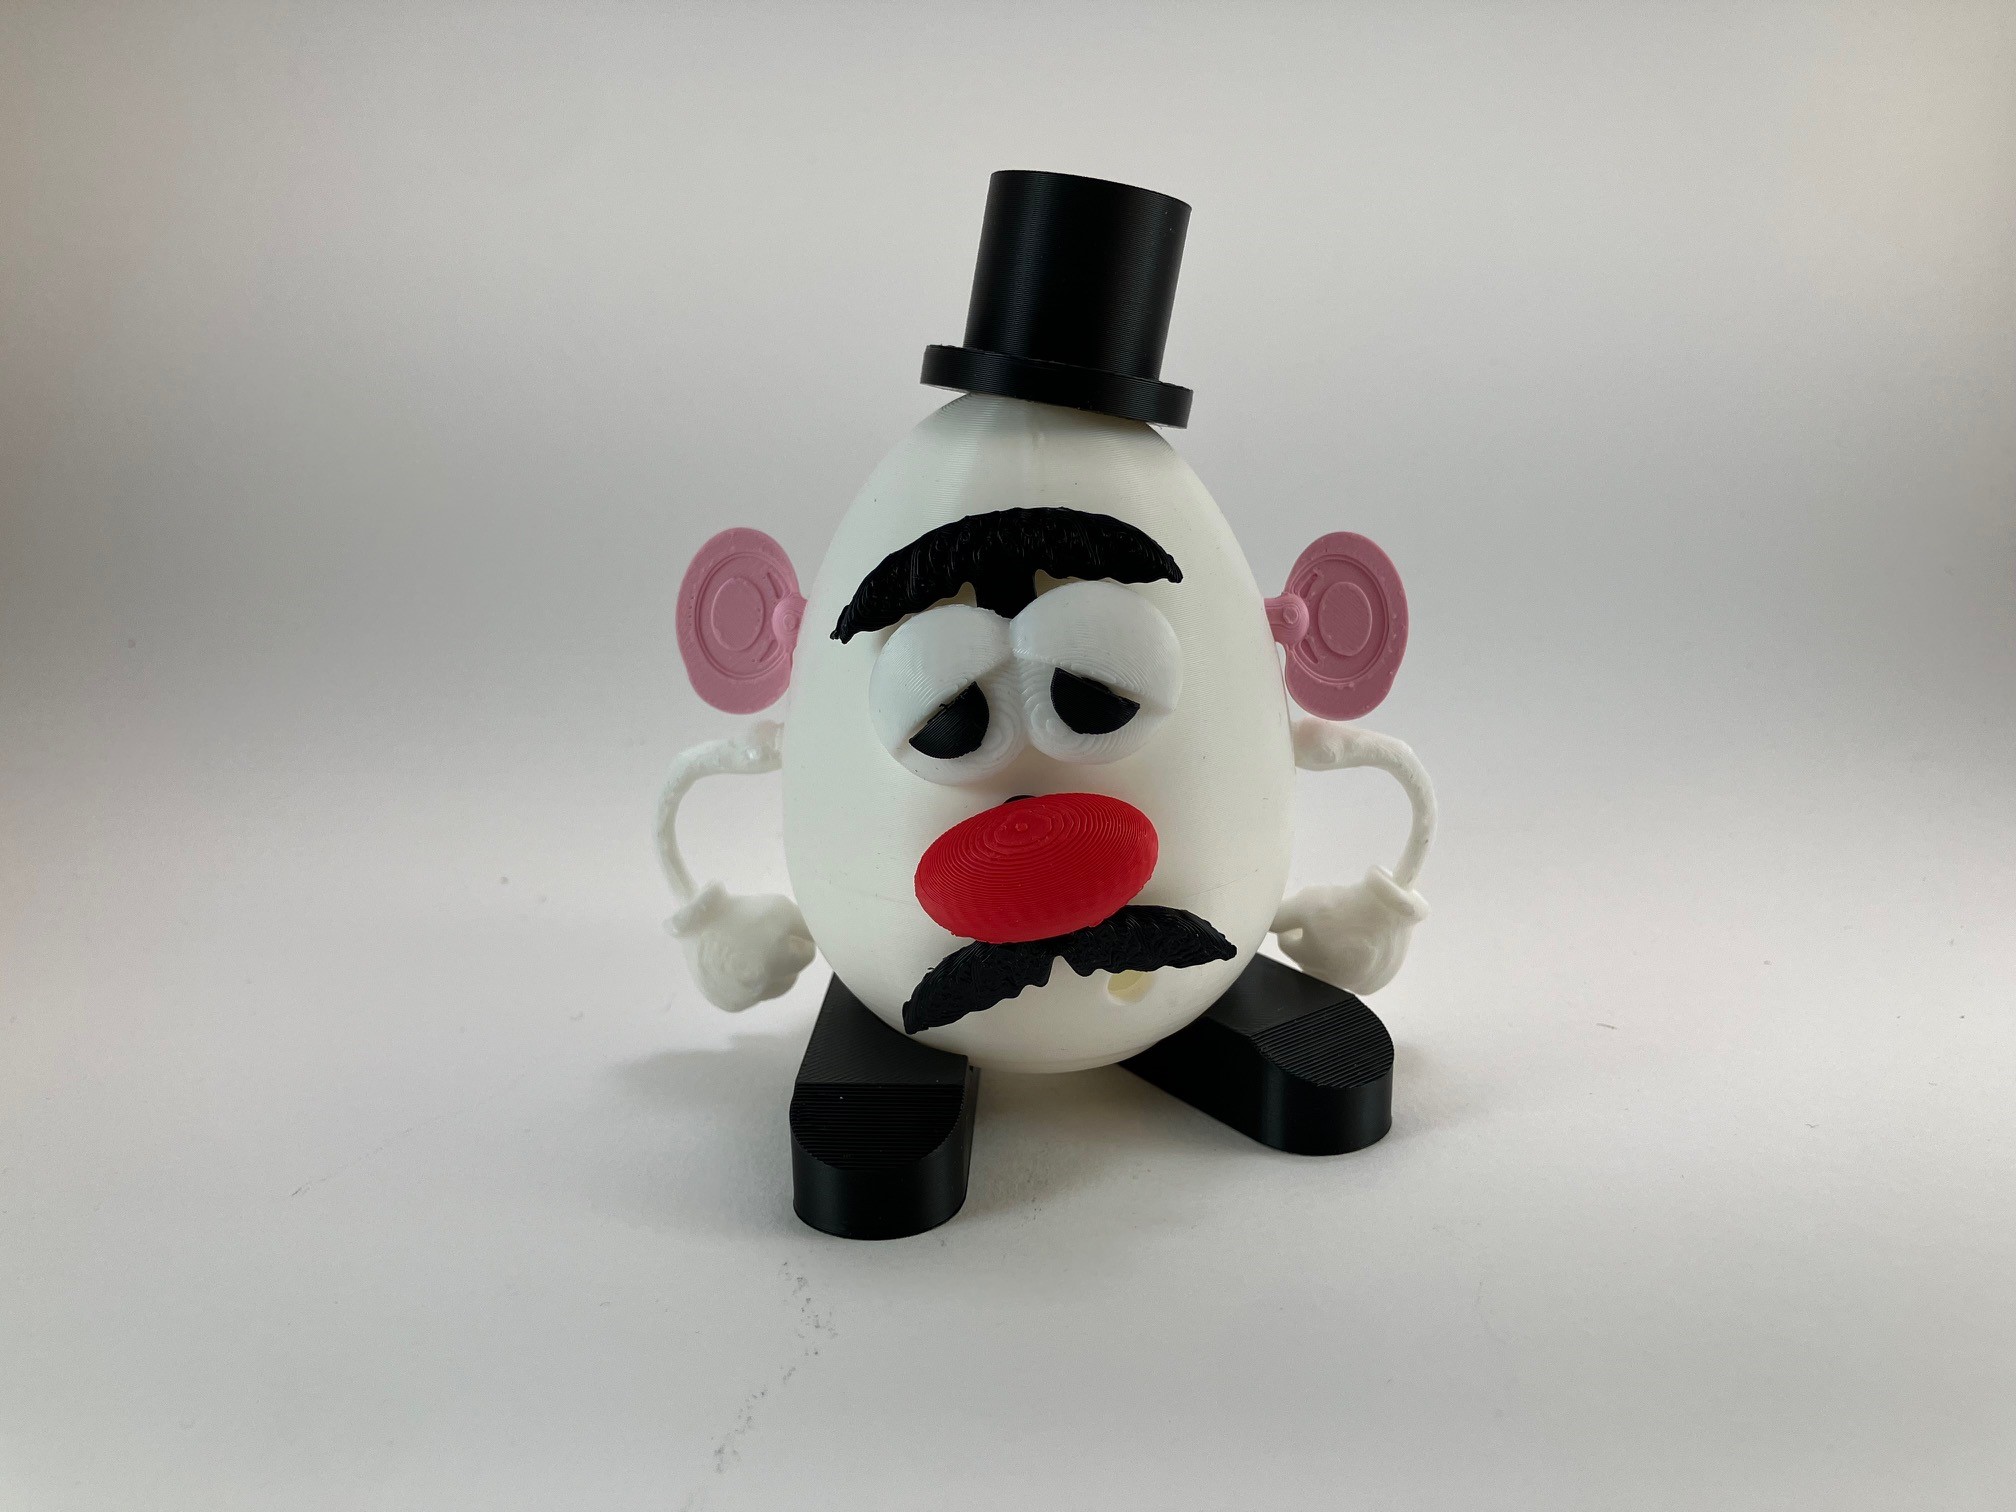
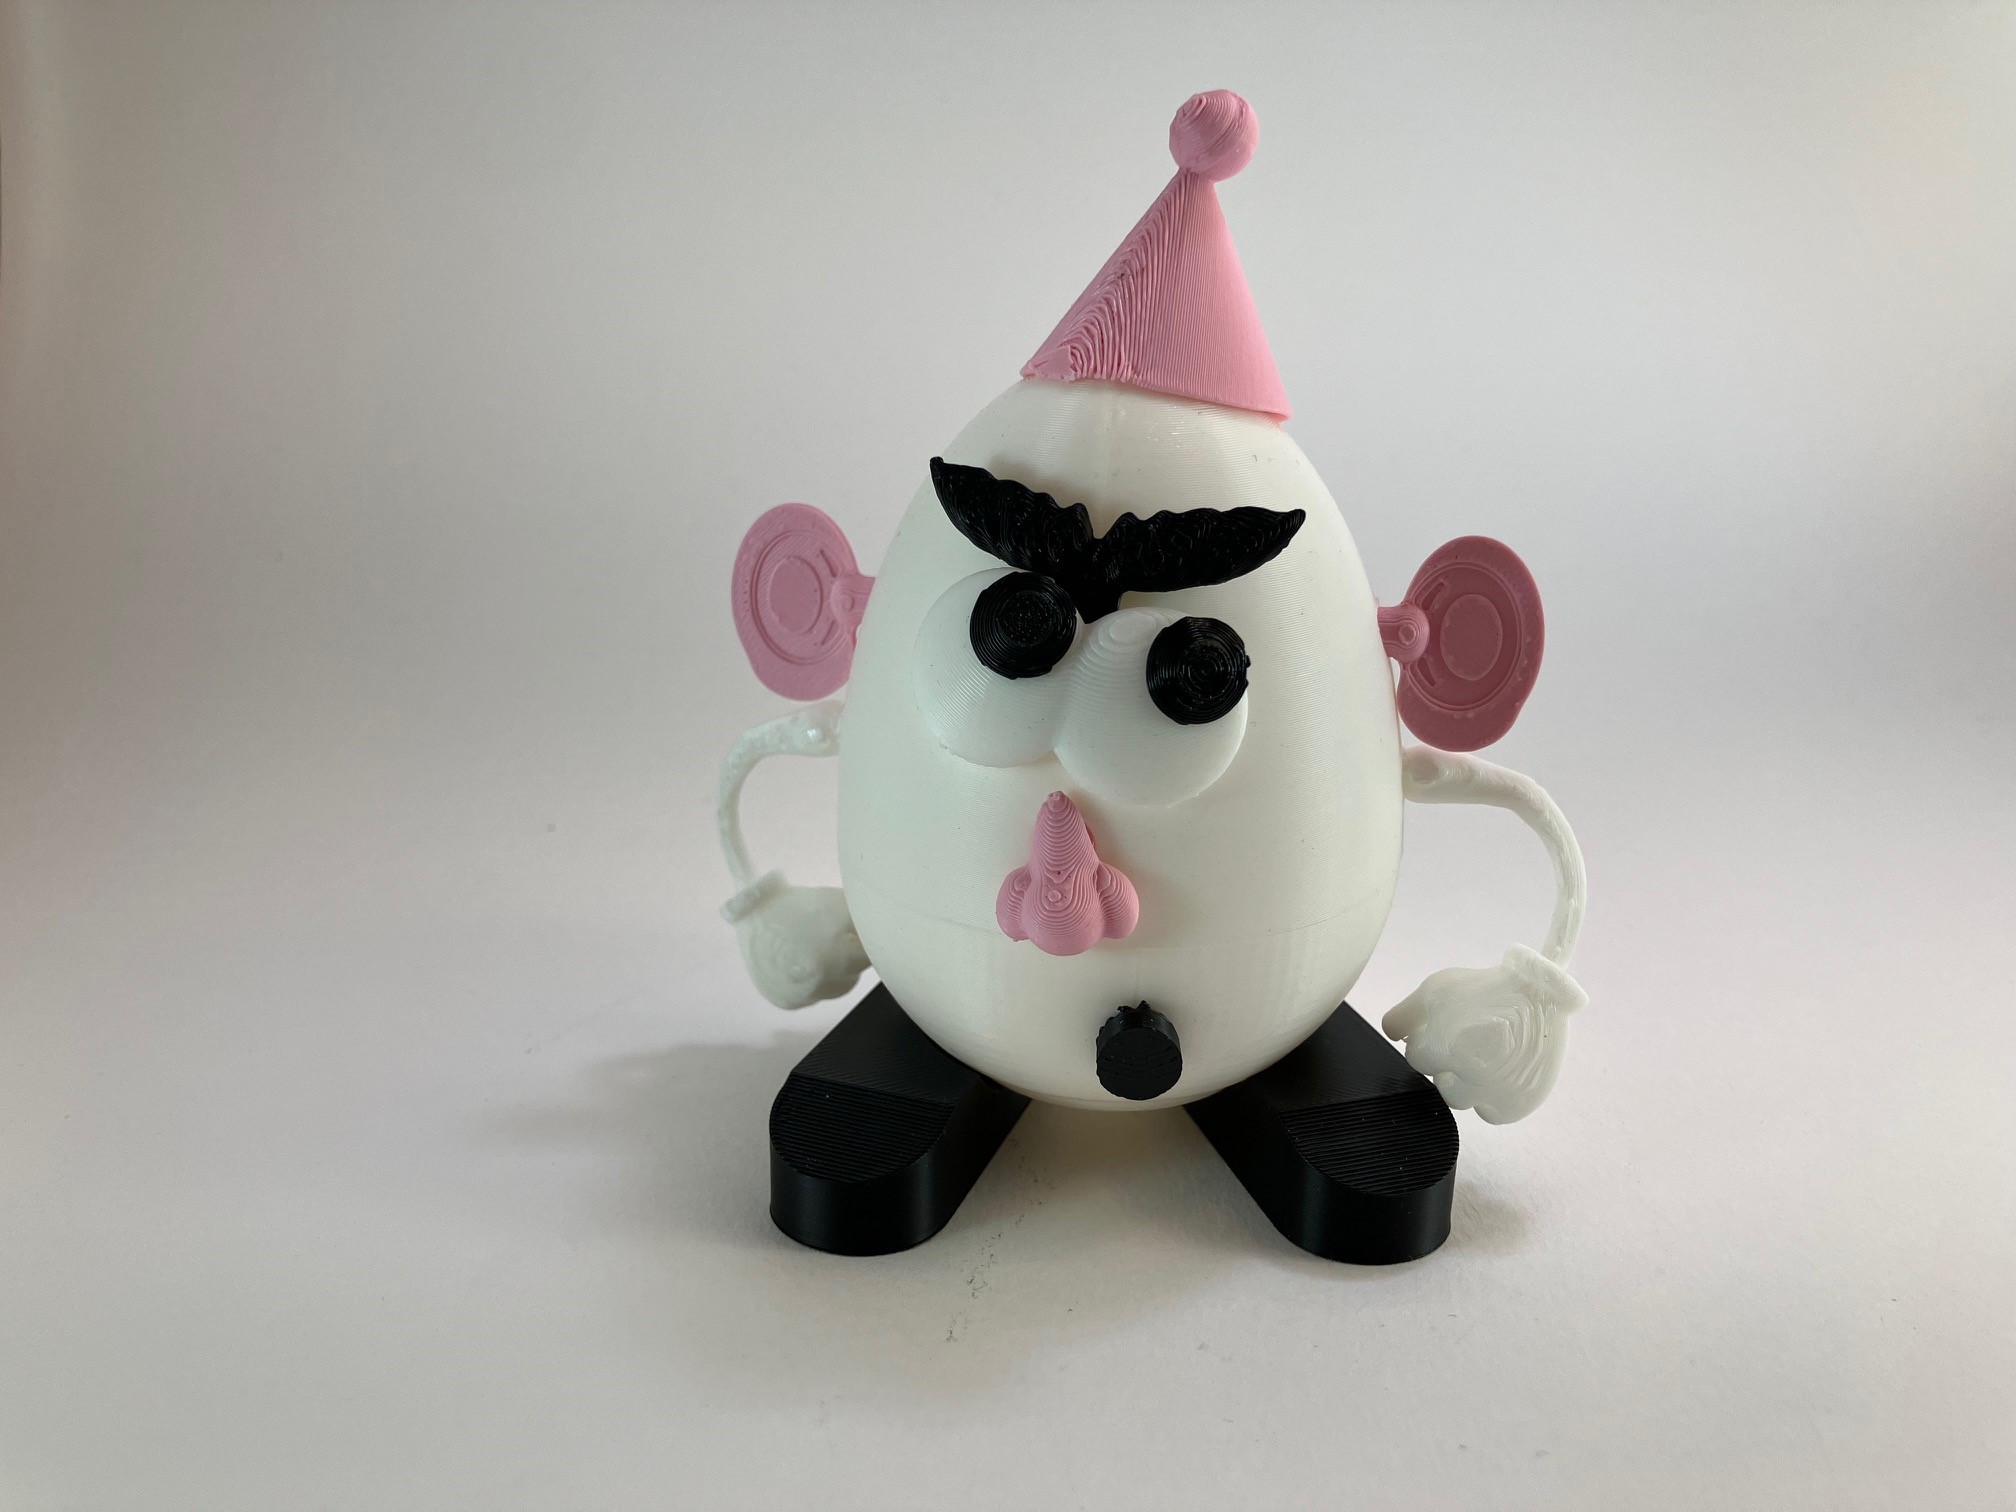
Or you can build Mrs. Pote-Egg-O Head or some of their friends.
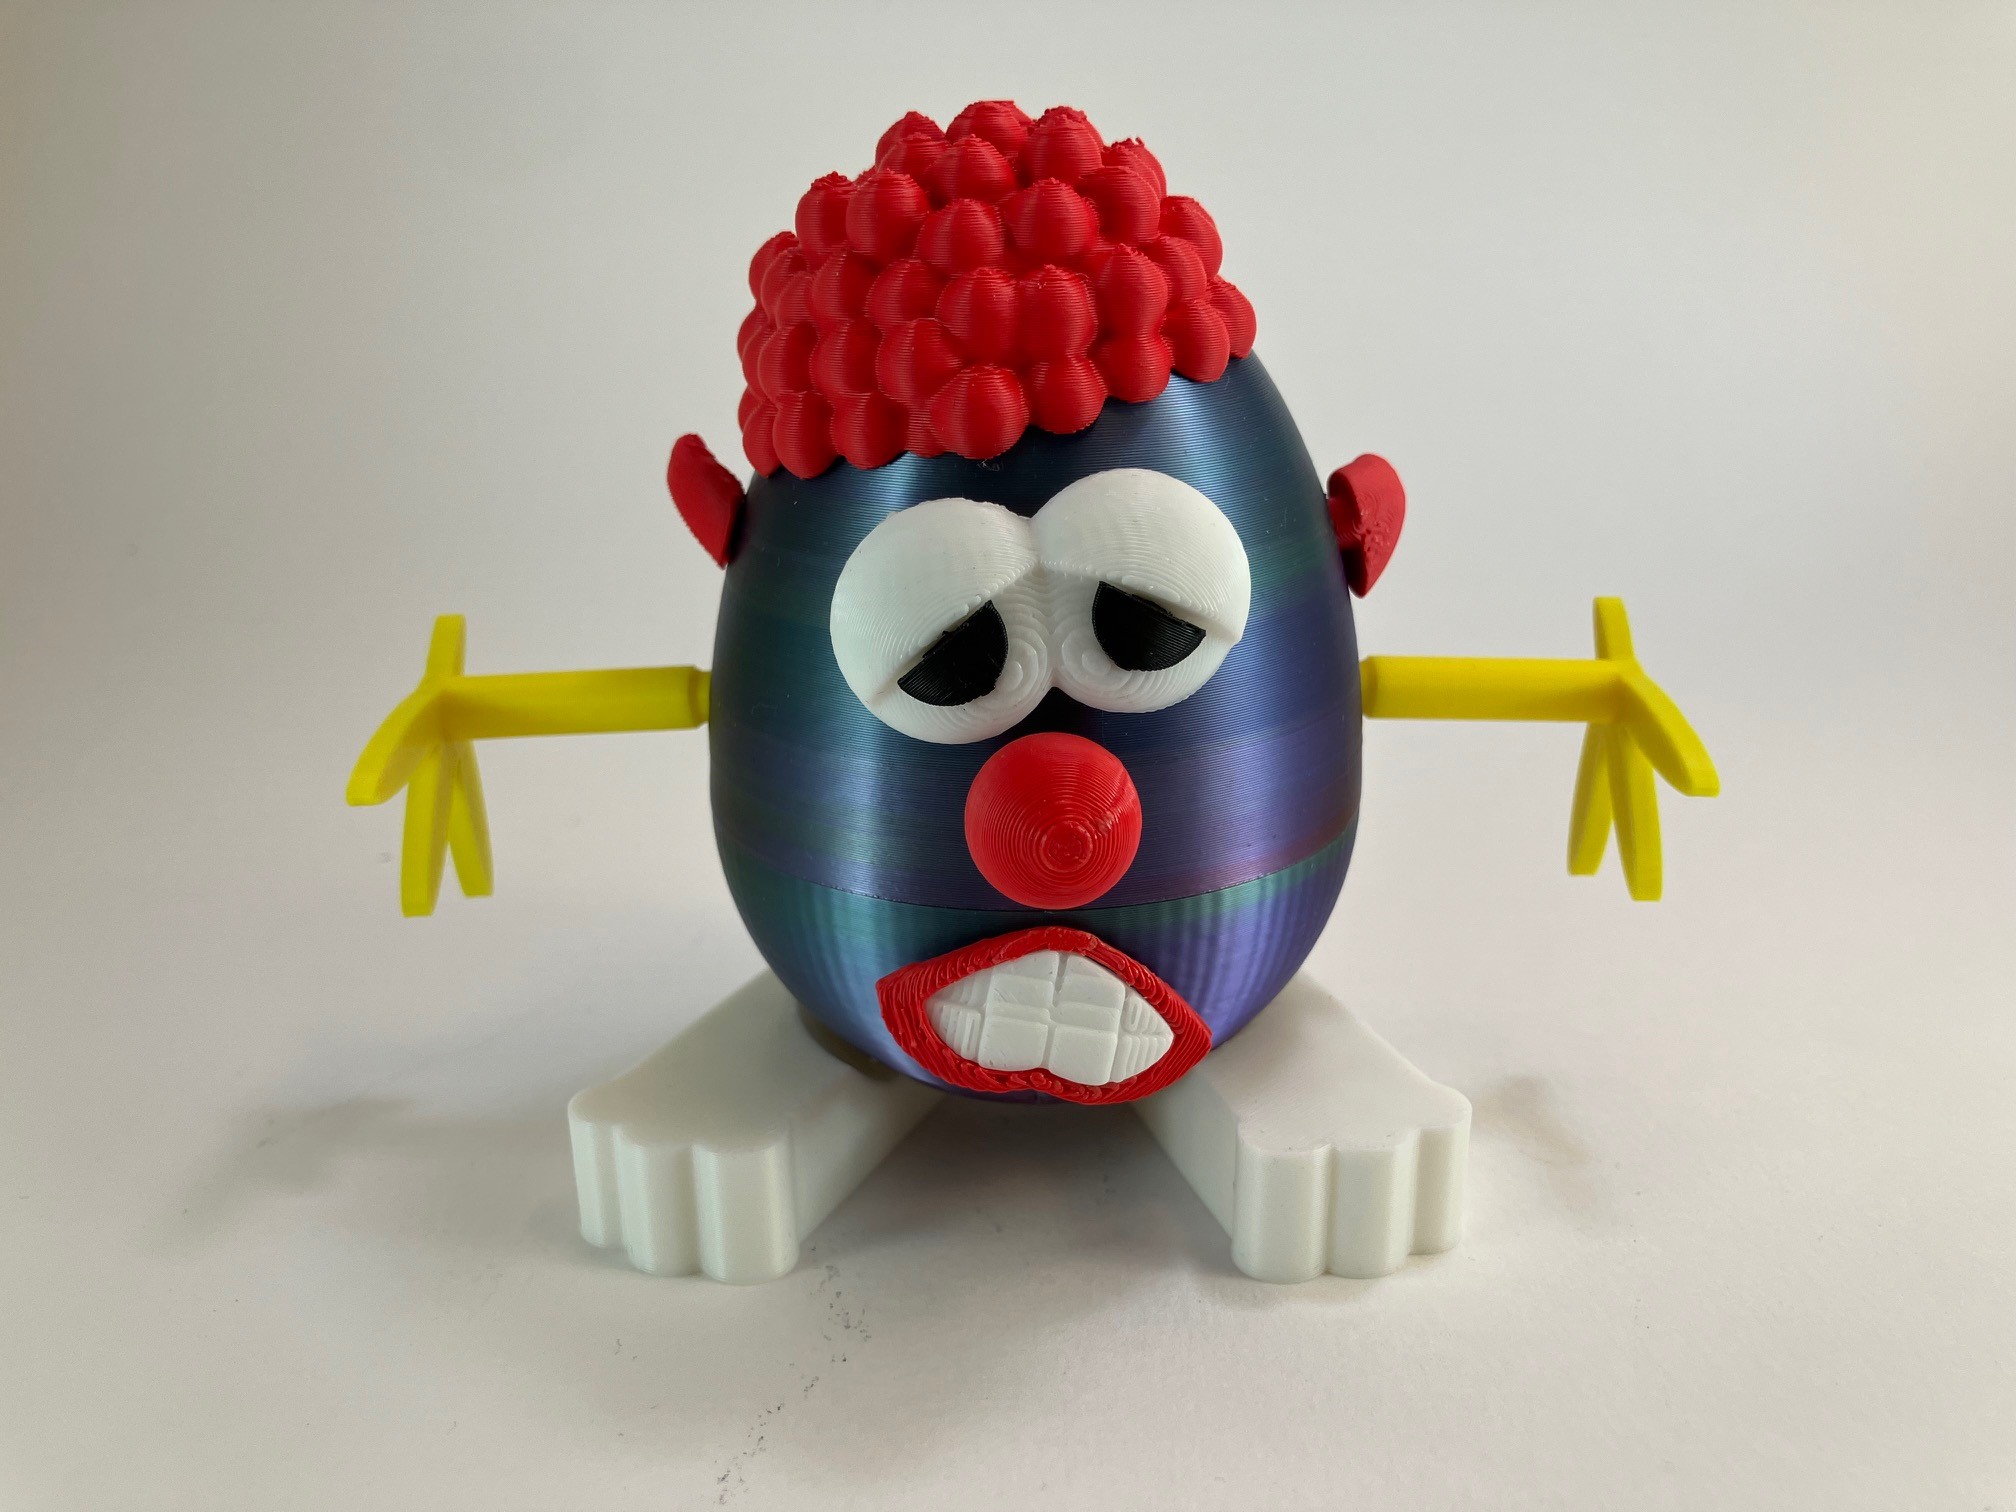
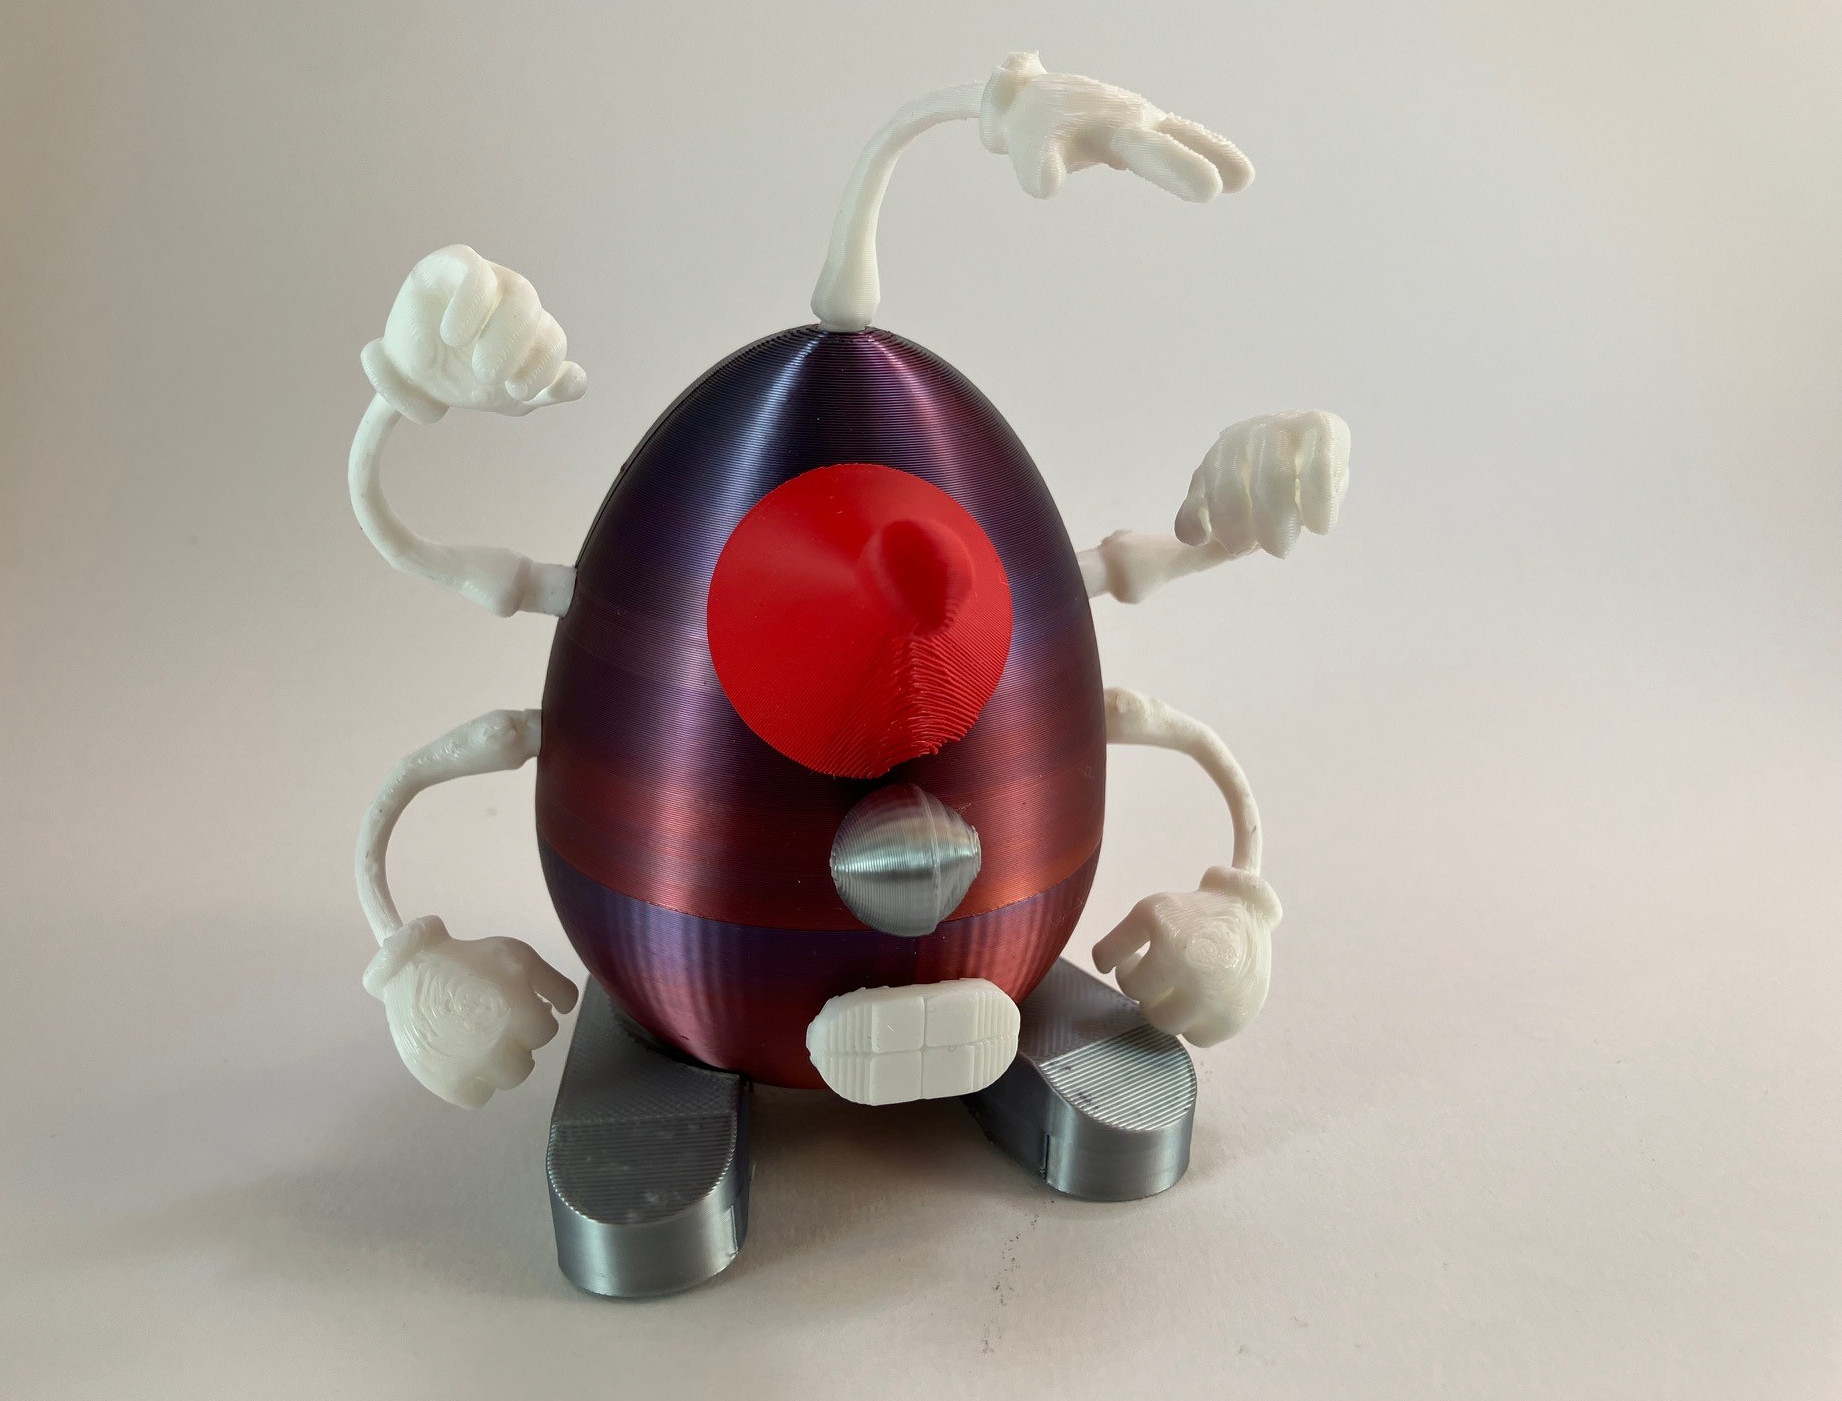
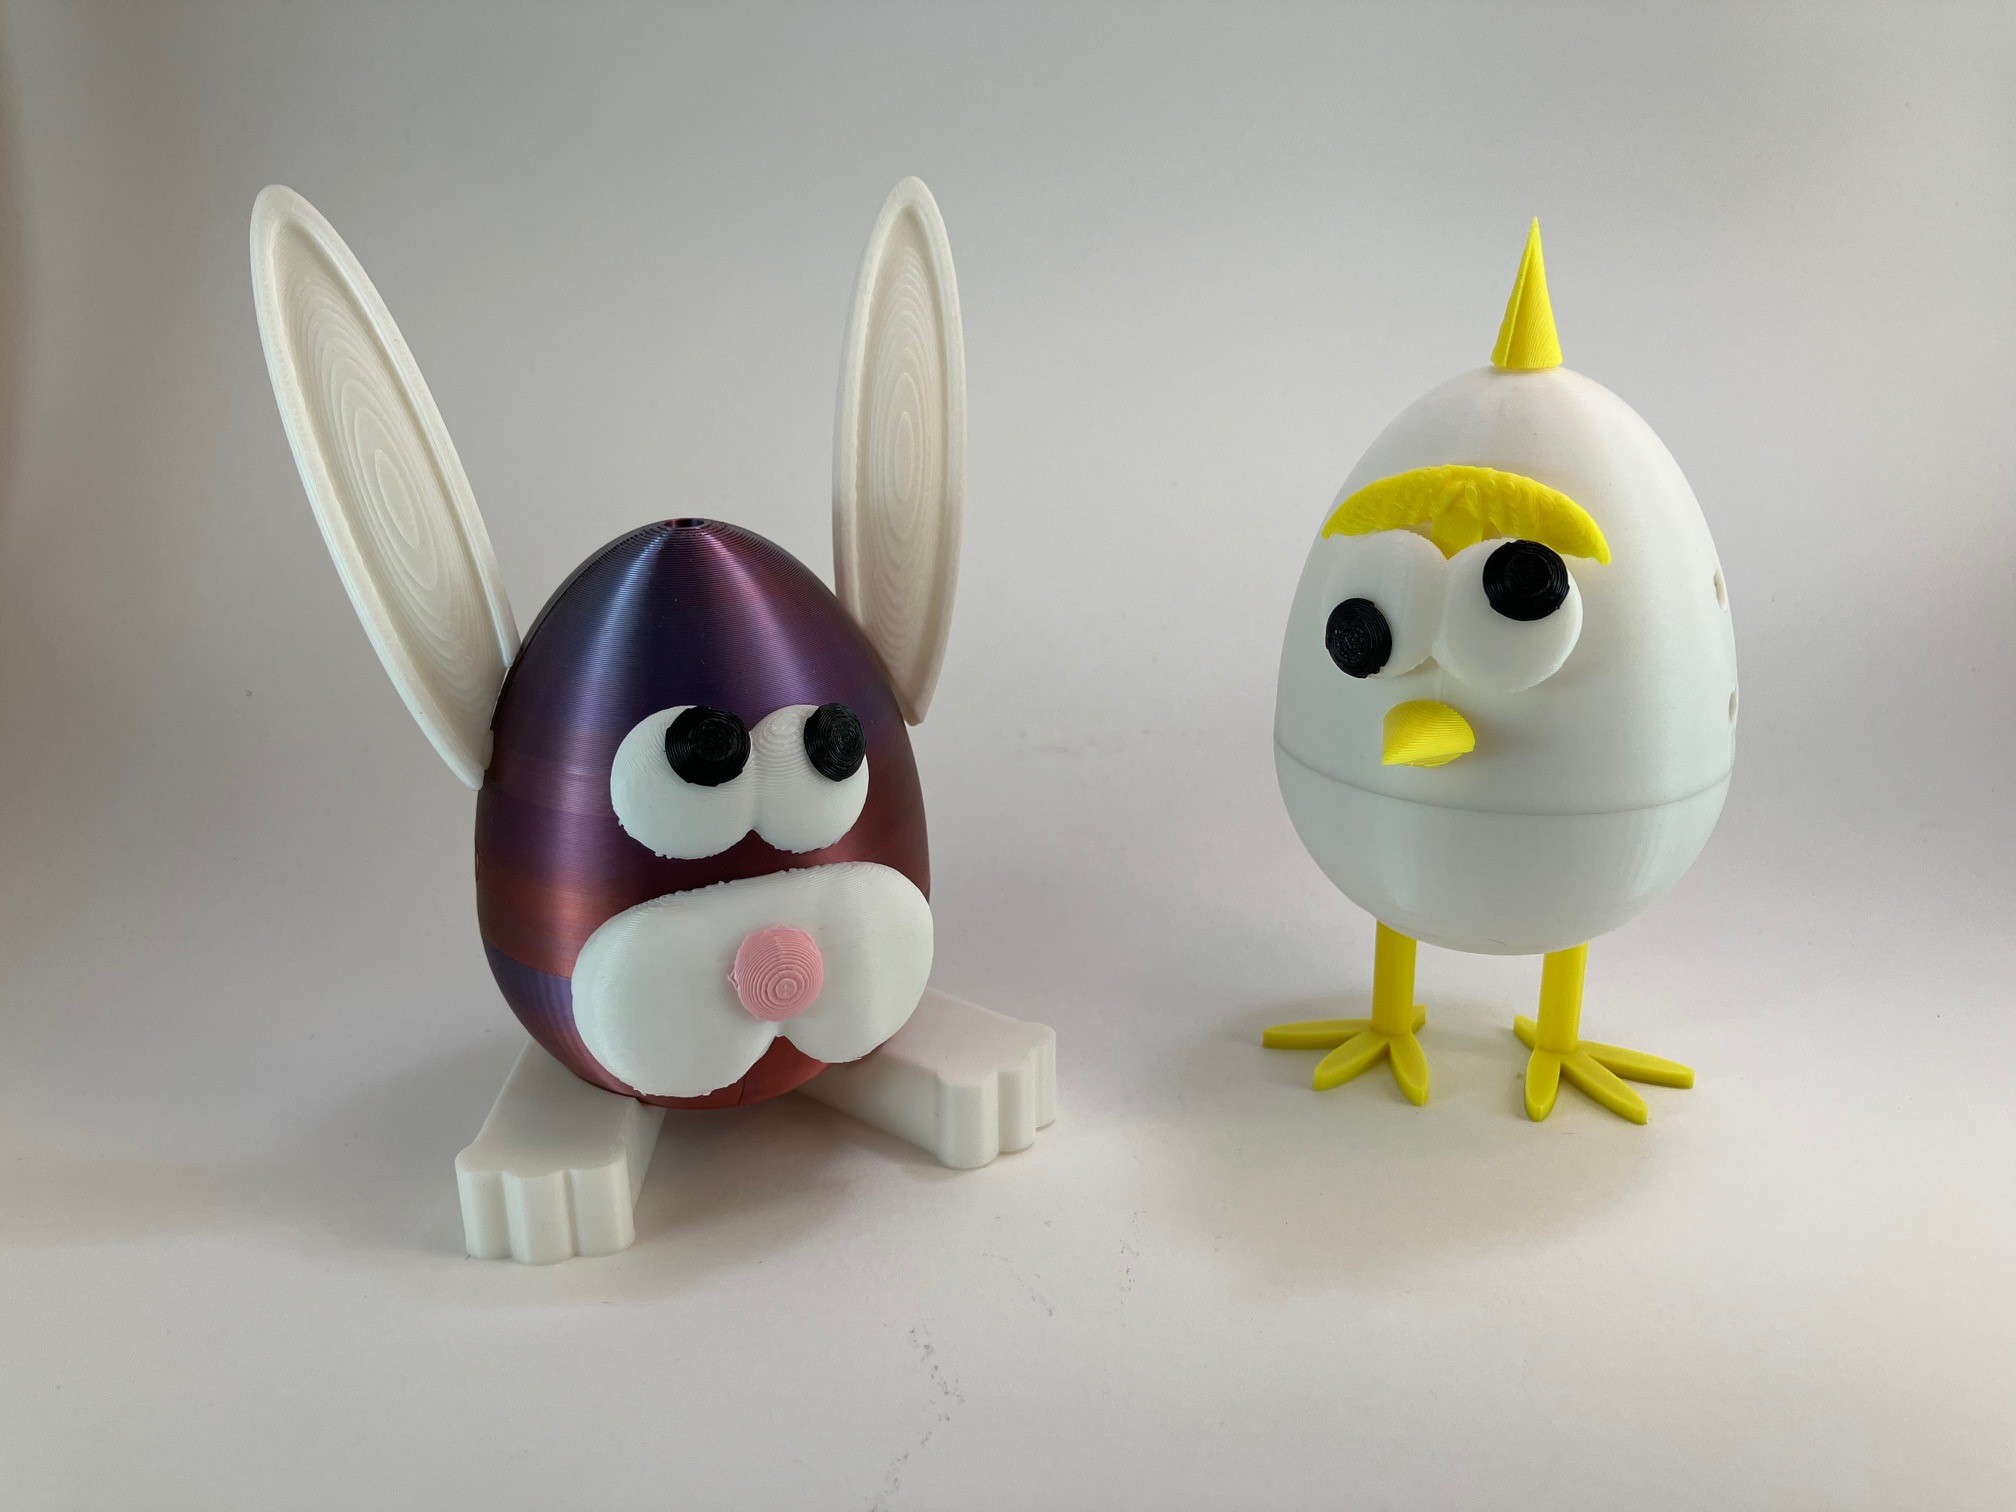
Mix and match parts and you can make a sad clown, a five-armed cyclops monster, an easter bunny, a baby chick breaking through its egg shell, or pretty much anything you can imagine:
The Modular System
All you have to do to enter the world of Mr. Pote-Egg-O Head is print out some eggs in whatever colors you'd like, print some appendages, and start mixing and matching parts to create as many characters as you can imagine.
I have posted two files to get you started:
(1) the main file, with parts organized by color; and
(2) a second file with parts organized by type.
While the characters in Mr. Pote-Egg-O Head's world can be very colorful, I designed this system to function without an AMS and recommend printing one color at a time for efficiency. And I tried to label all the parts to make it easy to figure out what is what (for example, you could print out Pupils in a desired color to then attach to the holes in the Eyes you'd like to use).
These files contain more than enough parts to get you started:
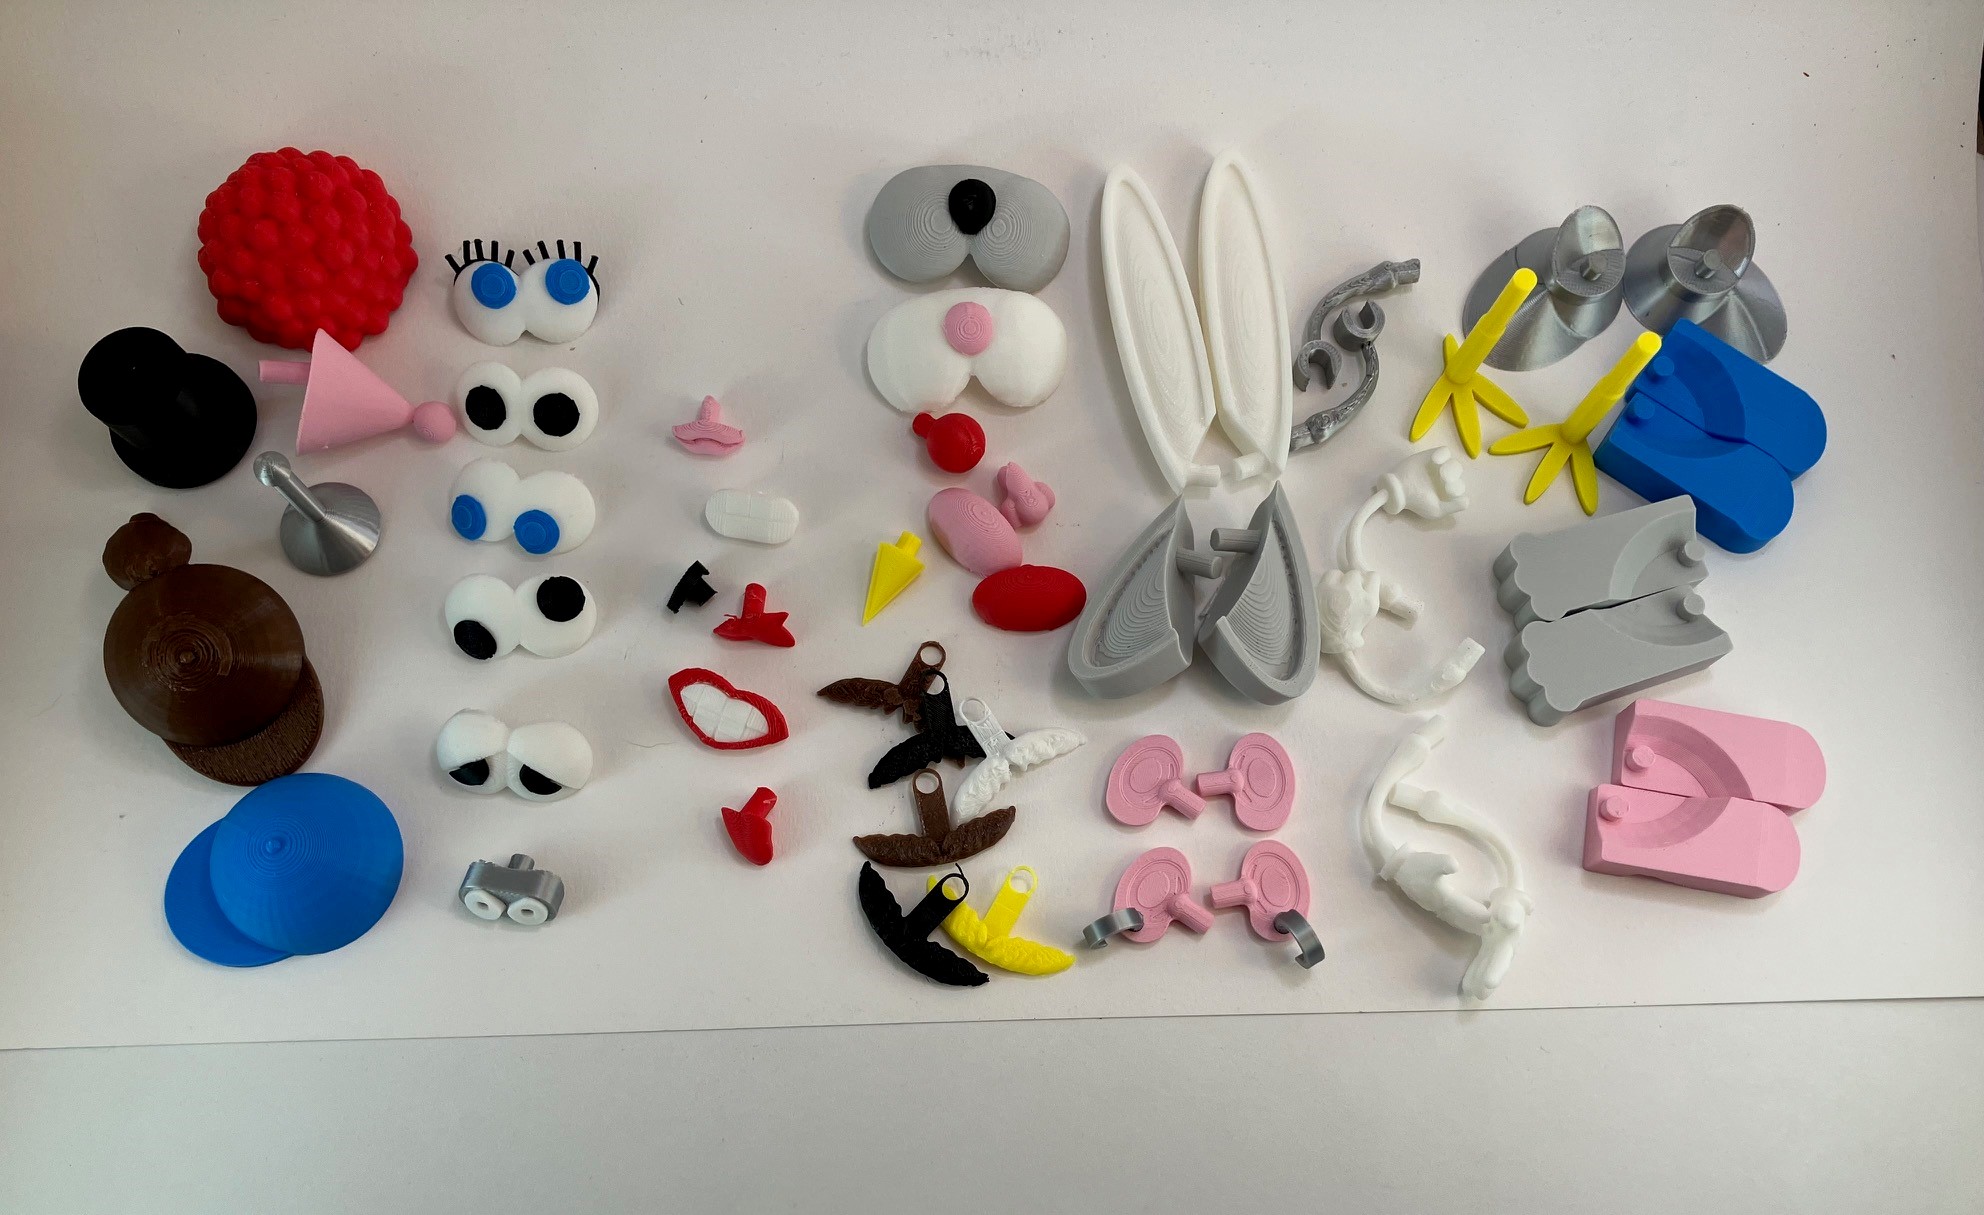
But this modular system was intended to be infinitely customizable. You can add whatever parts you'd like to your own creations by adding a simple 4.9mm cylinder post to any part(s) you would like to add.
Assembly
For the most part, once you print some eggs and some desired parts in whatever colors you want, you can just start plugging pieces into holes. Each egg has ten 5mm holes for appendages, and each appendage has a post that is 4.9mm in diameter. I have found on my printer that the 0.1mm difference allows parts to fit fairly tightly.
There are a few additional things I would also like to highlight:
(1) The Earrings fit into a smaller 4mm hole in the Pierced ears, so if you'd like to create more earrings, I would recommend using a 3.9mm post for those.
(2) There is a set of lips (labeled Lips - attach to Teeth 1) which attach by friction to the Teeth 1 part. This allows you to print the lips and the teeth in different colors. If you wanted the attachment to be permanent, I would recommend gluing the parts together.
(3) There are a couple Moustache models, which have a small hole instead of a post. That hole enables those models to fit tightly around the post of a nose (or other part, such as an eye if you'd like to use a Moustache as an eye brow).
(4) The Eye lashes model also lacks a post; like the moustache, this part has a hole to enable it to fit around the post of any of the eyes you'd like to use.
(5) The Dog nose or Rabbit nose fits into the hole on the Snout part so you can print the nose in a different color from the snout without using an AMS.
(6) The Robot eyes friction fit into the Robot eye socket.
(7) The Pupils can fit into almost any 5mm hole, but were designed to primarily fit into the holes on the eye pieces.
(8) The Sleepy Pupils fit into the Sleepy Eye part.
(9) While the main file shows parts in 9 colors, by no means are you limited to these colors. Feel free to use whatever colors you would like.
(10) WARNING- these eggs can be addictive. It is incredibly fun to mix and match parts to come up with crazy new creations.
I think that's about it. I hope you enjoy the Mr. Pote-Egg-O Head system, and happy Easter!
Design by wonderpuddle on MakerWorld (license: BY).