

Ratchet - Educational model


Ratchet - Educational model
- Made to order — 3D printed after you buy
- Free shipping on orders over $25
- Quality checked before it ships
- Questions? Contact us · Returns
My Educational Mechanical Examples Series
This model is one of my educational mechanical mechanism examples on 80mm x 80mm base plates.
You can find all models of the series in this collection => [Mechanical Mechanism Examples]
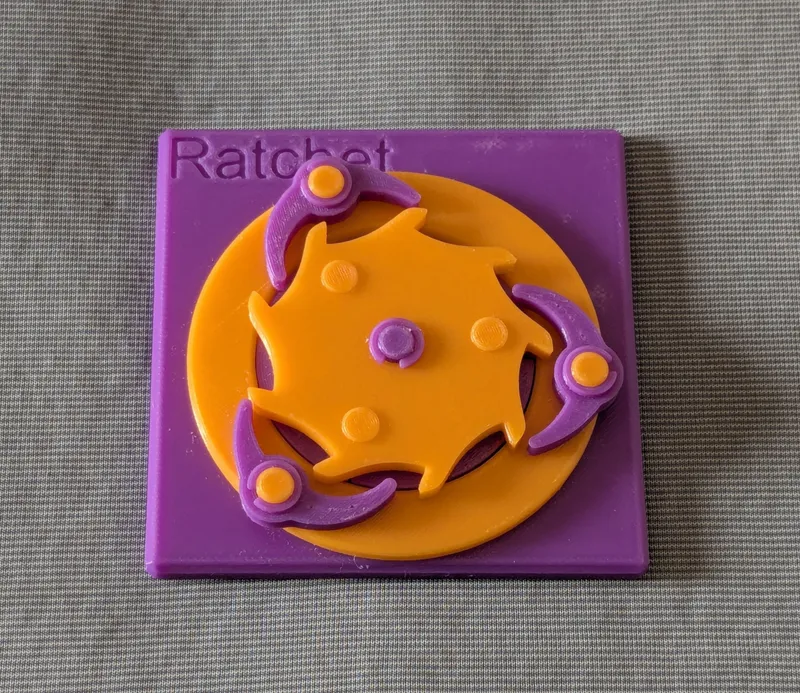
This model
This is an educational model of a spring-free ratchet mechanism which does not cause large click noise when it freewheels.
Turning the central disc clockwise drives the outer ring, while turning it counterclockwise makes the ratchet freewheel.
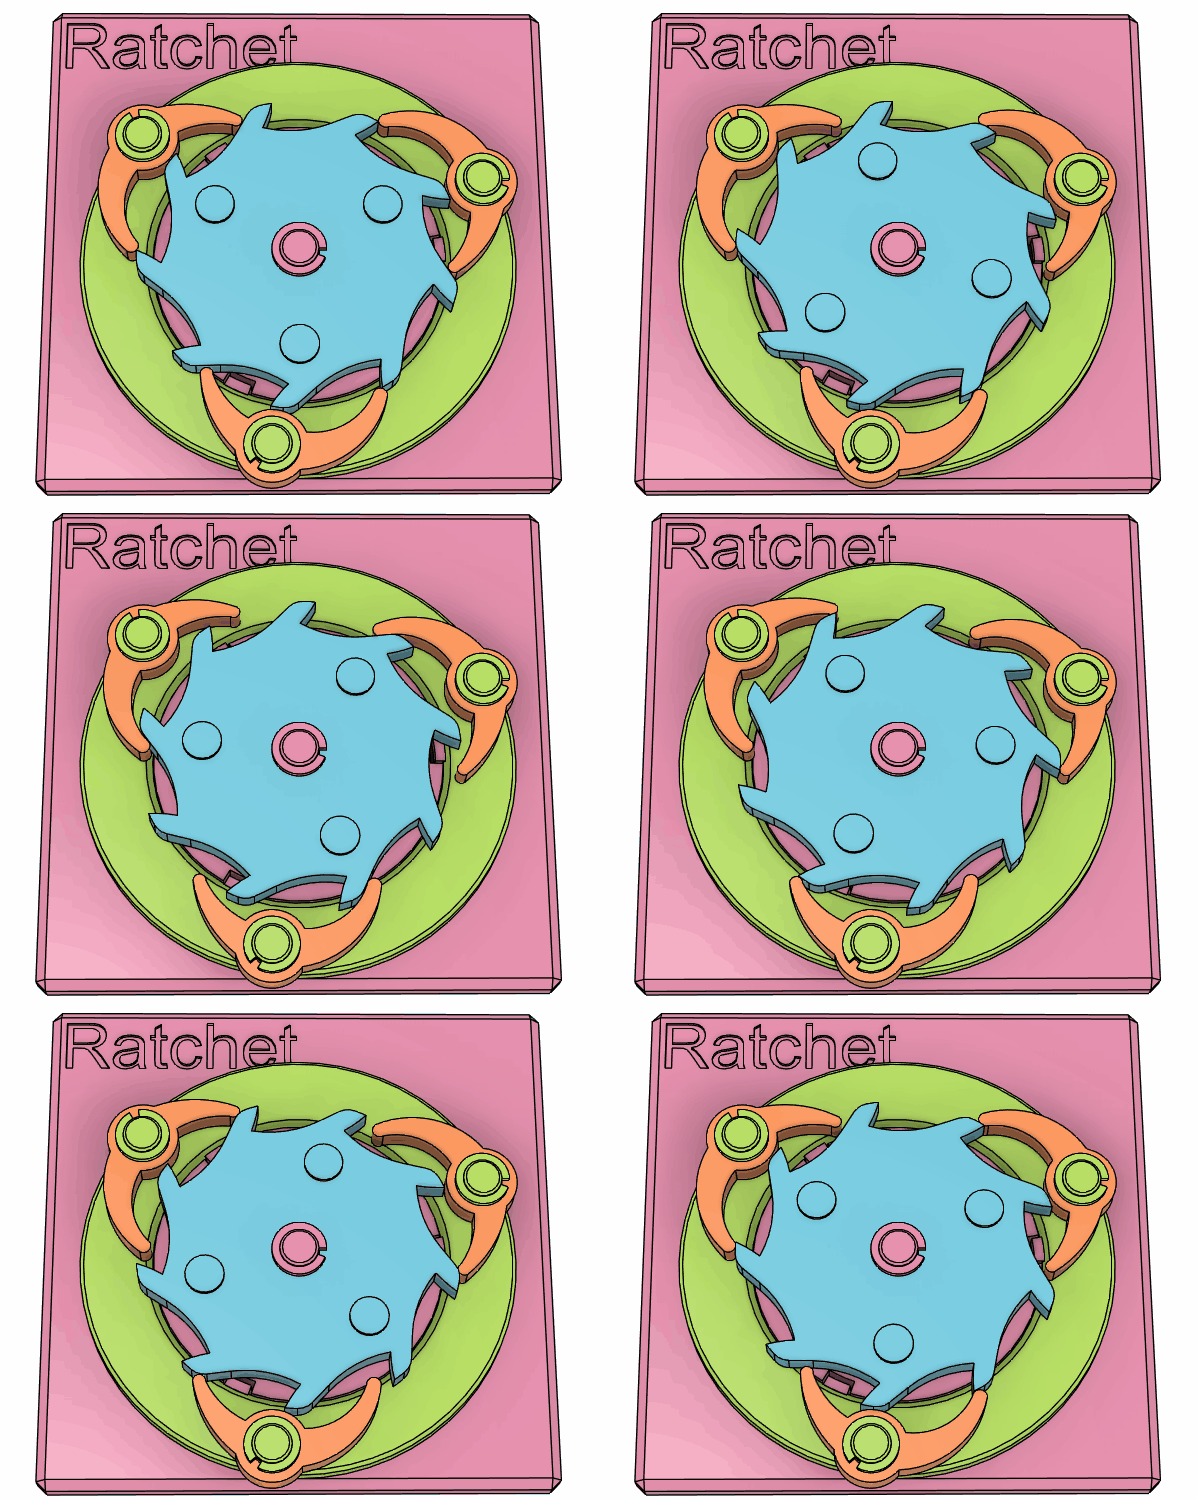
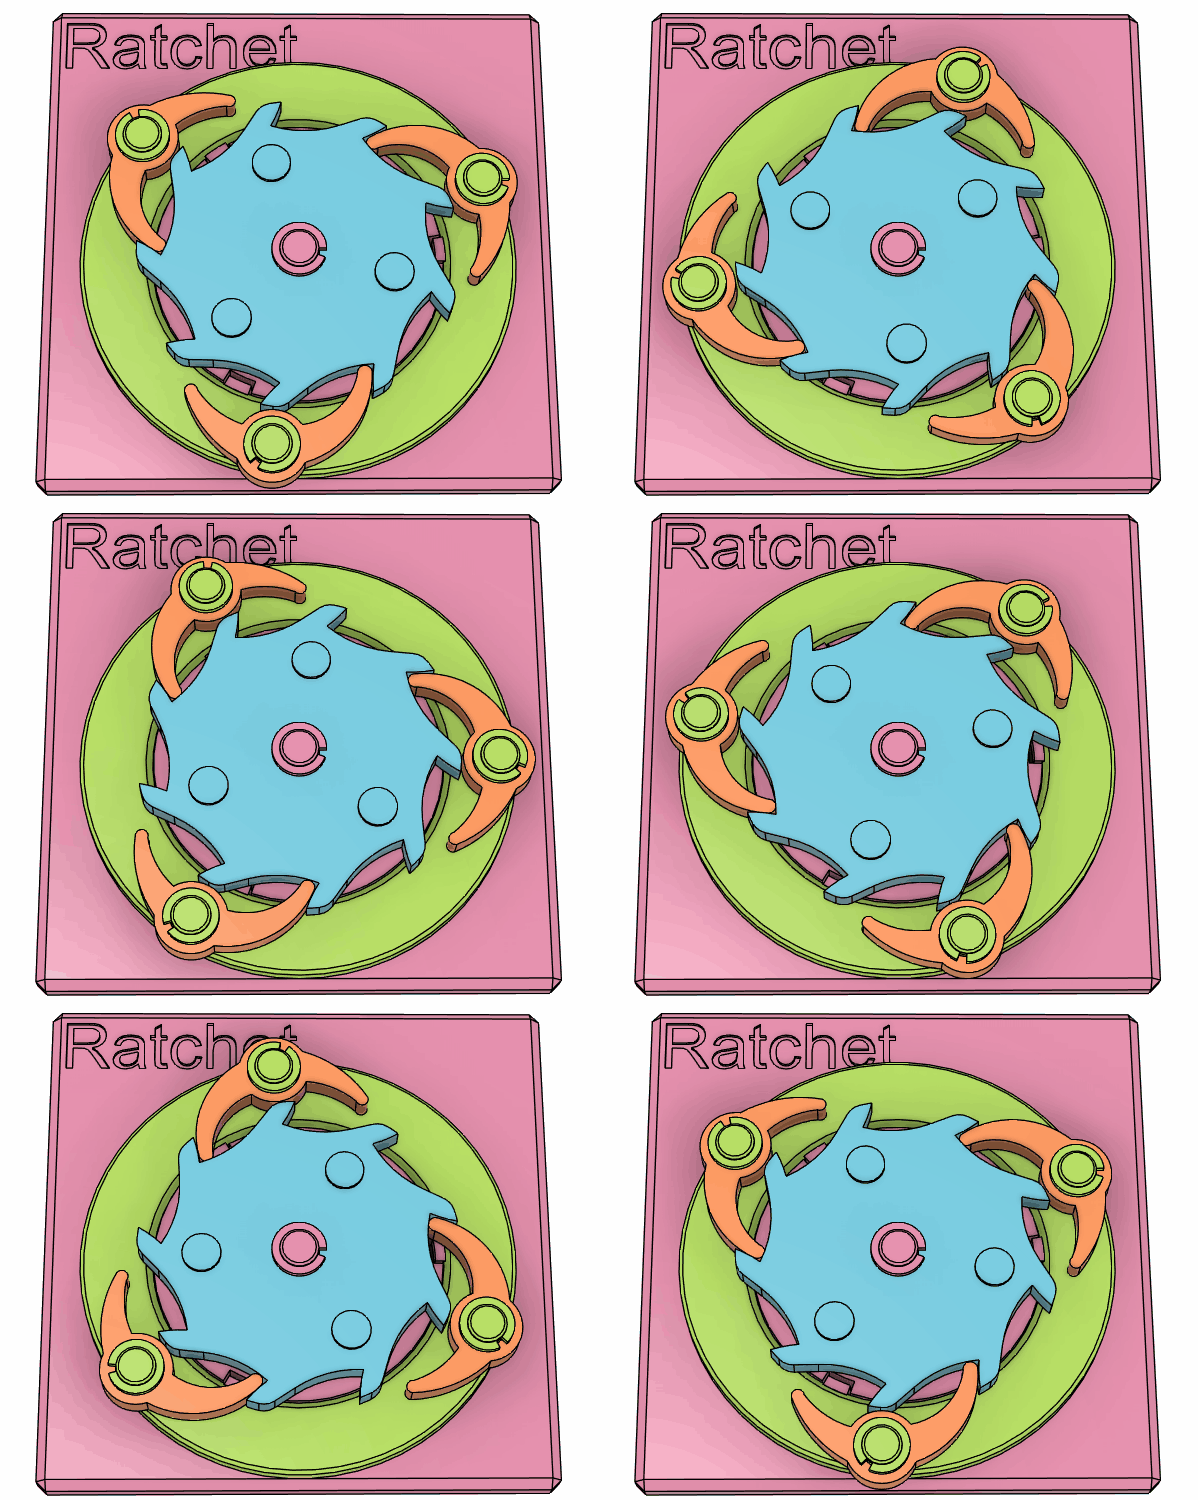
Brief description
Generally speaking, a ratchet mechanism is used to allow rotation in only one direction, preventing reverse motion.
In this model, the ratchet works between two rotational elements: the central disk acts as the input, and the outer ring serves as the output.
When the input disk is rotated clockwise, the ratchet prevents relative motion between the two parts. As a result, the output ring rotates together with the input.
On the other hand, when the input is rotated counterclockwise, the ratchet allows the input disk to freewheel, and the output ring does not rotate.
Similar mechanisms are widely used in devices such as bicycles and wrenches.
In many ratchet systems, the pawls—small claw-like pieces that engage with the teeth— are pressed against the ratchet wheel by springs. In this model, however, the ratchet action is achieved solely by the carefully designed shape of these pawls, without relying on springs. Thanks to it, it does not cause large click noise when it freewheels.
Reference(s)
Case
This model is compatible with the case included in my first set.
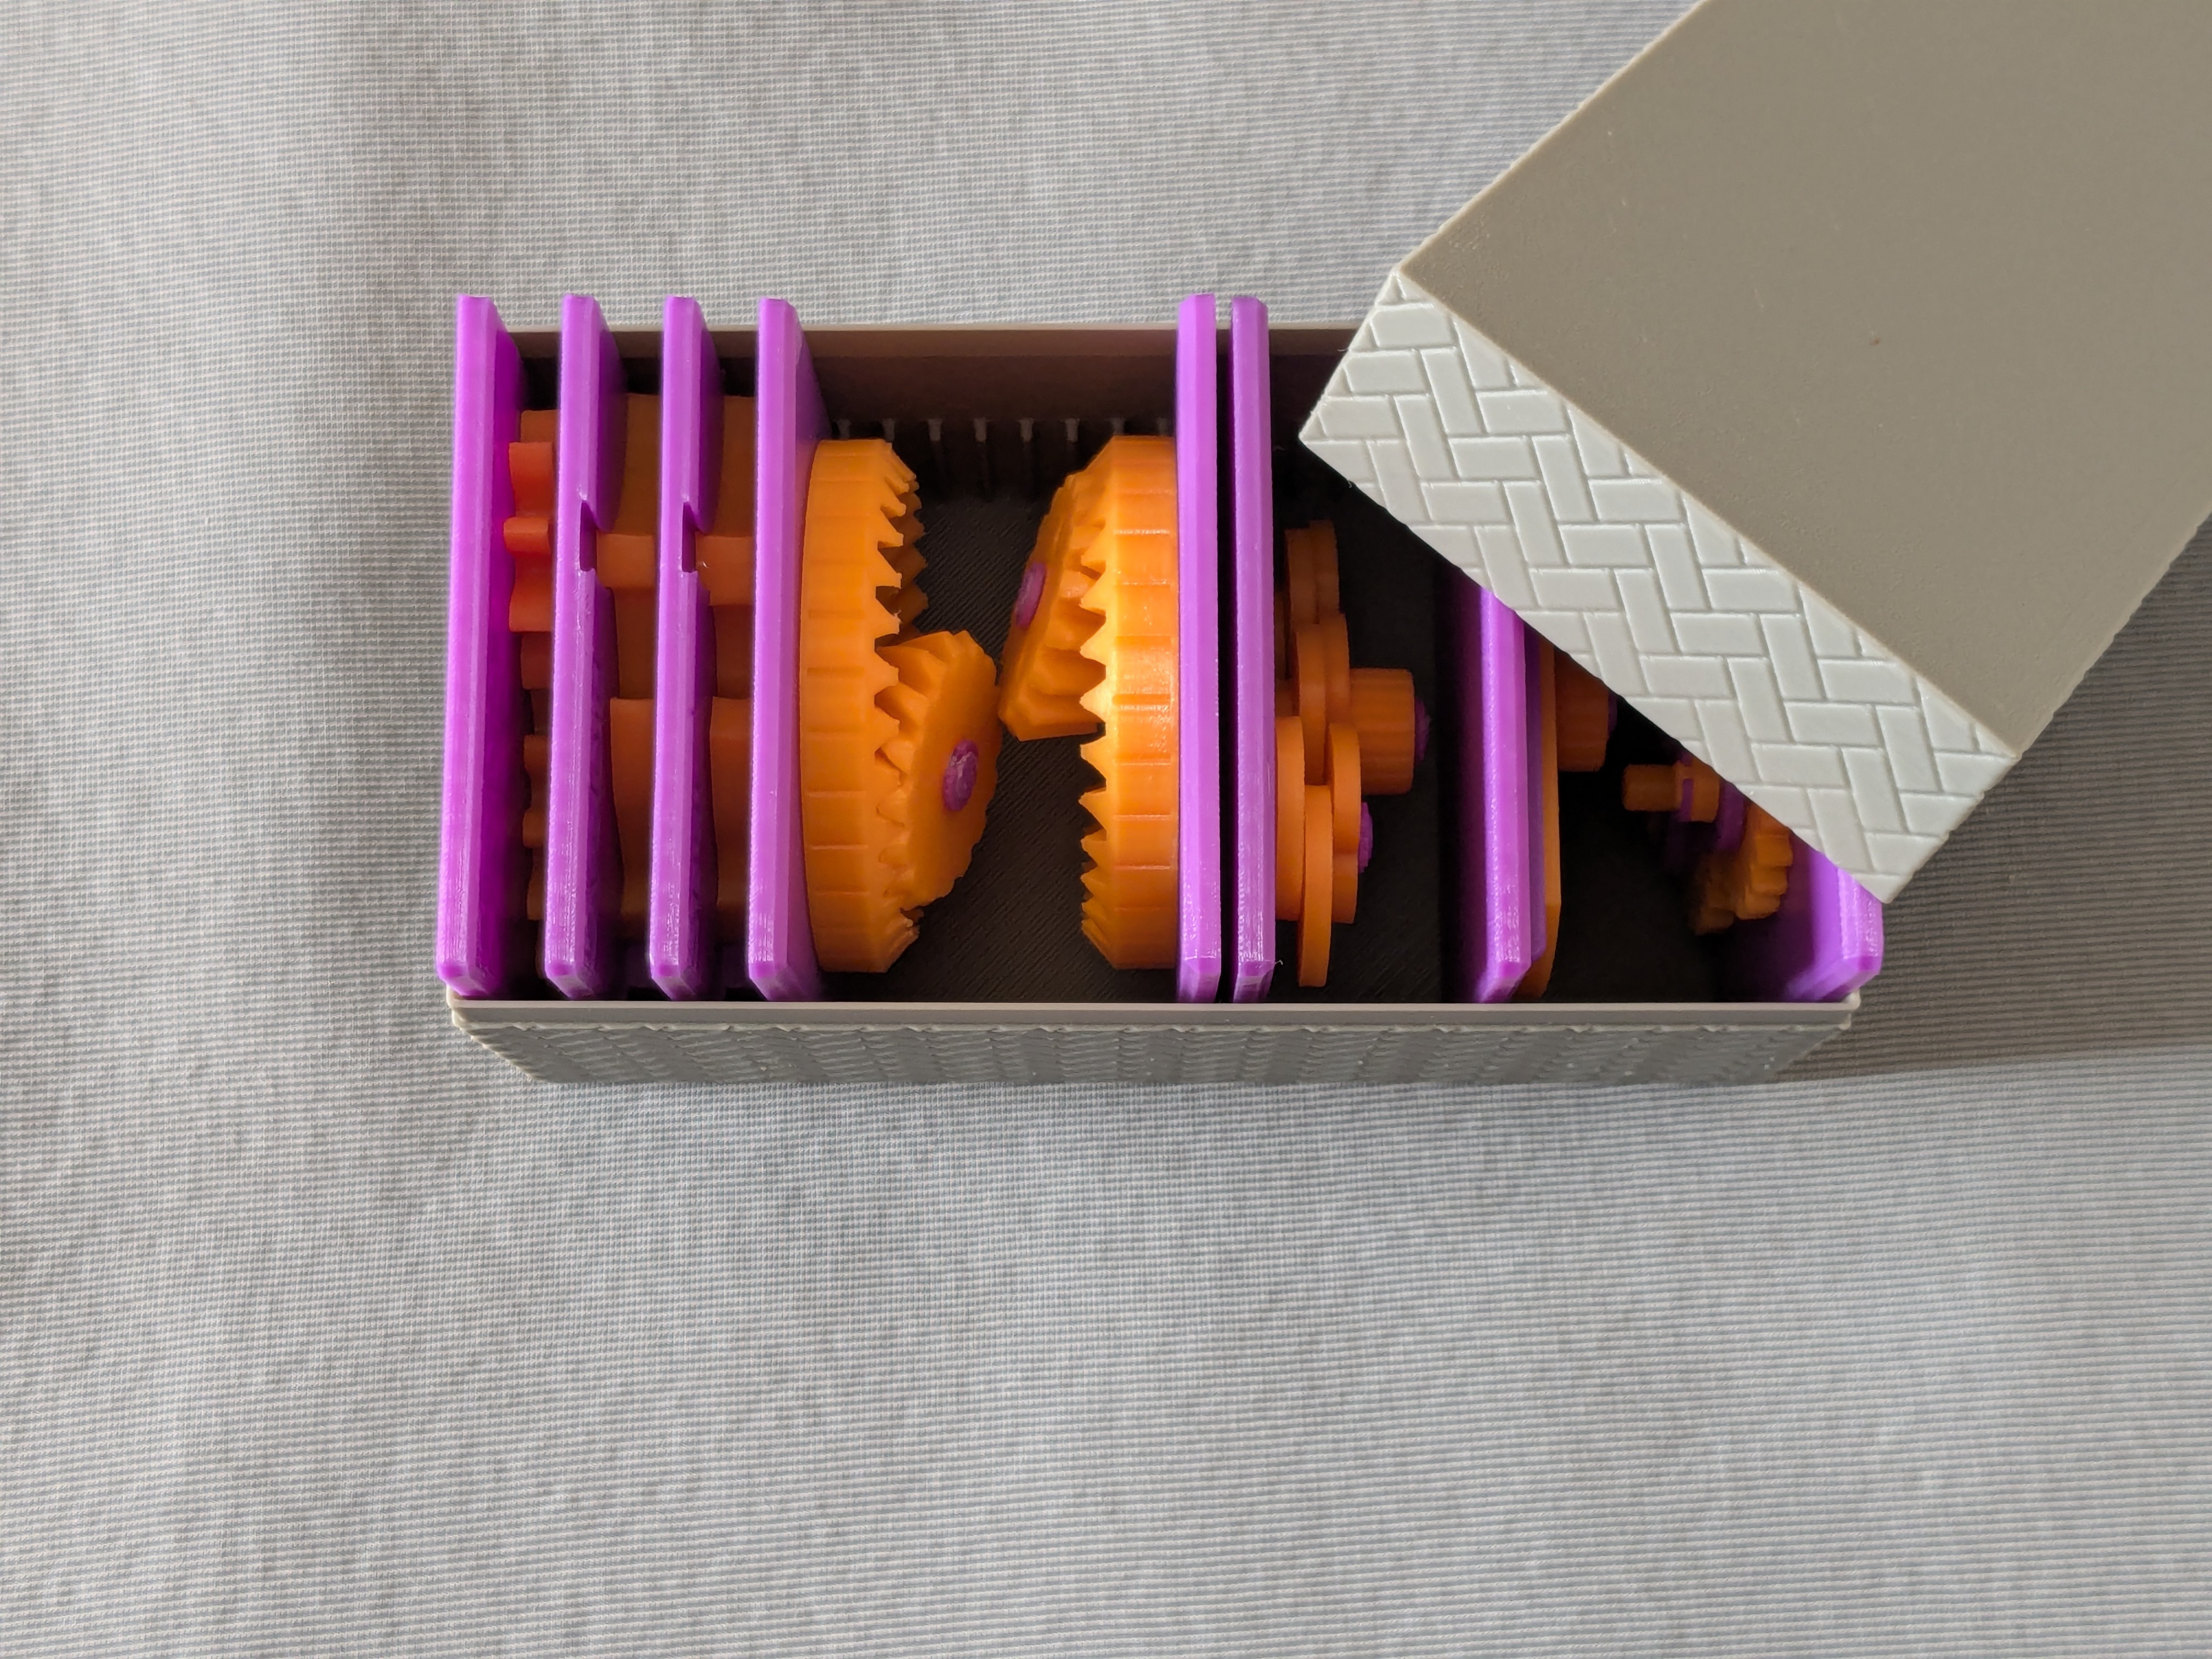
Printing
- Use the models named ???-printable.stl for printing.
The models named ???-assembled.stl are provided just to show how they should be assembled.
- Use well-dried PETG to have better dimensional accuracy.
- Use 0.1 mm or 0.08 mm layer height to have smoother surfaces.
- Use slow printing speed for overhangs.
- Select “Random” seam position to have smoother rotation.
Randomly distributed seam should be easily worn out after some wearing.
Sanding and Filing
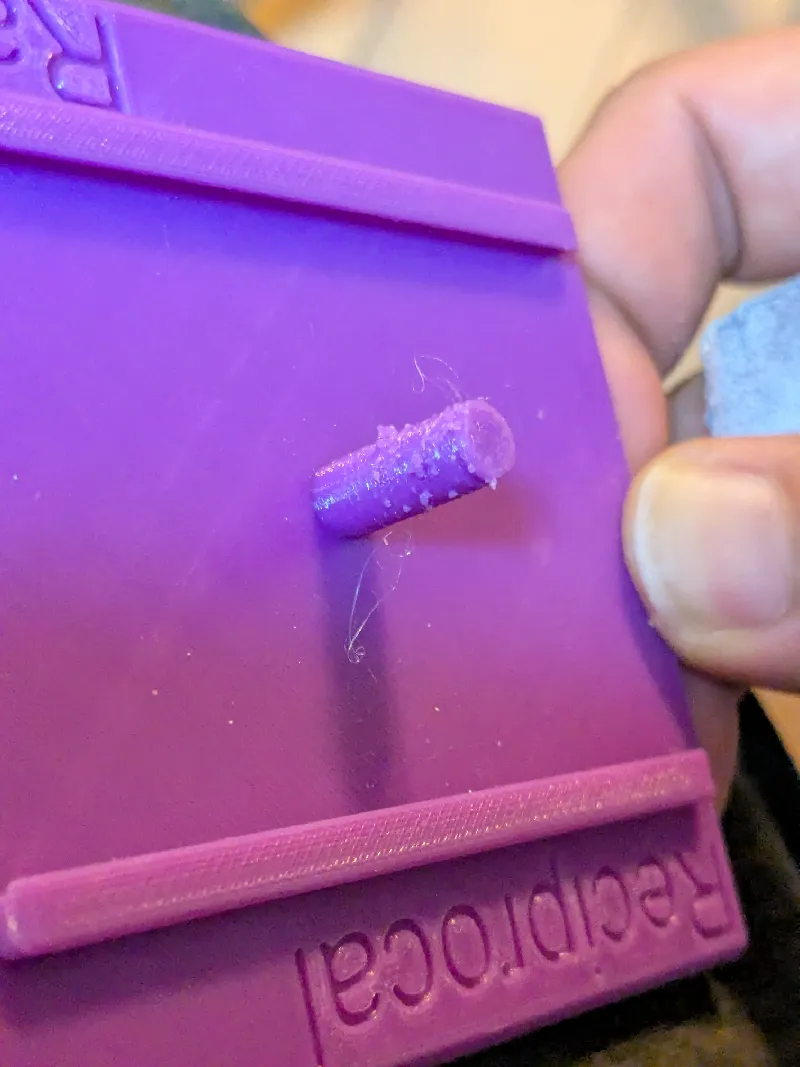
Sometimes, the gears suffer from the stringing effect and/or elephant foot effect, resulting in a too tight fit to the shafts (they are designed with a 0.15 mm radial clearance).
If you see rough surface on the shafts due to stringing, sand off the roughness with a small piece of sand paper.
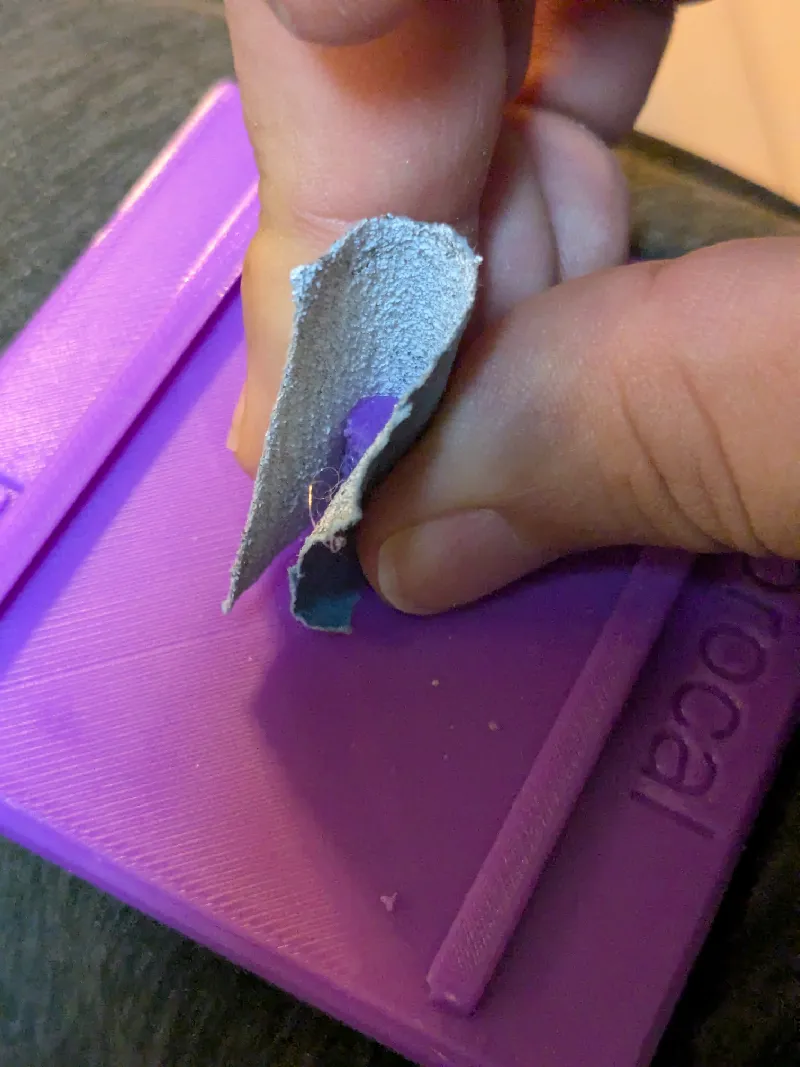
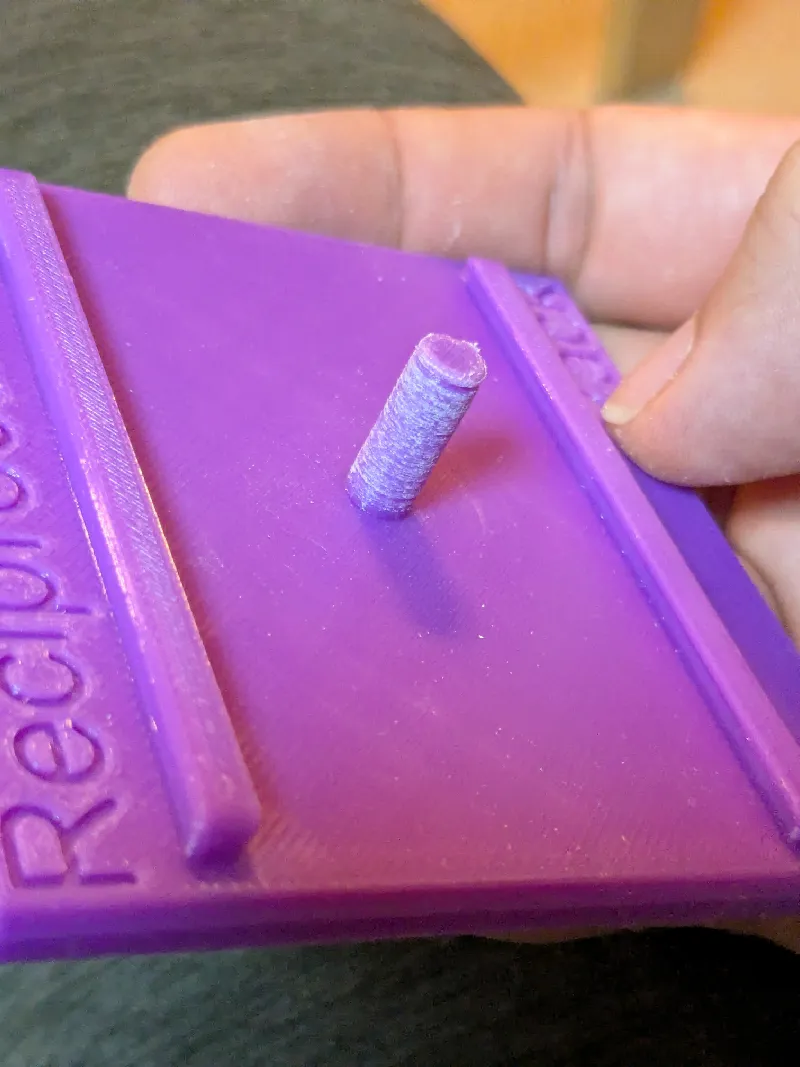
If you feel the gears do not rotate smoothly due to an elephant effect, widen the hole slightly by using a thin round bar file.
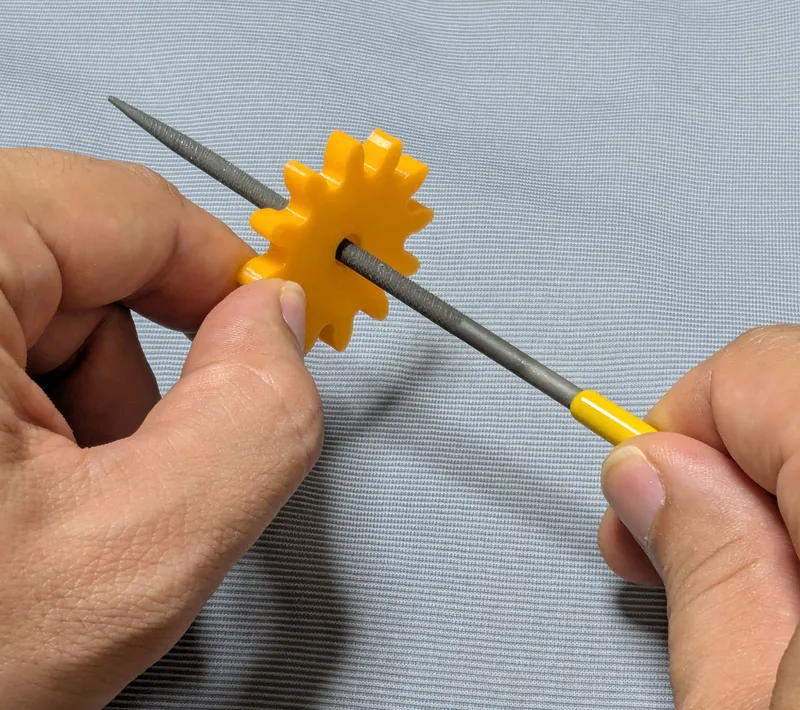
Without those issues, the parts should rotate very smoothly with minimal friction.
Assembly
All parts can be snap assembled.
Other educational models
You may also be interested in the models in my educational mechanical mechanism examples.
Find them in this collection:
https://makerworld.com/collections/15048577-my-educational-mechanism-models
Acknowledgement
I got into gears thanks to K.$uzuki's amazing articles and YouTube videos. Many of the mechanisms shown in this series came from the introductions on his website. He also makes excellent gear models himself. This series wouldn’t have existed without his inspiration.
I learned a lot about technical detail of designing gear tooth profiles from Haguruma-No-Hanashi website. I’m truly grateful for that.
License (2026-03-13 updated)
- The 3D model(s) are licensed under Creative Commons Attribution 4.0 International. (unchanged)
- However, the text and images on this page are copyright reserved. (added on 2026-03-13)
Design by osamutake on MakerWorld (license: BY).